How To Melt Cheese In An Air Fryer Without Burning It: 10 Fixes For Timing, Placement And Temperature
Cheese can go from barely melted to burnt surprisingly fast in an air fryer. These 10 fixes explain how temperature, timing, placement and cheese choice can help you get a smooth, gooey melt without the scorched edges.
How To Melt Cheese In An Air Fryer Without Burning It: 10 Fixes For Timing, Placement And Temperature
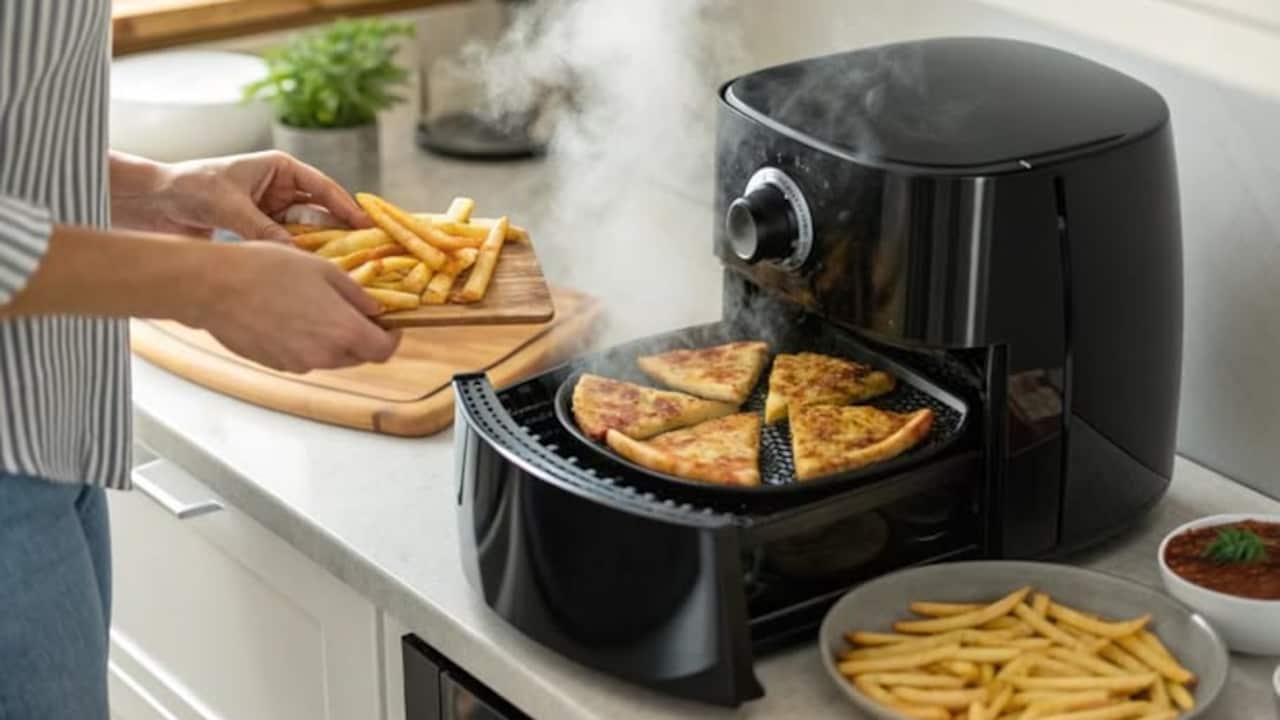
Melting cheese sounds like one of the easiest jobs an air fryer could handle. Put cheese over a sandwich, pizza toast, stuffed bread or plate of nachos, switch the appliance on and wait for that glossy, stretchy finish. Yet somehow, the cheese often has other plans. The corners turn brown while the centre stays firm. Shredded cheese flies around the kitchen basket. A slice develops a leathery skin. Sometimes the cheese looks perfect for about twenty seconds before crossing into burnt territory. The problem isn't necessarily the air fryer. Its biggest strength, fast-moving, concentrated hot air, is also what makes cheese tricky. Cheese contains fat, moisture and proteins that react quickly to heat, while different varieties melt at very different speeds. The food underneath also matters. Fortunately, burnt cheese usually comes down to a handful of small mistakes rather than a doomed recipe. A lower temperature, better timing or a slightly different position in the basket can completely change the result. Here are ten fixes that make air-fryer cheese far easier to control.
How To Melt Cheese In An Air Fryer Without Burning It: 10 Fixes For Timing, Placement And Temperature; Photo Credit: Pexels
Why Cheese Burns Before It Melts Properly
1. Lower The Temperature Before Adding The Cheese
One of the easiest mistakes is treating cheese like the rest of the food. A potato snack might happily cook at 200°C, but the cheese sitting on top doesn't necessarily need that much heat. At high temperatures, its surface can brown and harden before enough heat reaches the layers underneath.
Try cooking the main food first, then lowering the air fryer to around 160°C–180°C before adding cheese. The exact sweet spot depends on the cheese and the dish, but starting lower gives you far more control.
This becomes especially useful with foods that already need aggressive cooking. Think bread pizza, loaded fries or vegetables that need crisp edges. Cook those almost completely first. Then add the cheese and finish them gently.
Lowering the temperature doesn't mean waiting forever either. An air fryer retains plenty of heat after cooking, so cheese can still melt surprisingly quickly. What changes is the margin for error. Instead of moving from solid to scorched in moments, the cheese gets a little breathing room to soften, spread and bubble before serious browning begins.
Also Read: Eat Healthy Without Missing Out: Top 5 Air Fryers To Make Guilt-Free Crispy Treats
2. Add Cheese Near The End Of Cooking
Putting cheese on food from the beginning sounds convenient, but it often gives the cheese far more cooking time than it needs.
Suppose a stuffed potato takes 15 minutes to heat through. The cheese topping certainly doesn't need 15 minutes. By the time the potato reaches the right temperature, the cheese may have separated, dried out or developed dark patches.
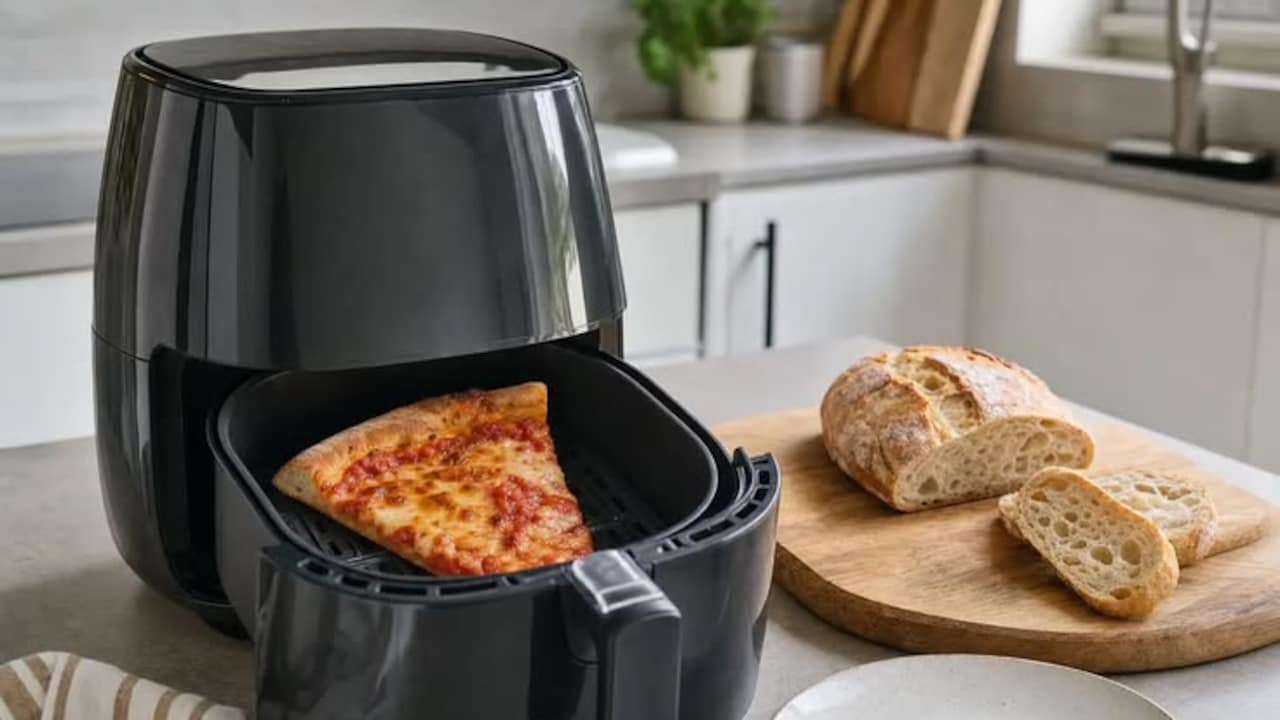
Instead, cook the food until it is nearly ready. Open the basket during the final few minutes, add the cheese and return the food to the air fryer. For many dishes, just two to four minutes can be enough.
This approach works particularly well for sandwiches, garlic bread, nachos, baked vegetables and leftover pizza. You get the crisp base you wanted without forcing the cheese to survive the entire cooking cycle.
Think of cheese as the finishing act rather than part of the opening scene. It generally needs enough time to soften and melt, not enough time to cook the whole meal. That small shift in timing can fix a surprising number of burnt-cheese disasters.
3. Keep Cheese Away From The Heating Element
Air fryers may circulate hot air around the basket, but that doesn't mean every part of the cooking chamber receives exactly the same heat. The area closest to the heating element can become considerably more intense.
If your cheesy toast sits unusually high in the basket, the top may brown much faster than expected. Thick foods can create the same problem by placing cheese closer to the upper element.
Where possible, position the food slightly lower. Some air fryers have multiple rack levels, while others allow you to use a deeper basket position. Choose the setting that gives the cheese a little more distance from the strongest heat.
Also consider the height of the dish itself. A towering sandwich covered with cheese will behave differently from a flat slice of bread.
That extra centimetre or two can matter because radiant heat from the element hits exposed cheese directly. If the top repeatedly burns while the rest of the food cooks normally, don't automatically change the recipe. Check where the food sits first. Placement can sometimes solve what looks like a temperature problem.

How To Melt Cheese In An Air Fryer Without Burning It: 10 Fixes For Timing, Placement And Temperature; Photo Credit: Pexels
4. Stop Loose Cheese From Flying Around
Grated cheese and powerful air circulation are not always the happiest partnership. Lightweight shreds can lift off the food once the fan starts, leaving half your sandwich bare and the other half scattered around the basket.
Those stray pieces then land near hot surfaces and burn rapidly.
The simplest fix is to make sure the cheese has something to cling to. Add shredded cheese over sauce, chutney, softened butter or another slightly moist topping rather than placing it on a completely dry surface.
You can also press the cheese down gently before cooking. Don't compact it into a solid layer; just make sure the strands touch the food underneath.
Another option is to let the dish cook for a minute without full fan exposure where your appliance allows it, although settings vary between models.
For dishes such as bread pizza, a thin layer of sauce beneath mozzarella works particularly well. The moisture acts almost like edible glue. The cheese stays where it belongs, melts evenly and doesn't end up turning into mysterious crispy fragments hiding beneath the basket.
5. Avoid Piling Cheese Into One Thick Mound
More cheese sounds like an obvious route to a better cheese pull, but a thick heap can make melting surprisingly uneven.
The outside receives direct heat first, so it may brown or develop a crust while the cheese underneath remains only partially softened. Eventually, the upper layer can burn before the centre reaches the texture you wanted.
Spread grated cheese across the food in a relatively even layer. You don't need mathematical precision, but avoid leaving large mountains in the centre.
If you want a very cheesy finish, consider melting it in stages. Add one layer, allow it to soften, then add a little more for the final minute or two. That technique can work especially well on loaded fries, baked pasta portions and thick sandwiches.
Slices also benefit from sensible placement. Overlapping four slices in the middle creates a dense patch that heats differently from the exposed edges.
A more even layer gives hot air better access to the cheese and reduces extreme differences between the surface and the centre. Sometimes the secret to more melted cheese is simply not adding all of it at once.
6. Choose A Cheese That Actually Melts Well
Not every cheese responds to heat with the dramatic stretch we associate with pizza.
Mozzarella, processed cheese, young cheddar, Monterey Jack and similar varieties generally melt readily because of their moisture, fat and protein structure. Some harder or aged cheeses behave differently. Parmesan, for example, can brown beautifully but won't create the same smooth blanket as mozzarella.
Low-moisture or very dry cheeses can also become oily or crisp before achieving the texture you expected.
For dishes where you want both flavour and good melting, combine cheeses. Mozzarella can provide softness and stretch while a stronger cheese adds flavour. That approach works nicely on sandwiches, toast, pasta bakes and homemade bread pizzas.
Also pay attention to processed cheese products versus natural cheese. Their formulations can produce noticeably different melting behaviour.
There's no single “best” cheese for an air fryer. The important part is matching the cheese to the result. If you're waiting for a dry, crumbly cheese to turn into a silky pool, extra cooking time won't solve the problem. It will probably just burn it.
How To Melt Cheese In An Air Fryer Without Burning It: 10 Fixes For Timing, Placement And Temperature; Photo Credit: Pexels
7. Grate Cheese Instead Of Using Very Thick Slices
Thickness dramatically changes how quickly heat reaches the centre of cheese.
A chunky block placed over a sandwich can remain stubbornly firm in the middle even while its surface starts browning. Grated cheese, on the other hand, exposes far more surface area and melts faster.
For an even melt, grate the cheese or use reasonably thin slices. Smaller pieces soften quickly enough that the surface doesn't need prolonged exposure to intense heat.
There's another advantage too: grated cheese follows the contours of whatever sits underneath it. It can settle between bits of vegetables, paneer or filling rather than balancing awkwardly on top.
However, remember the flying-cheese problem. Fine shreds need to sit securely on a moist or sticky surface.
If you're working with sliced cheese, tearing one thick slice into smaller overlapping pieces can sometimes give a better result than leaving it whole.
The goal isn't to make the cheese paper-thin. It's simply to reduce the difference between how quickly the outside and inside heat up. When the thickness becomes more uniform, the melting process becomes much easier to predict.
8. Check The Cheese Earlier Than You Think
Air-fryer cooking times often look reassuringly precise on paper. Cheese refuses to respect them.
Two minutes in one appliance can produce barely softened cheese, while another model may deliver bubbling brown patches in the same time. Basket size, wattage, preheating and even the amount of food inside can change the result.
So don't wait blindly for the timer.
Once the cheese has been added, check it after roughly a minute or two, particularly when trying a recipe for the first time. Air fryers lose heat briefly when opened, but that small interruption is far better than discovering a burnt topping afterwards.
Look for visual cues. The cheese should soften, become glossy and begin settling into the food. Small bubbles usually signal that you're approaching the ideal point. Heavy browning means you need to act quickly.
After using the same cheese and dish a few times, you'll learn your appliance's rhythm.
Until then, treat recipe timings as guidelines rather than commandments. Cheese often has a very short window between “almost there” and “why does the kitchen smell like that?”
9. Skip Unnecessary Preheating For The Cheese Stage
Preheating helps certain foods develop crisp surfaces quickly, but cheese doesn't always benefit from entering an aggressively hot air fryer.
If the basket and heating chamber are already blazing hot, the cheese's surface can start cooking immediately. That's useful when you want browning, but less helpful when your priority is slow, even melting.
When making something where cheese is the main topping, consider whether a long preheat is necessary. You may get a gentler melt by starting with a moderately warm appliance instead.
For recipes where the food itself requires preheating, there's no need to abandon it. Simply cook the base first, reduce the temperature and give the air fryer a short moment to settle before adding the cheese.
Residual heat will still work in your favour.
This distinction matters because “melting” and “browning” aren't quite the same goal. Preheating aggressively encourages fast surface reactions. If you're trying to turn cheese soft and gooey before its edges darken, slightly less initial heat may actually produce the better-looking result.
10. Remove The Food Before The Cheese Looks Completely Finished
Cheese doesn't instantly stop cooking the moment the air fryer switches off.
The food underneath, the basket and the surrounding air all retain heat. That residual warmth continues softening and cooking the cheese for a short period after you remove the dish.
Waiting until the topping looks heavily melted inside the appliance can therefore take it slightly too far by the time it reaches the plate.
Instead, remove the food when the cheese looks just melted and glossy, particularly with thin slices or finely grated cheese. Let it stand briefly. The remaining heat can finish the job.
This works especially well for toasties and bread pizzas, where another minute of air-frying might turn a beautifully melted top into a tough brown layer.
Resting also gives molten cheese a chance to settle. Bite into it immediately and you may discover that the innocent-looking topping has reached approximately the temperature of the sun.
A minute of patience improves both texture and survival prospects. With air-fried cheese, stopping slightly early often produces a better finish than trying to achieve absolute perfection inside the basket.
Products Related To This Article
1. Faber 6L 1500W Digital Air Fryer
2. Ninja Air Fryer MAX PRO, 6.2L Air Fryer Oven 2-Year Warranty
3. EDT Luma ZERO COATING PureGlass™ Air Fryer Oven
4. PHILIPS Air Fryer NA120/00, 4.2 Litre
5. Pigeon by Stovekraft Healthifry 5.4L Digital Air Fryer
6. COSORI Air Fryer 5 QT (4.7 Litre) Black
7. SOLARA Air Fryer For Home 4.5L with See Through Window
Melting cheese in an air fryer doesn't require complicated tricks. Most problems come from giving it too much heat, too much time or poor positioning. Add cheese near the end, keep temperatures moderate, spread it evenly and watch it closely. Once you understand how quickly your particular air fryer works, gooey cheese becomes much easier to achieve — without the burnt edges.
(Disclaimer: This article may include references to or features of products and services made available through affiliate marketing campaigns. NDTV Convergence Limited (“NDTV”) strives to maintain editorial independence while participating in such campaigns. NDTV does not assume responsibility for the performance or claims of any featured products or services.)