How To Stop A Wet-And-Dry Vacuum From Smelling: 10 Fixes For Tanks, Filters And Trapped Moisture
Stop bad smells in your wet-and-dry vacuum with 10 simple fixes for dirty tanks, clogged filters and trapped moisture. Learn how proper cleaning, drying and storage can keep your vacuum fresh and ready to use.

How To Stop A Wet-And-Dry Vacuum From Smelling: 10 Easy Fixes
Few cleaning appliances work quite as hard as a wet-and-dry vacuum. One afternoon it may gulp up sawdust after a furniture repair. The next morning, it could be tackling water near the washing machine or muddy footprints brought indoors during the monsoon. That versatility makes the machine useful, but it also creates the perfect recipe for unpleasant smells. Unlike an ordinary dry vacuum, a wet-and-dry model regularly encounters moisture, organic dirt and damp debris. Leave that mixture inside a closed tank for a few hours too long and the appliance can develop an aroma that belongs nowhere near a freshly cleaned room. The smell may come from the collection tank, filter, hose, floor tool or even a small pocket of water hidden inside an attachment. Simply spraying air freshener nearby rarely solves the problem. In fact, disguising a damp, musty odour can make matters worse by delaying the cleaning it needs. A better approach is to remove the source. These ten fixes tackle the most common places where moisture and grime linger.

How To Stop A Wet-And-Dry Vacuum From Smelling: 10 Easy Fixes; Photo Credit: Pexels
Why Your Wet-And-Dry Vacuum Starts To Smell
1. Empty The Tank Immediately After Wet Cleaning
The easiest way to prevent a smelly wet-and-dry vacuum is also the habit people postpone most often: emptying the tank straight after use.
Dirty water changes quickly when left inside a closed container. It may contain food crumbs, soil, pet hair, dust, detergent residue and whatever else the vacuum collected from the floor. Add warm weather to the equation and the tank can begin smelling unpleasant remarkably fast.
After picking up liquids, unplug the machine and empty the tank as soon as the job ends. Avoid leaving wastewater inside overnight, even when there is only a small amount. A shallow puddle at the bottom provides enough moisture for odour-causing microbes to thrive.
Rinse the tank with clean water once it is empty. Swirl the water around the base and corners, then tip it out completely.
Think of the collection tank much like a kitchen dustbin after something wet leaks inside. Emptying the contents solves half the problem. Removing the residue left behind finishes the job. That two-minute routine can prevent a much bigger cleaning session later.
2. Wash The Collection Tank Properly
Rinsing helps after routine wet cleaning, but an already smelly tank needs more attention. Dirt often forms a thin film along the walls and base. It may look harmless while continuing to produce that familiar damp-cloth smell.
Start by checking the manufacturer's cleaning instructions. If the tank can be washed, use warm water with a small amount of mild washing-up liquid. A soft brush or non-abrasive sponge works well for loosening stubborn residue around ridges, corners and drainage areas.
Avoid pouring strong perfume, bleach or harsh household chemicals into the tank unless the manufacturer specifically allows them. Powerful chemicals may damage seals, plastic components or internal surfaces. They can also create an odd chemical smell of their own.
Once the dirt has loosened, rinse repeatedly until no soap remains. Pay attention to the underside of the lid and any splash guards that come into contact with wastewater.
A clean-looking tank should also feel clean. Run a finger over an accessible surface once everything has been rinsed. If it still feels slippery or grimy, another wash may be needed. Invisible residue is often where stubborn odours hide.
3. Let Every Part Dry Completely
Cleaning the vacuum without drying it properly is rather like washing clothes and stuffing them damp into a cupboard. Everything may technically be clean, but a musty smell will soon have the final word.
After washing the collection tank, leave it open until every surface feels completely dry. Place removable washable parts somewhere airy and shaded. Good ventilation matters more than fierce heat.
Avoid immediately locking the lid onto a damp tank. Doing so traps humidity inside and creates a miniature greenhouse for unpleasant smells.
Drying becomes especially important during humid weather, when moisture evaporates slowly. A tank that normally dries in a few hours may need much longer during the rainy season. Turning it upside down for part of the drying period can help water escape from grooves and edges.
Check attachments too. A floor nozzle may look dry from outside while holding droplets around internal joints.
Before reassembling the vacuum, inspect each washable component. No visible droplets, no damp film and no suspicious cool patches should remain. A little patience at this stage often makes the difference between a neutral-smelling vacuum and one that announces itself before entering the room.
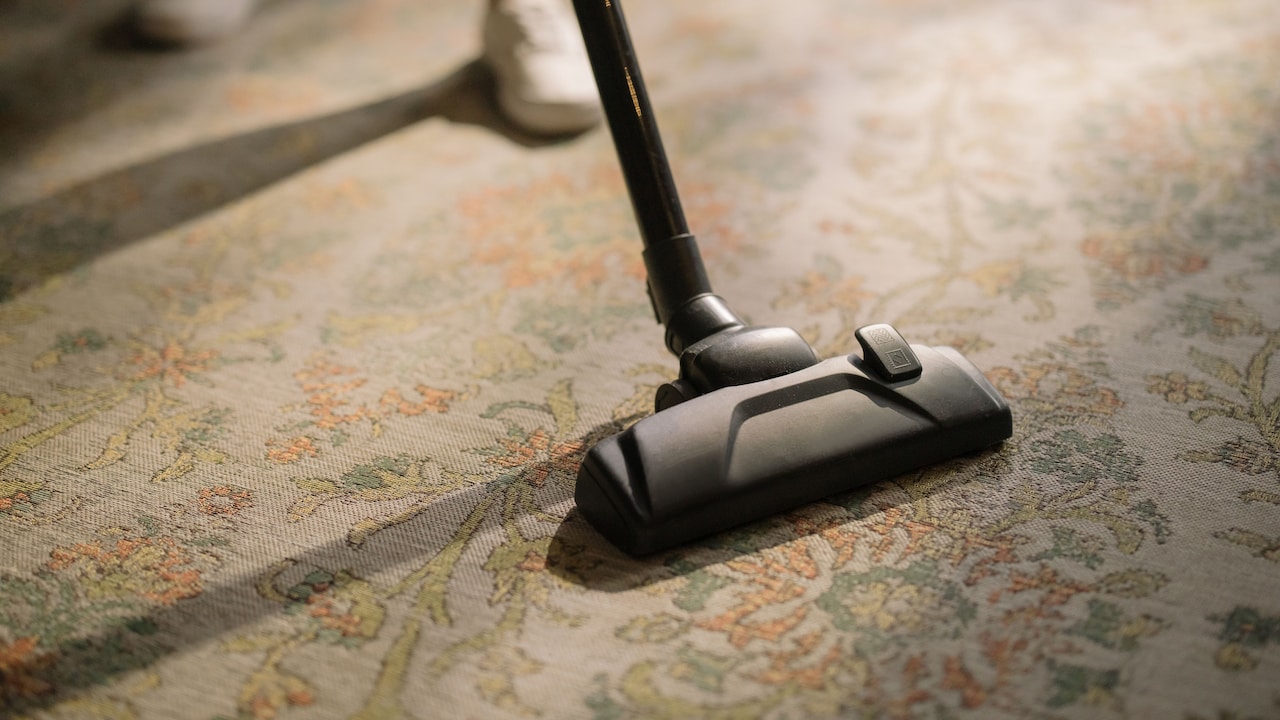
How To Stop A Wet-And-Dry Vacuum From Smelling: 10 Easy Fixes; Photo Credit: Pexels
4. Clean Or Replace The Filter
Filters deserve special attention because they sit directly in the path of dirty air. Once damp dust becomes trapped in the filter material, unpleasant smells can travel straight out of the vacuum's exhaust.
First, identify what type of filter the machine uses. Some filters are washable, while others must stay dry. Washing a filter that is not designed for water can ruin it, so the instruction manual takes priority over enthusiastic scrubbing.
For a washable filter, remove loose dirt and rinse it according to the manufacturer's directions. Then allow it to dry completely before reinstalling it. Completely means completely. A filter that feels only slightly damp can quickly become musty once enclosed inside the machine.
Dry-only filters may need gentle tapping or brushing to release dust. Replace them when they remain dirty, clogged or smelly despite proper cleaning.
A filter also has a lifespan. No amount of heroic washing can restore material that has become permanently stained, distorted or odorous.
If the tank smells fresh but the exhaust air still carries an unpleasant scent, the filter becomes a prime suspect. Replacing one worn filter can sometimes transform the machine faster than repeatedly washing everything else.
5. Flush Dirt Out Of The Hose
The hose is an easy place to forget because most of its interior stays out of sight. Unfortunately, it can hold an impressive collection of grime.
When a vacuum picks up dirty water, droplets may cling to the inner walls of the hose. Hair, dust and food particles can stick to that moisture. A small clump lodged around a bend then becomes an excellent source of bad smells.
Disconnect the hose and inspect both ends with a torch if necessary. Look for visible dirt or blockages before cleaning it.
If the manufacturer's instructions allow the hose to be washed, flush it with clean water. Mild soapy water can help remove greasy residue, followed by a thorough rinse. Never immerse electrical sections or components that the manufacturer says must remain dry.
Drying the hose takes patience. Hang it so both ends remain open and water can drain freely. Changing its position after a while can help release droplets trapped in curves.
A useful clue appears when the vacuum smells worse while running than while sitting idle. Air rushing through a contaminated hose can carry odours directly into the room, making a hidden patch of grime suddenly very noticeable.
6. Check Floor Heads And Small Attachments
Sometimes the main machine gets blamed for an odour created by an attachment sitting quietly in the cupboard.
Floor heads, crevice tools and brushes regularly collect damp debris. A few strands of wet hair wrapped around a roller or a patch of mud trapped behind a rubber strip can smell surprisingly strong after several days.
Remove detachable tools and inspect them closely. Pay particular attention to wheels, brush strips, narrow channels and joints where the attachment connects to the hose. These awkward areas often escape a quick rinse.
Wash only components that the manufacturer identifies as washable. Use a small brush to loosen grime from tight spaces and remove tangled fibres by hand where safe to do so.
Then comes the familiar but essential rule: let everything dry thoroughly before storage.
This matters after cleaning balconies, bathrooms, utility areas or entrances during wet weather. The floor may look merely dusty, yet the vacuum can collect a mixture of rainwater, soil and organic debris.
Do not overlook storage bags either. Putting a slightly damp attachment into a zipped bag is practically an invitation for mustiness. Clean tools need air before they need tidy storage.
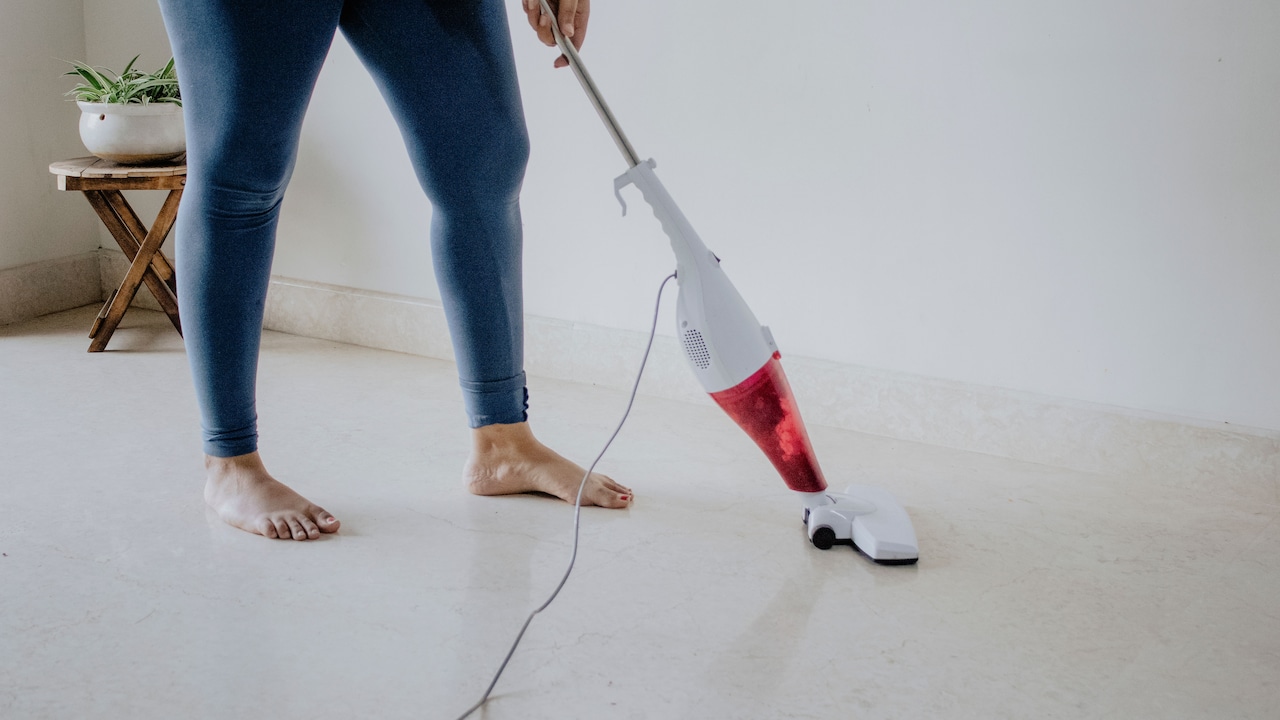
How To Stop A Wet-And-Dry Vacuum From Smelling: 10 Easy Fixes; Photo Credit: Pexels
7. Remove Trapped Moisture Around Seals And Crevices
Not all water settles conveniently at the bottom of the tank. Some of it hides.
Wet-and-dry vacuums contain grooves, seals, lid edges, float mechanisms and connection points where droplets can remain after the obvious water has been poured away. These areas may produce a persistent smell even when the main tank appears spotless.
After cleaning, inspect accessible crevices with a dry cloth. Wipe around rubber seals and the rim where the lid meets the tank. Avoid dismantling internal electrical parts unless the manual specifically instructs you to do so.
A cotton bud or small soft brush can sometimes help clean narrow non-electrical grooves, provided nothing gets pushed deeper into the machine.
The float mechanism used during wet collection deserves particular attention where accessible. Dirt can splash onto surrounding surfaces and dry into a grimy film.
Never direct water towards the motor housing in an attempt to chase an odour. Electricity and experimental rinsing are a poor partnership.
If a smell survives several tank washes, hidden moisture becomes increasingly likely. Giving every safe, accessible corner a careful inspection often uncovers the culprit: one damp seal, one dirty edge or one stubborn little puddle that escaped notice.
8. Avoid Vacuuming Problem Liquids
A wet-and-dry vacuum can handle many spills, but that does not mean every liquid belongs inside it.
Milk, curry, sugary drinks, oily mixtures and food-heavy wastewater can leave strong residues inside hoses and tanks. Even after the liquid itself disappears, proteins, fats and sugars may cling to surfaces and start smelling.
Where practical, remove chunky food debris before using the vacuum on a spill. This reduces the amount of organic matter entering the machine. After collecting permitted messy liquids, clean the vacuum promptly rather than treating the job like ordinary water pickup.
Always follow the manufacturer's restrictions. Wet-and-dry capability does not make a vacuum suitable for flammable liquids, corrosive chemicals, hot liquids or hazardous substances.
Consider a dropped glass of sweet lassi on the floor. The visible mess may disappear in seconds under powerful suction, creating a satisfying little cleaning victory. Forget the residue inside the hose, though, and that victory may smell considerably less impressive two days later.
The lesson is simple: what enters the vacuum matters. Water usually rinses away easily. Rich, sticky or organic liquids demand immediate aftercare if the machine is to stay fresh.
9. Store The Vacuum With Airflow In Mind
Storage can undo good cleaning habits surprisingly quickly.
Once the vacuum has been emptied, washed and dried, choose a storage area that stays reasonably dry and ventilated. A permanently damp utility corner can encourage musty smells even when the appliance was clean when stored.
Do not leave the tank sealed while there is any chance of residual moisture inside. Where the manufacturer's design permits, keeping the lid slightly open during the final drying period allows humidity to escape.
Avoid wrapping a damp hose tightly around the machine. Trapped droplets need a route out, not a cosy place to settle.
Storage areas deserve occasional cleaning too. A vacuum kept beside wet mops, dirty floor cloths or a damp wall can pick up surrounding smells, making diagnosis confusing. Sometimes the mysterious "vacuum smell" is partly the cupboard itself.
Before putting the machine away for several weeks, empty the tank, clean dirty components and make certain everything is dry. Long-term storage magnifies small mistakes. A teaspoon of forgotten water may seem insignificant today, but after a month in a warm enclosed tank, it can develop enough personality to make opening the lid memorable for all the wrong reasons.
10. Investigate Persistent Burning Or Electrical Smells
Not every bad smell comes from dirty water.
A damp, sour or musty odour usually points towards moisture, residue or a contaminated filter. A burning, melting or strongly electrical smell needs a different response.
Switch the vacuum off and unplug it if it produces an unusual hot smell, smoke, sparks or abnormal noises. Do not keep running it simply to see whether the problem clears. Continuing to operate a struggling motor can turn a small fault into a larger one.
Check for obvious non-electrical causes such as a blocked hose, clogged filter or severely restricted airflow, since these can make some machines work harder. Follow the troubleshooting steps provided by the manufacturer rather than opening the motor housing.
If the smell persists after permitted maintenance, arrange professional inspection through an authorised service centre or qualified technician. Repair costs vary by model and fault, so get an estimate before approving major work if the appliance is older.
Most everyday vacuum odours respond to cleaning and drying. Burning smells sit in another category altogether. Knowing the difference protects both the machine and the household. Freshening a tank is a weekend chore; experimenting with questionable electrical components should never become one.
Products Related To This Article
1. KARCHER Wd 3 V Wet & Dry Vacuum Cleaner, 23 kPa Suction Power
2. INALSA Wet and Dry Vacuum Cleaner for Home
3. AGARO Ace Wet & Dry Vacuum Cleaner for Home, 1600 Watts
4. BISSELL CrossWave HF2 | Wet & Dry Hard Floor Cleaner
5. UN1QUE Cordless Vacuum Cleaner for Car Use
6. SEZNIK Vacuum Cleaner for House
7. BLACK+DECKER BDWDS12-IN Corded WET & DRY Vacuum Cleaner For Home
A smelly wet-and-dry vacuum rarely needs fancy deodorising tricks. It needs the source of the odour removed. Emptying dirty water promptly, washing the tank, cleaning suitable filters, flushing the hose and drying every component can solve most musty smells. Attachments, seals and hidden crevices deserve attention too, particularly after messy wet pickups. Just as importantly, thoughtful storage keeps moisture from creeping back into a freshly cleaned machine.
The best habit is simple: treat wet vacuuming as a two-part job. The first part is cleaning the floor. The second is cleaning and drying the appliance that did the hard work.
It may feel tempting to park the vacuum immediately after the last puddle disappears, especially after a long cleaning session. Those extra few minutes of emptying, rinsing and airing, however, can spare the household from opening a tank of forgotten wastewater several days later. And if the smell resembles hot plastic or burning electrical parts rather than damp dirt, switch the machine off and investigate safely. A wet-and-dry vacuum should make unpleasant messes disappear. With sensible aftercare, it does not have to remember them by smell.
(Disclaimer: This article may include references to or features of products and services made available through affiliate marketing campaigns. NDTV Convergence Limited (“NDTV”) strives to maintain editorial independence while participating in such campaigns. NDTV does not assume responsibility for the performance or claims of any featured products or services.)