How To Get Smoother Results From A Hair Straightener Without Repeated Passes
Achieve smoother, straighter hair without running your straightener over the same sections repeatedly. Discover ten practical techniques to reduce frizz, improve styling results and minimise unnecessary heat exposure.

How To Get Smoother Results From A Hair Straightener Without Repeated Passes
There's something satisfying about running a hair straightener through a section and watching it turn smooth, shiny and neatly styled. Unfortunately, the reality often involves going over the same stubborn strands three or four times. Some sections straighten beautifully, while others refuse to cooperate. By the time the hairstyle looks presentable, the hair has already endured more heat than necessary. Repeated straightening might seem like the quickest solution to frizz, waves and uneven textures. However, excessive heat can weaken the hair cuticle, increase dryness and eventually encourage breakage. The problem becomes particularly noticeable during humid weather, when freshly straightened hair can start losing its shape before you even leave home.

How To Get Smoother Results From A Hair Straightener Without Repeated Passes
Photo Credit: Pexels
Fortunately, smoother results don't always require higher temperatures or expensive styling equipment. Small changes in preparation, sectioning, technique and maintenance can make a considerable difference. Whether you're getting ready for work, attending a wedding or simply trying to manage unruly hair before heading out, the following ten techniques can help you achieve a polished finish with fewer passes.
10 Practical Tips For Smoother Hair Straightening With Fewer Passes
1. Start With Completely Dry Hair Before Straightening
One of the biggest mistakes people make while straightening their hair involves reaching for the appliance before their strands have dried completely. Hair might feel dry on the surface while retaining moisture underneath, especially around the roots and thicker sections. Applying a conventional straightener to damp hair can cause rapid moisture loss and increase the risk of heat damage.
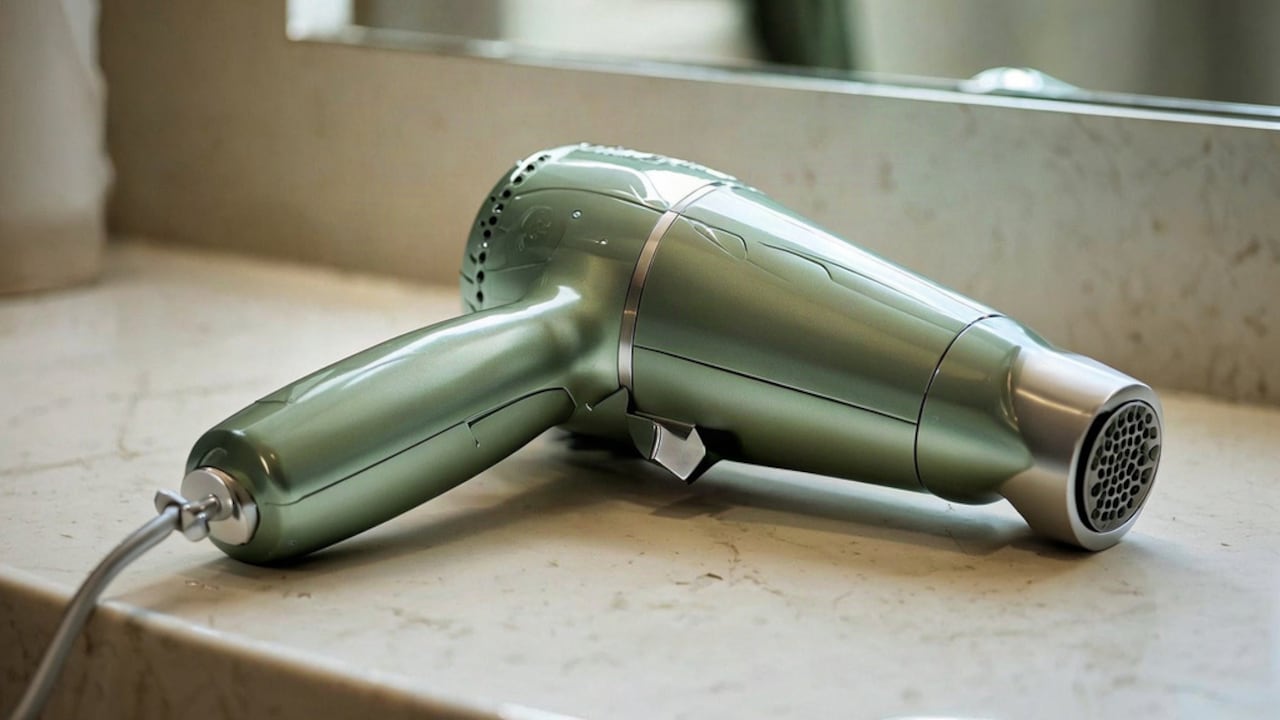
Before styling, allow your hair to air-dry or use a hairdryer until every section feels completely dry. Pay particular attention to the back of your head, where moisture tends to linger longer. If you're using a hairdryer, direct the airflow downwards along the hair shaft to encourage a smoother finish.
A nozzle attachment can help concentrate the airflow, while a suitable brush can reduce tangles and prepare the strands for straightening. Keep the dryer moving rather than concentrating heat on one spot.
On busy mornings, skipping this preparation might save a few minutes initially. However, it often creates additional work later. Properly dried hair generally responds more consistently to a straightener, reducing the temptation to repeat the process unnecessarily.
If your hair remains even slightly damp, give it more drying time. Conventional straighteners work best on dry hair, unless the manufacturer specifically designs the appliance for wet-to-dry styling.
2. Apply Heat Protectant Evenly Instead Of Using Too Much Product
Heat protectant deserves a permanent place in any routine involving heated styling tools. However, applying large quantities doesn't automatically provide greater protection. Excess product can leave strands sticky, heavy or difficult to straighten, particularly when the formula doesn't suit your hair type.
Choose a heat protectant that matches your hair's texture and the temperature you intend to use. Lightweight sprays often suit fine hair, while thicker textures may benefit from suitable creams or serums. Always check the manufacturer's application instructions and temperature guidance.
For even coverage, divide your hair into manageable sections before applying the product. Concentrate on the mid-lengths and ends, which generally experience more dryness and mechanical wear. Use a comb to distribute the formula where appropriate.
Some protectants require application to damp hair before blow-drying, while others suit dry hair. Following those instructions matters more than applying an extra layer immediately before straightening.
Allow the product to absorb or dry as directed. Hair shouldn't feel wet when it comes into contact with conventional straightener plates.
Remember that heat protectants reduce certain forms of heat-related damage rather than eliminating them entirely. Combine the product with sensible temperatures and fewer passes for better overall protection.
3. Divide Your Hair Into Smaller Sections For Better Heat Distribution
Trying to straighten a thick section in one movement rarely produces an even finish. The outer strands receive direct contact with the heated plates, while the hair trapped in the middle may receive less heat. Consequently, you might find yourself repeating the same movement several times.
Smaller sections allow the plates to contact the hair more evenly. They also make it easier to maintain consistent tension and guide the straightener without pulling.
Start by dividing your hair into horizontal layers. Secure the upper layers with sectioning clips and begin near the nape of your neck. Work upwards gradually, releasing fresh sections as you complete each layer.
The ideal section thickness depends on your hair density and the width of your straightener. Fine hair may require slightly different section sizes from thick, coarse or tightly curled textures. As a general guide, choose sections thin enough for the plates to grip comfortably without overcrowding them.
Although smaller sections might appear more time-consuming, they can reduce unnecessary repetition. Each movement becomes more controlled, and you're less likely to discover uneven patches after finishing.
A couple of inexpensive sectioning clips can make this technique considerably easier. Sometimes, the secret to better styling lies in organising the hair rather than adjusting the appliance.
Also Read: Explore 5 Multi Tasking Hair Tools Making At Home Styling More Interesting
4. Choose The Right Temperature For Your Hair Type And Condition
Turning the straightener to its highest temperature might seem like an effective way to tame stubborn hair. However, excessive heat can compromise the hair's structure, especially when strands are already fragile, coloured or chemically treated.
Different hair types respond differently to heat. Fine, damaged or bleached hair generally needs lower temperatures, while some thicker or more resistant textures may require carefully adjusted settings.
If your straightener offers temperature control, begin at the lower end of its recommended range. Test a small section and assess the result before making adjustments. Increase the setting only when necessary, rather than automatically selecting maximum heat.
A temperature that works perfectly for your friend might not suit your hair. Density, porosity, previous chemical treatments and existing damage all influence how strands respond.
Also, remember that higher heat doesn't guarantee longer-lasting smoothness. Humidity, styling technique and hair preparation can affect the finished hairstyle just as much.
Choose a straightener with reliable temperature regulation and avoid holding the plates stationary against your hair. Consistent, controlled heat is preferable to aggressive styling that leaves strands looking smooth temporarily but feeling increasingly rough over time.

How To Get Smoother Results From A Hair Straightener Without Repeated Passes
Photo Credit: Pexels
5. Comb Each Section Before Passing The Straightener Through
Even carefully washed and conditioned hair can develop small tangles while drying. These knots interrupt the straightener's movement and prevent individual strands from lying neatly together. As a result, the finished section may look uneven despite several passes.
Combing each section immediately before straightening helps organise the strands and create a more uniform surface. Start near the ends and gently work upwards to remove tangles without excessive pulling.
For better control, try the comb-chase technique. This involves placing a suitable fine-toothed, heat-resistant comb just ahead of the straightener and moving both tools down the section together.
The comb aligns the strands while the plates follow behind, helping the straightener work across a more orderly section. Maintain a safe distance between the comb, hot plates and your fingers throughout the movement.
This technique requires some practice, particularly around the back of the head. Begin with an accessible section and keep your movements slow enough to remain controlled.
Avoid using excessive tension or repeatedly tugging at fragile strands. The goal involves guiding hair smoothly, not stretching it aggressively.
Once you develop a comfortable rhythm, the comb-chase technique can help produce a neater result without relying on repeated straightening.
6. Move The Straightener At A Consistent Speed Without Stopping
Straightening technique matters just as much as temperature. Moving too quickly can leave sections insufficiently styled, encouraging another pass. Moving too slowly, however, exposes the strands to concentrated heat for longer than necessary.
The solution involves finding a controlled, continuous movement that suits your hair type and appliance.
Place the straightener near the roots without touching your scalp. Close the plates gently and glide towards the ends using steady pressure. Avoid stopping midway, especially when the plates remain closed around the hair.
You shouldn't need to squeeze the handles aggressively. Excessive pressure can increase friction and pulling without necessarily improving the final result.
Pay attention to how your hair responds during the first pass. A smooth, consistent glide should leave the section more aligned without creating visible creases.
If you notice snagging, resistance or uneven movement, examine the section size, plate condition and hair preparation before trying again.
You may also find it helpful to practise on the lower layers, where small imperfections are less noticeable.
Not every texture will become completely straight after one pass, particularly at lower temperatures. The aim is to achieve the desired finish efficiently while avoiding unnecessary exposure to heat.
7. Use Gentle Tension To Keep Hair Aligned While Straightening
Hair straightening becomes more effective when the strands remain neatly aligned throughout the process. Without enough control, individual hairs can twist, fold or slip away from the plates. This often creates uneven results that encourage repeated styling.
Gentle tension helps keep the section organised while allowing the straightener to glide smoothly.
Hold the ends of a section lightly or use a suitable brush or comb to guide the hair. Maintain enough tension to keep the strands straight without pulling them tightly against the scalp.
This method can prove particularly useful for thick or naturally wavy hair, where sections may spring back or twist during styling.
However, excessive tension creates its own problems. Pulling too firmly can stress the roots, increase breakage and make the process uncomfortable.
Also, consider the direction of your movements. Keeping the straightener aligned with the natural fall of the hair can help create a smoother finish.
For face-framing layers, gently guide the straightener away from the face if that suits your preferred hairstyle.
The objective isn't to force the strands into position. Instead, support their movement so the heat and plates can work consistently.
8. Keep The Straightener Plates Clean And Check Their Condition
A straightener can lose its smooth glide long before it stops heating properly. Over time, residue from heat protectants, serums and styling sprays may accumulate on the plates. This build-up can create uneven contact and increased friction.
If your straightener suddenly starts dragging through sections that previously styled easily, inspect the plates before blaming your hair.
Always switch off the appliance, unplug it and allow it to cool completely before cleaning. Follow the manufacturer's guidance, as different plate materials and coatings require different care.
For many appliances, a soft, slightly damp cloth can remove light residue. Avoid abrasive scrubbers, harsh cleaning chemicals or excessive water, which may damage the surface or electrical components.
Examine the plates for scratches, chipped coatings, rough edges or gaps when closed. Damaged plates can catch individual strands and make consistent styling difficult.
The condition of the power cord and temperature controls also matters. Stop using an appliance that shows signs of electrical damage or unpredictable heating.
Regular maintenance won't transform an unsuitable straightener into a professional styling tool. However, keeping the plates clean and intact supports smoother movement and more dependable results.
9. Control Frizz With Lightweight Finishing Products Instead Of More Heat
Sometimes, hair looks smooth immediately after straightening but develops flyaways within minutes. The automatic response often involves switching the appliance back on and running it over the same sections again.
Unfortunately, repeated heat doesn't always solve the underlying problem. Humidity, static, dryness and individual hair texture can all influence how frizz appears after styling.
Instead of immediately repeating the straightening process, consider using a small amount of lightweight finishing serum or an appropriate anti-humidity product.
Warm a tiny quantity between your palms and distribute it gently through the mid-lengths and ends. Avoid applying too much near the roots, where excess product can make hair look greasy.
If your hair is fine, choose a formula that doesn't weigh it down. Thicker textures may respond better to richer products, although moderation remains important.
A clean finishing brush can also help settle loose strands without introducing additional heat.
On humid days, remember that moisture in the air can affect the temporary bonds responsible for maintaining a straightened hairstyle. Products may improve resistance to humidity, but they cannot guarantee perfectly straight hair throughout the day.
A few natural flyaways rarely justify another round of heat exposure.
10. Build A Haircare Routine That Makes Straightening Easier Over Time
A smoother styling session often begins several days before you switch on the straightener. Hair that feels excessively dry, tangled or brittle can become harder to manage, regardless of how carefully you use heated tools.
Regular cleansing and conditioning help maintain the hair's surface and improve manageability. Choose products according to your scalp condition, hair texture and styling habits rather than following every new beauty trend.
After shampooing, apply conditioner mainly through the lengths and ends, unless the product instructions recommend otherwise. Detangle gently with an appropriate comb to minimise pulling.
If your hair frequently feels rough, consider a conditioning mask suited to its needs. However, avoid assuming that every product labelled 'repairing' can reverse structural damage. Some formulas improve softness and appearance without restoring damaged fibres.
Regular trims can remove visibly split ends, preventing them from making the hairstyle look untidy. They don't accelerate hair growth, but they can improve the overall finish.
Protecting your hair between styling sessions matters too. Loose hairstyles, gentle detangling and reduced friction during sleep may help preserve smoothness.
Finally, give your hair occasional breaks from heated styling. The fewer unnecessary heat exposures your strands experience, the better your chances of maintaining their condition over time.

How To Get Smoother Results From A Hair Straightener Without Repeated Passes
Photo Credit: Pexels
Products Related To This Article
1. Philips India's No.1 Hair Styling Brand
2. VEGA PROFESSIONAL Pro-Shine Titanium Hair Straightener
3. Havells HS4101 Ceramic Plates Fast Heat up Hair Straightener
4. Remington S 8540 Hair Straightener
5. WINSTON Hair Straightener with Titanium Ceramic Plates
6. Philips India's No.1 Hair Styling Brand
7. Ikonic Me Simply Straight Hair Straightener For Women
Achieving smoother hair with a straightener doesn't have to involve endless passes or maximum heat. Proper drying, smaller sections, controlled temperatures and consistent movements can make everyday styling easier and more efficient. Clean plates, suitable products and regular conditioning also contribute to a neater finish. Most importantly, understand how your hair responds rather than forcing it to behave like someone else's. A little patience and the right technique can deliver smoother-looking results while reducing unnecessary heat exposure. After all, a good hair day should feel effortless, not like an exhausting battle between your straightener and your strands. Shop now on Amazon
(Disclaimer: This article may include references to or features of products and services made available through affiliate marketing campaigns. NDTV Convergence Limited (“NDTV”) strives to maintain editorial independence while participating in such campaigns. NDTV does not assume responsibility for the performance or claims of any featured products or services.)