10 Reasons Lipstick Bleeds Outside The Lip Line And How To Keep The Edges Sharp
Lipstick bleeding beyond the lip line can ruin a polished look. Discover 10 common causes, from creamy formulas to humidity, plus simple ways to prevent feathering and keep lipstick edges sharp, neat and defined.
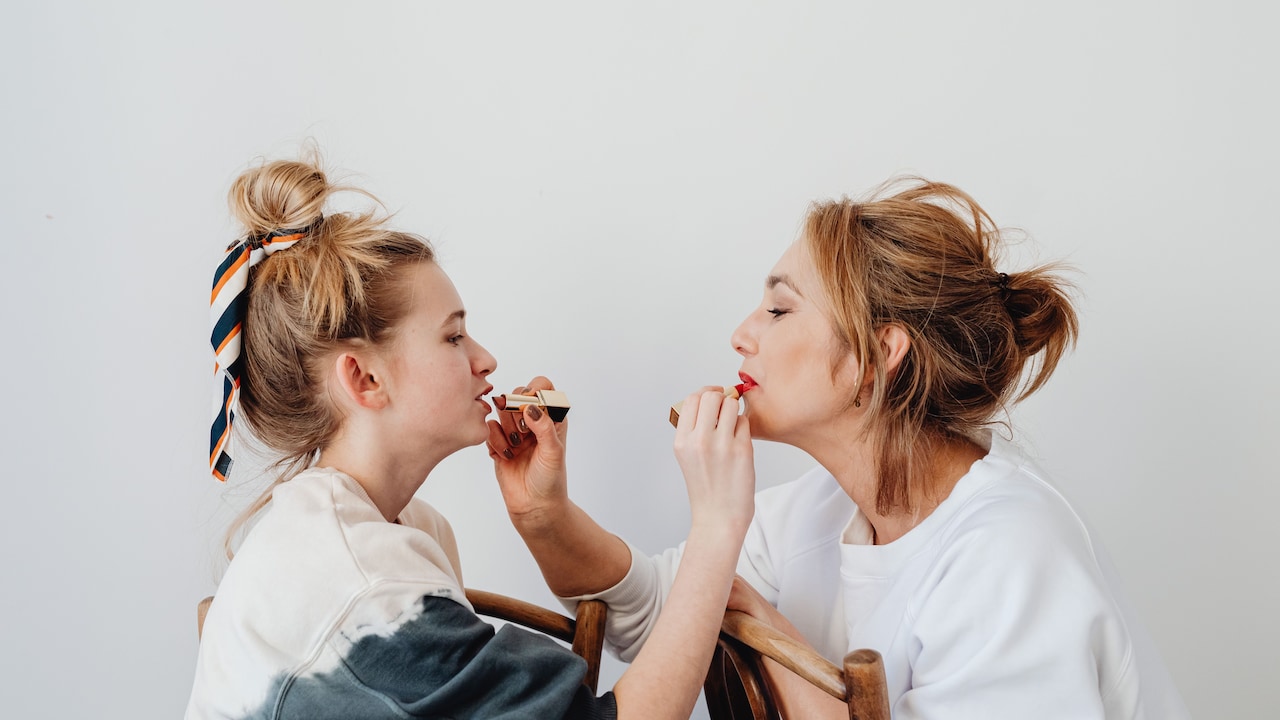
Expert tips to stop your lipstick from feathering
There is something deeply satisfying about a clean lipstick edge. Whether the shade is a quiet rose for work, a cheerful coral for brunch or a dramatic red for a wedding evening, sharp borders make the colour look deliberate and polished. Then comes the tiny betrayal. A little pigment creeps into a fine line near the corner of the mouth. Another patch settles above the Cupid's bow. Before long, that carefully applied lipstick has developed a mind of its own. Lipstick bleeding, also called feathering, happens when colour travels beyond the natural lip boundary. It can occur with expensive formulas as easily as budget favourites. The problem often has less to do with price and more to do with texture, skin condition, application habits and the environment.

Here's why your lipstick sometimes bleed outside the lip line
Photo Credit: Pexels
Fortunately, feathering is not something lipstick lovers simply have to accept. Understanding what causes it makes prevention far easier. Here are ten common reasons lipstick bleeds outside the lip line, along with practical ways to keep those edges looking neat.
Also Read: Ditch Dry Lips: 5 Intensely Tinted Lip Balms That Hydrate And Deliver Rich Colour
Why Lipstick Bleeds And What Helps Prevent It
1. The Lipstick Formula Is Too Creamy
Creamy lipstick feels luxurious, glides on effortlessly and saves lips from that uncomfortable cardboard-dry sensation. Unfortunately, all that slip can also encourage colour to travel.
Formulas packed with oils, emollients and glossy ingredients tend to remain mobile after application. On a hot commute, during a long lunch or under bright event lighting, that movement can become even more noticeable. Deep reds, berries and browns often reveal feathering faster because even a tiny smudge creates visible contrast against the skin.
There is no need to abandon creamy lipstick altogether. The trick is to give it a firmer base. Apply a thin layer rather than swiping the bullet back and forth several times. Blot gently with tissue, then add another light coat only where needed.
A matching lip liner also creates a useful boundary. For very slippery formulas, colouring the entire lip with liner before applying lipstick can improve grip without sacrificing comfort.
Think of creamy lipstick like butter on warm toast: delightful, but much better behaved when it has something sturdy underneath.
2. Lip Balm Has Been Applied Too Generously
Lip balm before lipstick sounds sensible, especially when lips feel dry. The trouble starts when a generous layer sits on the surface just as colour goes on.
Heavy balm creates a slippery film between the lips and lipstick. Instead of gripping the skin, pigment floats over the moisturising layer and can gradually migrate towards the edges. Add a cup of chai, a conversation-filled lunch or an afternoon in humid weather, and that crisp outline may start looking suspiciously hazy.
Moisture still matters, so skipping lip care completely is not the answer. Apply balm while getting ready, ideally several minutes before lipstick. Let it soften the lips properly, then press away the excess with a tissue.
The lips should feel smooth, not shiny, before colour goes on.
For very dry lips, choose a lightweight balm rather than a thick ointment immediately before makeup. Overnight treatments can handle the heavier moisturising work.
This tiny timing adjustment makes a surprising difference. Lip balm should prepare the canvas, not turn it into a water slide for lipstick.
3. Dry, Flaky Lips Create Uneven Edges
Dryness does not always cause lipstick to slide, but it can make the edges look messy enough to resemble bleeding.
When the lip surface becomes flaky, lipstick catches on raised patches and skips over others. The outline loses definition, particularly around the Cupid's bow and corners of the mouth. Trying to correct the unevenness by piling on more colour often makes matters worse.
Gentle preparation helps. A soft, damp washcloth can loosen flaky skin without aggressive scrubbing. Follow with a nourishing balm and give it time to absorb before applying makeup.
Avoid picking at dry skin, tempting though it may be. That can create tiny cuts and rough patches that make lipstick application even trickier.
Regular hydration also matters. Lips exposed to air-conditioning, strong sun and long hours outdoors may need more consistent care than expected.
Once the surface feels smooth, use short, controlled lipstick strokes rather than dragging the bullet across the mouth.
Sharp lipstick begins before the lipstick itself. A smooth canvas gives colour fewer bumps, cracks and edges to misbehave around.
4. Skipping Lip Liner Removes A Useful Barrier
Lip liner sometimes gets treated as an optional extra reserved for elaborate makeup. In reality, it can be one of the simplest ways to stop lipstick from feathering.
A liner creates a slightly drier, firmer boundary around the lips. That boundary gives creamy or satin lipstick less opportunity to escape into surrounding fine lines.
Choose a shade close to the lipstick for a seamless finish. A nude liner that closely matches the natural lip tone also works well across several colours. Trace the natural lip shape using short strokes rather than attempting one dramatic continuous line. This makes the result easier to control and usually looks softer.
For lipstick that frequently bleeds, fill in the entire lip with liner after defining the outline. The extra layer improves staying power and helps colour fade more evenly.
Clear lip liners can also work when matching every lipstick shade sounds exhausting.
There is one caution: forcing liner far outside the natural border can make feathering more obvious, not less.
The aim is not to redraw the mouth completely. It is simply to build a neat little fence and encourage the lipstick to stay on its side.
5. Fine Lines Around The Mouth Encourage Feathering
Fine lines around the mouth are completely normal, but they can provide tiny pathways for lipstick to travel through.
Liquid and creamy pigments are especially good at finding these channels. A bold red can turn one barely noticeable line into a miniature red tributary by lunchtime.
Preparation around the lips can help. Keep the surrounding skin moisturised, but avoid leaving rich skincare products sitting directly against the lip border before makeup. Allow moisturiser and sunscreen to settle properly first.
A small amount of makeup primer around the mouth may also create a smoother surface. Some people find that a thin layer of concealer near the outer lip line helps sharpen the boundary, although too much can look dry or cakey.
Lip liner becomes particularly useful here because it creates resistance before the lipstick reaches those fine lines.
After finishing the lips, inspect the edges in natural light if possible. A small angled brush with concealer can tidy any uneven areas.
The goal is not to hide normal skin texture. It is simply to stop lipstick from treating every little line like an invitation to explore.
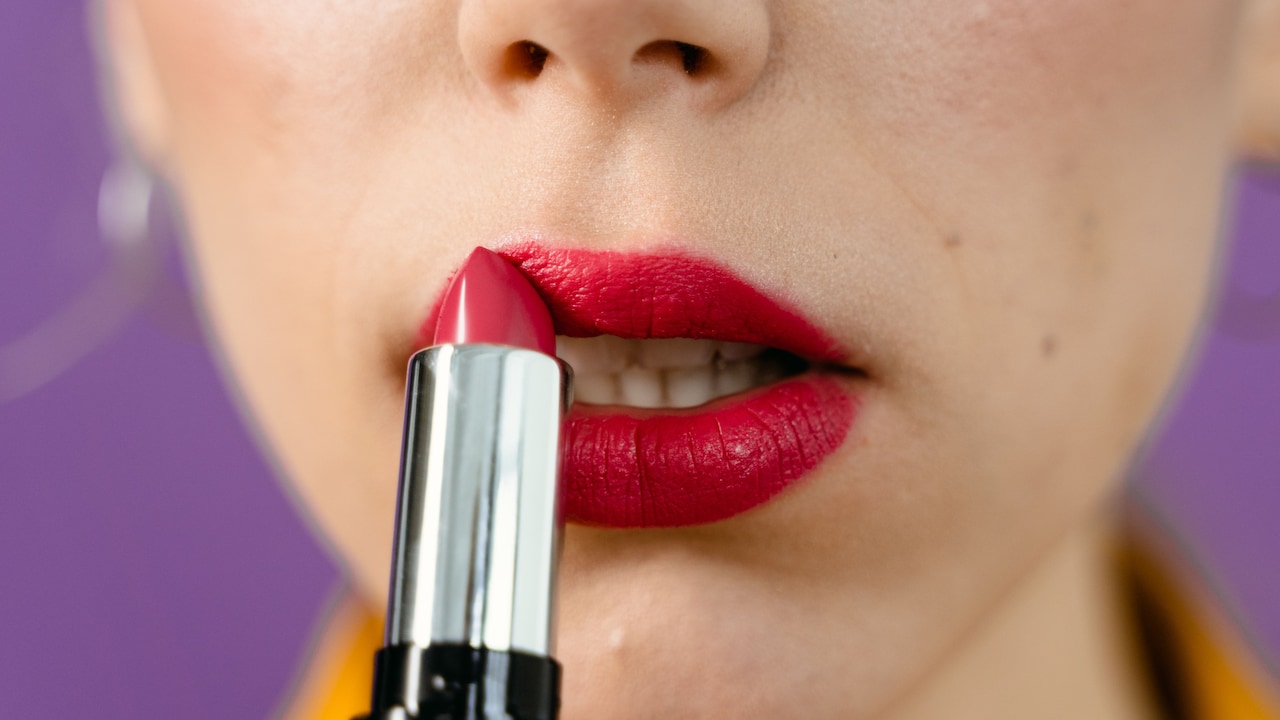
Fine lines around the mouth can also cause lipstick feathering; Photo Credit: Pexels
6. Humidity And Heat Make Lipstick More Mobile
A lipstick that behaves beautifully in an air-conditioned room may become surprisingly adventurous the moment the temperature rises.
Heat softens waxes and oils in many lipstick formulas. Humidity can also make the skin feel slightly more slippery, particularly when skincare, sunscreen and perspiration join the mix. Suddenly, that neat lip colour applied at 9 am looks rather more relaxed by lunchtime.
During warmer months or outdoor occasions, layering becomes useful. Start with a light lip liner, apply a thin coat of lipstick and blot. A second light layer usually lasts better than one thick coat.
Long-wearing satin or soft-matte formulas may also suit humid days better than very glossy options.
Keep the skin around the mouth free from excess product. Heavy foundation or creamy concealer near the lip border can mix with lipstick and encourage movement.
For weddings, festive gatherings or long outdoor events, carrying the lipstick and liner makes touch-ups easier. A pocket mirror can become surprisingly heroic after several hours of snacks and conversations.
Warm weather may be wonderful for mangoes and evening walks. Lipstick, however, often prefers a little more discipline.
7. Too Much Lipstick Has Been Layered On
When lipstick fades quickly, the instinctive solution is often to apply more. Then perhaps another swipe for good measure. Unfortunately, thicker does not always mean longer-lasting.
Several heavy layers create excess product that sits on the lips rather than bonding with them. As the lips move, that surplus colour shifts towards the edges, gathers at the corners or transfers onto surrounding skin.
A thinner application generally behaves better. Start with one controlled coat and press the lips lightly against a tissue. Apply another small amount only if the colour needs more intensity.
A lip brush can help with highly pigmented or dark shades because it distributes colour in finer layers. It also gives better control around the edges than a broad lipstick bullet.
The same principle applies to liquid lipstick. Flooding the applicator with product can leave a thick rim that takes longer to set and becomes more vulnerable to smudging.
Lipstick should look rich, not overloaded.
Much like adding masala to a dish, more is not automatically better. Balance usually delivers the cleaner, more satisfying result.
8. The Skin Around The Lips Is Too Oily
Even beautifully applied lipstick can struggle when the skin around the mouth becomes oily.
Natural facial oils, rich moisturisers, sunscreen and dewy foundation can collect near the lip border throughout the day. Once lipstick comes into contact with that slippery surface, pigment may spread beyond its original line.
Before applying lip colour, check the area immediately around the mouth. If it feels slick, blot gently with tissue rather than adding another layer of powder straight away.
A small amount of translucent setting powder around, not directly on, the lips can reduce excess shine. Use a light hand. Too much powder may emphasise texture and make the area appear dry.
Those who prefer luminous makeup do not need to turn the entire face matte. Simply keep the few millimetres around the lip border slightly less dewy.
It also helps to let skincare settle before starting makeup. Sunscreen in particular deserves a few minutes before foundation and lipstick follow.
That tiny clean zone around the mouth acts almost like a buffer. The lipstick gets less oil to mingle with, and the edges remain far more predictable.
9. Eating And Drinking Break Down The Lip Line
Lipstick has several natural enemies, and an oily meal ranks impressively high on the list.
Butter, ghee, gravies and oily snacks can dissolve or loosen the waxes and pigments in many lip products. Colour often disappears first from the centre of the lips, but it can also smear towards the edges while eating.
Drinking from cups, bottles or glasses adds friction, while repeated wiping with tissues can blur the outline further.
Before meals, blot excess lipstick gently. After eating, resist the urge to swipe a fresh coat straight over whatever remains. First clean any smudged areas around the lip line. Then reapply liner where necessary and add a thin layer of lipstick.
Long-wearing formulas can reduce the amount of maintenance, although even transfer-resistant products have limits when oil enters the picture.
At functions with several courses, keeping a lipstick in a small handbag can save the day. One quick touch-up after dinner often looks far better than repeatedly layering colour between bites.
No lipstick needs to survive paneer tikka, biryani and dessert untouched to prove its worth. Strategic repair works perfectly well.
10. Rushed Application Makes The Edges Less Precise
Sometimes the lipstick is innocent. The morning rush is the real culprit.
Applying a strong colour in a moving cab, under dim bedroom lighting or two minutes before leaving home increases the chance of uneven edges. A tiny mistake near the border may not look dramatic at first, but creamy colour can gradually spread from that spot.
Slow down around the outline, even if the rest of the application happens quickly. Start at the Cupid's bow and work towards the corners using short strokes. Turn the lipstick bullet sideways for more control, or use a brush for dark shades.
After application, relax the mouth and inspect it instead of stretching the lips into an exaggerated smile. Stretching can hide little gaps or smudges that appear once the face returns to its natural position.
Keep cotton buds or a small flat brush nearby for corrections. Clean edges immediately rather than trying to camouflage mistakes with additional lipstick.
A polished lip does not require ten minutes of concentration. Even thirty careful seconds around the perimeter can prevent hours of wondering when that berry lipstick decided to visit the chin.
Products Related To This Article
1. Mamaearth Creamy Matte Long Stay Lipstick With Murumuru Butter - Rose Nude
2. Pilgrim Matte Bullet Intense Colour Transferproof Smudgeproof Lipstick- Forbidden Pink 13
3. MARS Matte Muse Lightweight Mousse Lipstick 3ml
4. ETUDE Dear Darling Water Tint 9g - Red Grapefruit Ade 4
5. Lakme Forever Matte Long Lasting Lipstick With French Rose Oil Ext 4.5g
6. Maybelline New York Super Stay Matte Ink Liquid Lipstick 5 ml - Voyager 50
7. SUGAR Smudge Me Not Mini Liquid Matte Lipstick with Vitamin E 1.1ml
Lipstick bleeding can feel annoyingly random, but it usually has a clear cause. Slippery formulas, excess balm, dry texture, oily skin, humid weather and hurried application can all push pigment beyond its intended boundary.
The most reliable fix is rarely one complicated technique. Smooth the lips, remove excess moisture, define the border, apply colour in thin layers and give the formula a stable surface to cling to. Small habits often deliver sharper results than buying yet another supposedly miracle lipstick.
Most importantly, choose techniques that suit the occasion. A casual coffee run may need nothing more than lipstick and a quick blot, while a long celebration might justify liner, careful layering and a touch-up tucked into the handbag.
Perfectly untouched lipstick from morning until midnight is not a realistic standard. Crisp edges, comfortable colour and easy maintenance are far more useful goals.
When the preparation is right, lipstick stops wandering and gets back to its actual job: adding colour, confidence and a little everyday drama exactly where it belongs.
(Disclaimer: This article may include references to or features of products and services made available through affiliate marketing campaigns. NDTV Convergence Limited (“NDTV”) strives to maintain editorial independence while participating in such campaigns. NDTV does not assume responsibility for the performance or claims of any featured products or services.)