How To Reduce Video Doorbell Blind Spots: 10 Checks For Mounting Height, Angle And Motion Zones
Reduce video doorbell blind spots with 10 practical checks for mounting height, camera angle and motion zones to improve visitor visibility, motion detection and doorstep coverage.
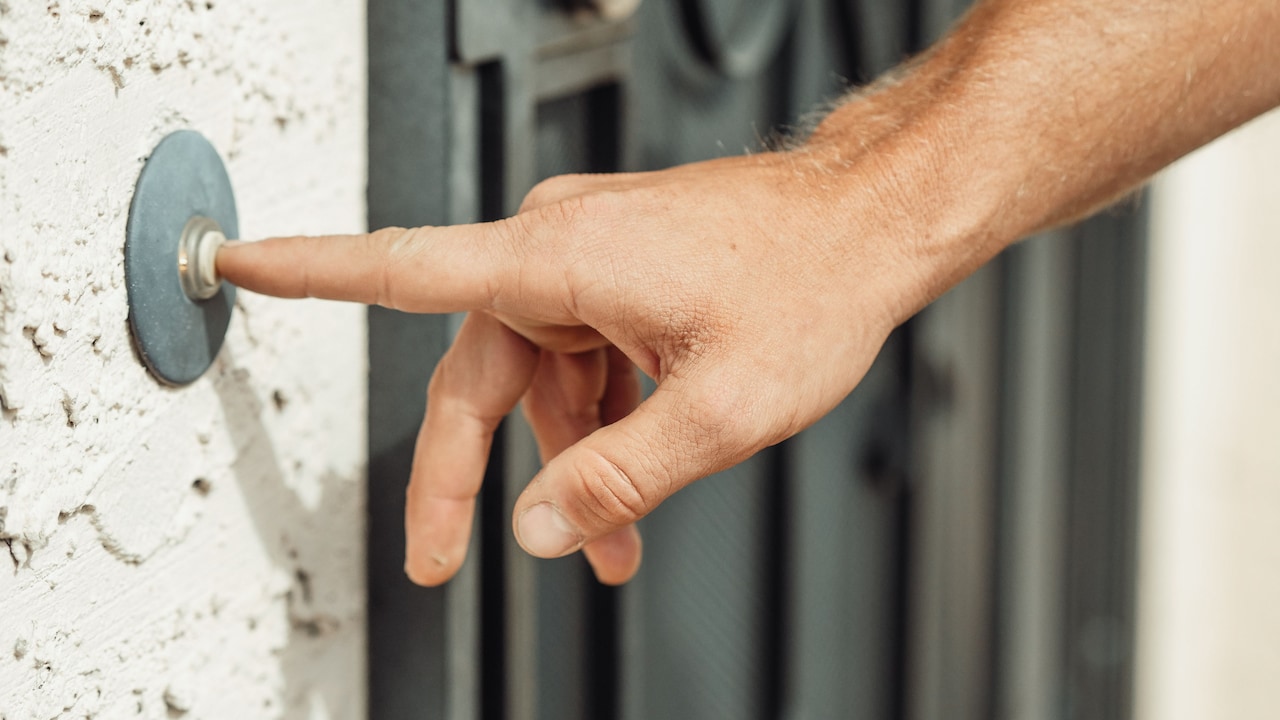
Easy ways to prevent video doorbell blind spots
Installing a video doorbell often feels wonderfully simple. Fix it beside the entrance, connect the app and wait for the first notification. Then reality arrives. The delivery person appears as half a shoulder. A visitor stands too close to the door and vanishes from view. Meanwhile, the camera sends five alerts because a scooter passed on the road. The problem is rarely that the doorbell has suddenly forgotten how cameras work. More often, its position and motion settings do not suit the entrance. Every doorway has its quirks. Some open directly onto a narrow corridor. Others sit behind grills, pillars, flower pots or deep porches. Apartment doors can face another wall only a few feet away, while independent homes may need coverage stretching towards a gate.
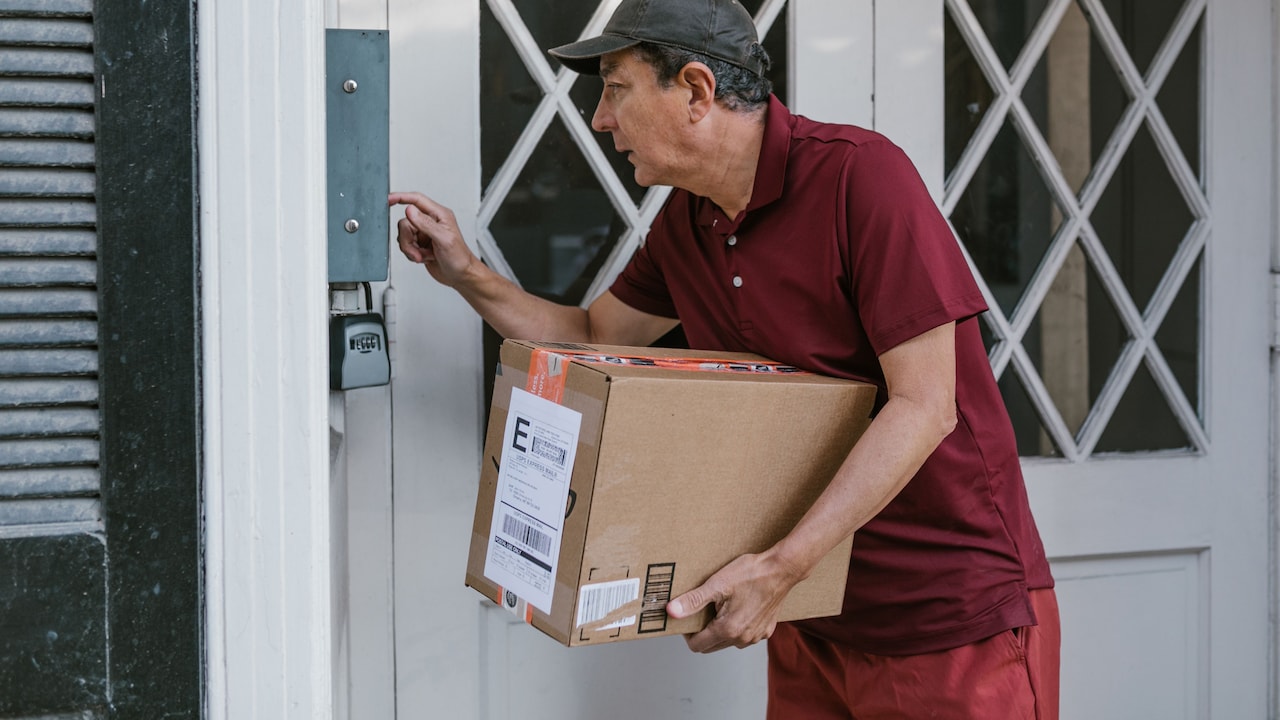
Professional tips to fix blind spots in video doorbells
Photo Credit: Pexels
Reducing blind spots, therefore, takes more than following one recommended installation height. It involves looking at the entrance as a complete space. These ten checks can make that job much easier.
Also Read: Smart Door Locks With Remote Access And Convenient For Everyday Living
10 Essential Checks To Minimise Video Doorbell Blind Spots
1. Check The Mounting Height Before Drilling
Mounting height decides far more than whether the doorbell looks neat beside the nameplate. Put the camera too high, and the frame may contain plenty of foreheads but very few faces. Install it too low, and the floor, footwear and wandering pets suddenly become the stars of the security footage.
Many video doorbells work well when installed roughly at chest height, although the ideal position varies with the camera's field of view and the shape of the entrance. The important part is testing before making permanent holes.
Temporarily hold the doorbell where it is likely to sit and open the live view on the phone. Ask someone to approach the entrance naturally. Check the image when that person is several metres away, standing at the doorstep and reaching towards the bell.
Pay special attention to children and shorter visitors. A position that perfectly captures a six-foot neighbour may show little more than the hair of a school-going child. Five minutes of testing can save a wall full of abandoned drill holes later.
2. Look For The Blind Spot Directly Below The Camera
Video doorbells usually advertise impressively wide viewing angles, but wide does not mean unlimited. The area directly beneath the unit can still disappear from view, particularly when the camera faces mostly forwards rather than downwards.
That matters more than it sounds. Parcels often land close to the threshold. Someone standing unusually near the door may also slip partly outside the frame. In apartment corridors, where visitors have little space to step backwards, this blind spot becomes especially noticeable.
Open the live feed and place an everyday object, such as a small delivery box, at several positions near the doorstep. Move it gradually towards the door until it vanishes from the picture. That invisible patch marks the practical limit of coverage.
If the missing area is substantial, a slight downward tilt may improve matters. Some doorbells support angled mounting plates or wedges for exactly this reason.
The aim is not to stare dramatically at the doormat all day. It is to balance facial coverage with enough doorstep visibility to understand what is happening immediately outside.
3. Test The Side-To-Side Viewing Angle
Front doors rarely offer a perfectly straight approach. Visitors may arrive from a staircase, lift lobby, side passage, gate or parking area. A doorbell pointed proudly straight ahead can therefore miss the very direction from which people usually appear.
Stand at the entrance and notice the normal walking path. If most people approach from the right, the camera should not devote half its view to an empty wall on the left.
This is where an angled mounting wedge can be surprisingly useful. A small adjustment may shift the useful part of the frame towards the path without relocating the entire unit.
Test several positions using the live view before settling on one. Have someone walk towards the door from every realistic direction rather than marching obediently through the centre of the frame. People rarely approach security cameras as though auditioning for them.
Also watch what happens when the door itself opens. A wide door, security gate or grill could block part of the camera's view at certain angles.
The best position follows actual movement around the entrance, not architectural symmetry.
4. Check Whether Walls And Pillars Steal The Frame
A beautiful wide-angle lens becomes much less impressive when a quarter of its picture contains nothing but a beige wall.
Recessed entrances are common, and they can create awkward camera geometry. A doorbell fitted too close to an adjoining wall may capture a large strip of masonry while leaving the opposite side poorly covered. Pillars, decorative panels and deep door frames can cause the same problem.
Look at the live feed and judge how much of the picture provides genuinely useful information. A visible wall is not automatically bad. It can help establish the doorway's position. But if it dominates the image, the camera's viewing angle is being wasted.
Moving the doorbell even a few centimetres, where installation permits, can improve the scene. An angled wedge may achieve a similar effect when relocation is impractical.
At night, nearby surfaces deserve extra attention. Infrared illumination can reflect from walls or glossy paint and make part of the picture look washed out.
A security camera does not need an artistic composition, but every chunk of wasted frame potentially hides something more useful.
5. Check For Grills, Gates And Opening Doors
A metal security gate can protect an entrance while simultaneously making a video doorbell's job rather complicated.
Grills and gates may cut across the camera's field of view, especially when the doorbell sits behind them. During daylight, the obstruction might look merely annoying. At night, nearby metal can reflect infrared light and create glare, bright patches or distracting patterns.
First, check the camera view with every entrance barrier in its normal position. Then repeat the test while opening the gate and main door. Something that seems clear when everything is closed may become blocked as soon as a visitor arrives.
Avoid placing the doorbell where an opening door can completely cover the lens. The same applies to decorative hangings, torans, door signs and seasonal decorations. A cheerful decoration is less charming when it spends Diwali swinging repeatedly through the camera's motion zone.
Where possible, position the camera so that permanent barriers remain towards the outer edge of the frame rather than directly in front of the lens.
Security devices should work together. They should not accidentally spend their days obstructing one another.
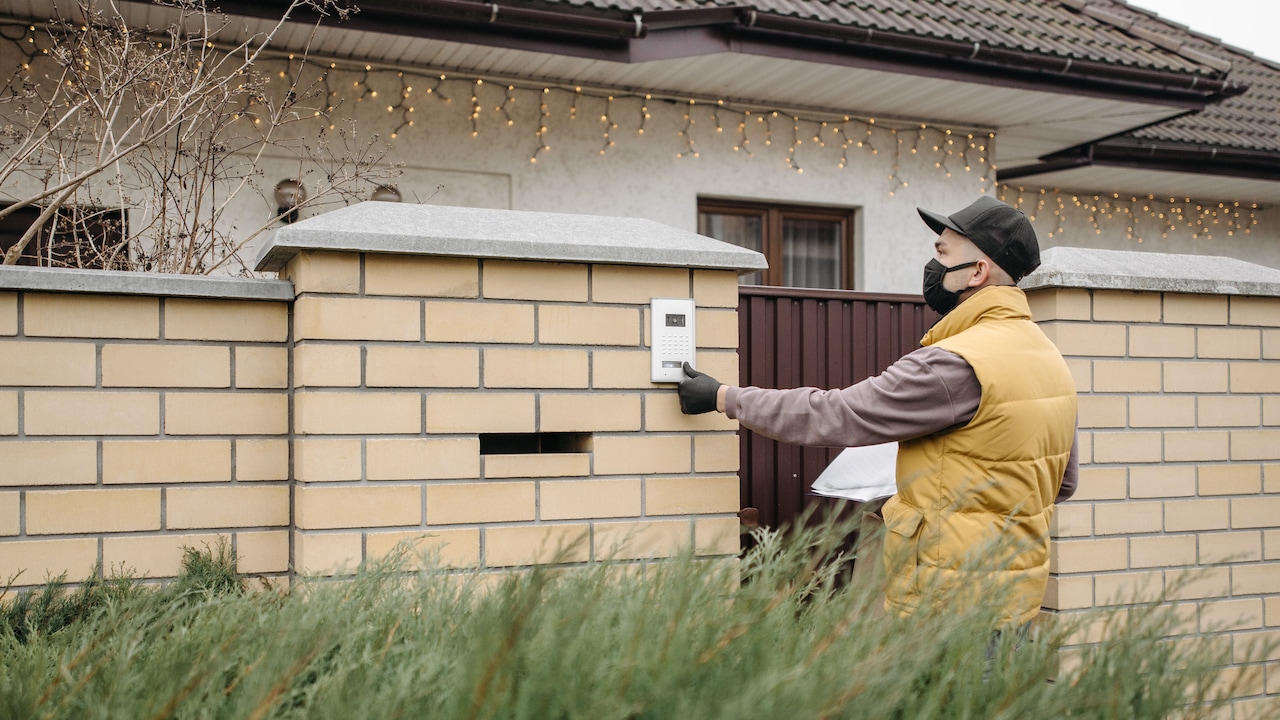
Avoid placing the doorbell where an opening door can completely cover the lens; Photo Credit: Pexels
6. Walk Through The Motion Detection Zones
Seeing a visitor is only half the job. The doorbell also needs to notice that the visitor has arrived.
Motion zones tell compatible video doorbells which parts of the image deserve attention. Poorly configured zones can create two opposite problems. Make them too narrow, and genuine visitors may reach the doorstep before recording begins. Make them too broad and every passing vehicle, pedestrian or fluttering branch can generate an alert.
Open the motion-zone settings and compare them carefully with the live camera view. The active area should cover the natural approach towards the entrance, not simply the doorstep itself.
Then perform a practical walk test. Approach from the lift, staircase, gate or corridor while carrying the phone. Note when the notification arrives. Ideally, the camera should react early enough to capture the person's approach rather than starting with a close-up of their shirt.
Sensitivity matters too. More sensitivity is not automatically better.
Think of motion zones as a digital tripwire. Place them where meaningful activity begins, while excluding busy public areas that add noise without improving security.
7. Remove Roads, Trees And Busy Corridors From Motion Zones
A video doorbell that alerts constantly soon becomes remarkably easy to ignore.
The usual culprits sit around the edges of the property: a busy road, swaying plants, neighbouring doors, a common staircase or vehicles entering a parking area. If these areas remain inside the active motion zone, the phone may buzz so often that genuinely useful alerts disappear into the crowd.
Review recorded events over a few days and look for patterns. If ten notifications come from traffic and only one involves someone approaching the entrance, the detection area needs refining.
Where the app allows custom zones, trim away sections containing predictable background movement. Do not remove so much that a person can approach unnoticed, though. The goal is selective coverage rather than tunnel vision.
Plants deserve particular suspicion. One innocent-looking branch can spend a windy afternoon impersonating an unusually persistent burglar.
Apartment corridors need careful tuning as well. Rather than monitoring the entire passage, focus detection closer to the doorway and the usual approach.
A quieter notification feed is not merely convenient. It makes important events easier to recognise quickly.
8. Test The Camera In Daylight And At Night
A mounting position can look excellent at 2 pm and become almost useless after sunset.
Daylight tests reveal framing, shadows and strong backlighting. Night tests expose a different set of problems, including infrared reflections, dark corners and bright lights that overwhelm parts of the image.
Check the live view after dark with the porch light both on and off. If the camera has infrared night vision, inspect nearby walls, grills and glossy surfaces for reflections. A pale wall sitting close to the lens can bounce light back into the camera, reducing detail elsewhere.
Also consider strong lighting behind a visitor. A bright corridor light or street lamp in the background may leave the person's face looking much darker than expected.
If repositioning is difficult, changing the angle by a few degrees can sometimes improve the balance. Adjusting nearby lighting may help too.
Do not judge the installation from one sunny afternoon preview. Doorbells work around the clock, and the conditions outside a front door can change dramatically between lunch and midnight.
The useful view is the one that survives both.
9. Check Objects That Can Create Temporary Blind Spots
Permanent walls are easy to notice. Temporary obstacles are sneakier.
A shoe rack moves. An umbrella gets opened beside the door. A large parcel sits against the wall. Festival decorations appear. A new plant suddenly develops ambitions of becoming a tree. Each can interfere with either the lens or motion detection.
Stand near the entrance and look for objects that could realistically shift into the camera's field of view. Pay particular attention to hanging decorations and plants, since wind can move them repeatedly across motion zones.
Delivery packages deserve another test. Place boxes of different sizes where couriers normally leave them. A tall package should not completely hide the lower half of the entrance or create such a large obstruction that subsequent activity becomes difficult to interpret.
Doorbell placement also needs to account for everyday behaviour. If family members regularly park a bicycle or scooter near the entrance, include it in the test rather than assuming the area will remain clear.
A camera installation should suit the home as people actually use it.
Real entrances are rarely as tidy as product photographs.
10. Run A Full Visitor Test Before Calling The Job Finished
The final check is wonderfully low-tech: pretend to be a visitor.
Start from the point where someone normally enters the camera's wider surroundings. Walk towards the door at an ordinary pace. Pause to check the house number. Stand near the bell. Bend down as though placing a parcel. Move slightly to either side. Then leave.
Repeat the exercise during daylight and after dark. If possible, ask people of different heights to try it too.
Watch the recordings rather than relying only on the live feed. Check whether motion detection begins early enough, whether faces remain visible and whether anybody disappears into a blind spot near the threshold.
Also, notice notification timing. A beautifully framed recording is less useful if the alert arrives after the person has already walked away.
This final test often reveals small problems that installation guides cannot predict because every entrance behaves differently.
Treat the setup like a miniature security rehearsal. A few awkward walks up and down the corridor may earn curious looks from the neighbours, but that is cheaper than discovering a blind spot during an incident.
Products Related To This Article
1. Delitech Smart Wireless Video Doorbell Plus
2. Qubo Smart WiFi Video Doorbell from Hero Group
3. HIKVISION Analog Video Intercom System
4. Qubo Smart Door Lock Essential (Black) with Video Call Doorbell Connect
5. UN1QUE Wireless Door Bell for Home - Small Calling Bell for Office
6. Godrej SeeThru NeX Lux 10" Video Door Phone
7. TP-Link Tapo D230S1 2K 5Mp/1920p Smart Wireless Security Video Doorbell
Reducing video doorbell blind spots does not require turning the entrance into a surveillance command centre. Small adjustments usually make the biggest difference.
Start with mounting height, then examine what the camera can actually see above, below and to either side. Pay attention to walls, pillars, grills and doors. Fine-tune motion zones around genuine approach routes rather than every moving object in sight. Finally, test the setup in real conditions, including darkness, deliveries and normal visitor behaviour.
The strongest setup is rarely the one that captures the widest possible scene. It is the one that reliably captures the useful scene.
A well-positioned doorbell should show who is approaching, what happens at the doorstep and when someone leaves, without sending a dramatic notification every time a leaf twitches. That balance turns a video doorbell from an expensive electronic peephole into a genuinely helpful part of everyday home security.
(Disclaimer: This article may include references to or features of products and services made available through affiliate marketing campaigns. NDTV Convergence Limited (“NDTV”) strives to maintain editorial independence while participating in such campaigns. NDTV does not assume responsibility for the performance or claims of any featured products or services.)