How To Get A Salon-Style Blowout At Home For Festive Days
Want a perfect blowout at home for the festive season? Discover easy tips, tools, and techniques to get that salon-fresh finish without leaving your house.
How To Get A Salon-Style Blowout At Home For Festive Days
Your best hair looks are for party days, and your hair plays a big part in that. A blowout can entirely change the look and feel of your hair, giving it that full, bouncy, salon-fresh finish that seems so hard to get at home. If you've ever gone to Amazon to look for the right tools and still didn't know where to begin, you are not alone. The good news is that achieving the perfect blowout at home is way more achievable than you think. All you need is the right prep, some good tools, and a simple routine to follow.
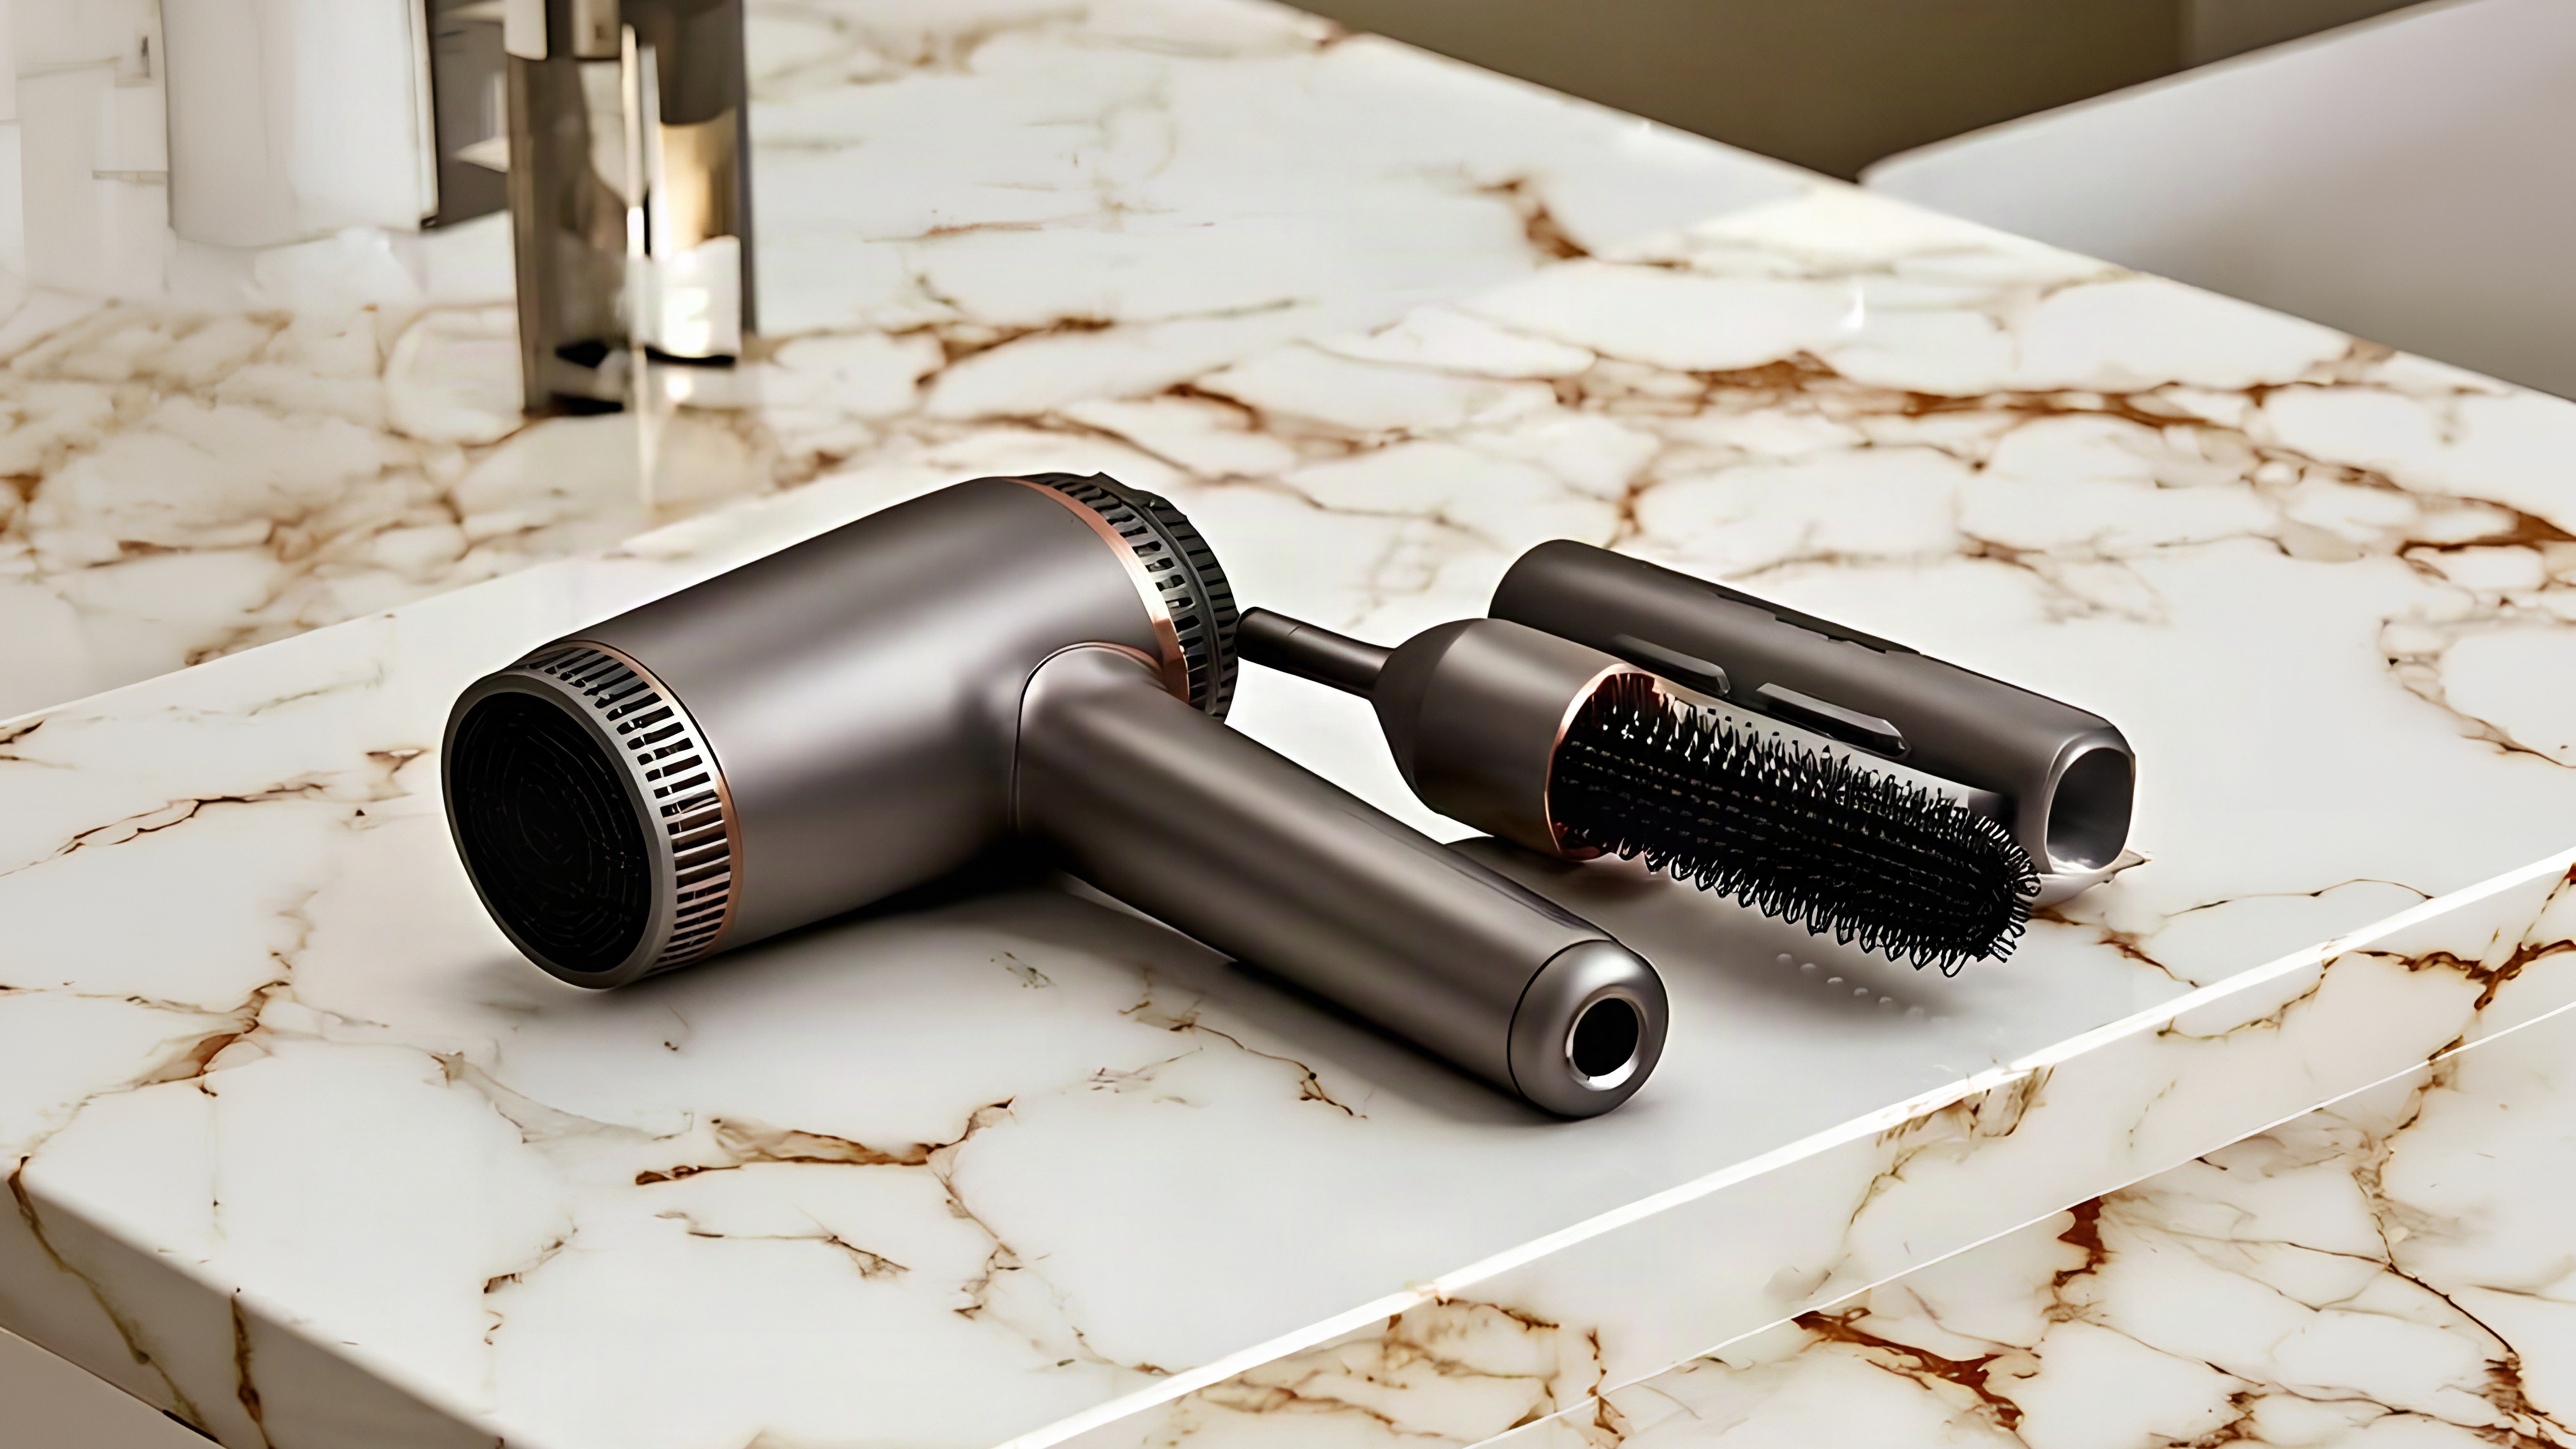
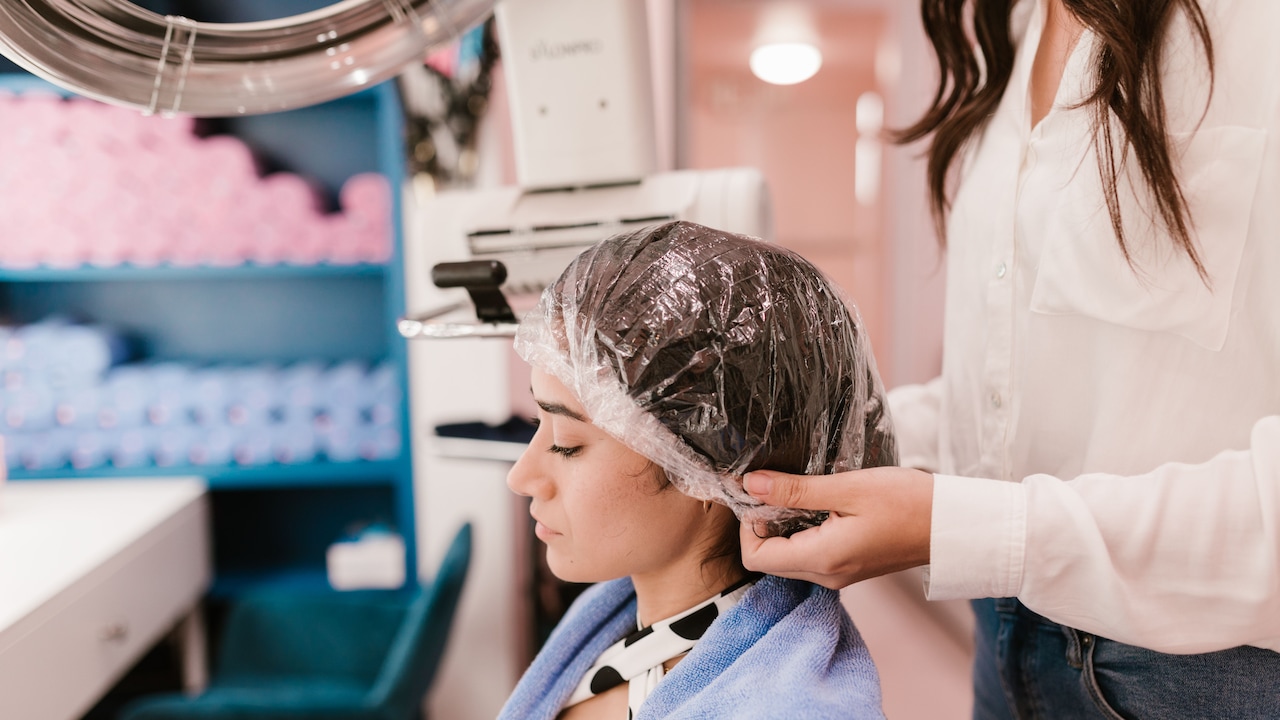
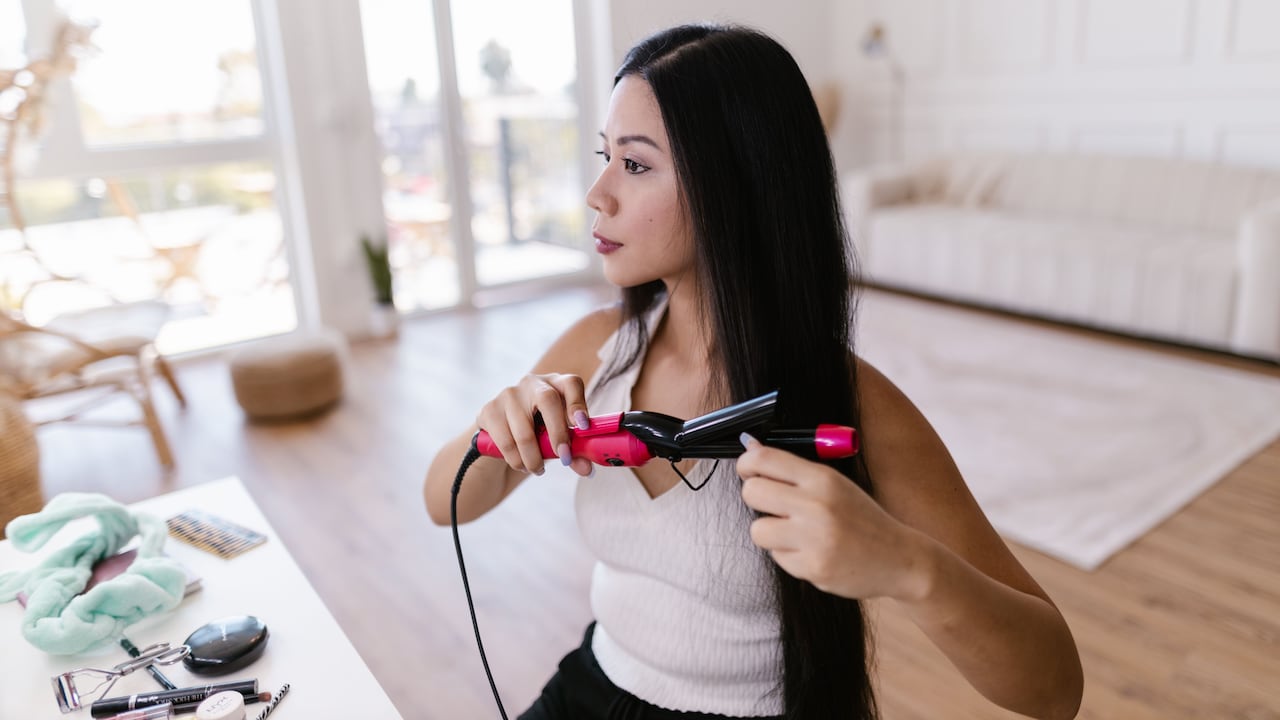
Getting Your Hair Ready Before the Blowout; Photo Credit: iStock
The secret honestly comes down to technique as much as it does to products. Once you understand the basics, a blowout stops feeling like a complicated task reserved for professionals. A few simple steps, the right tools, and a bit of practice are honestly all you need to get that full, glossy, bouncy hair finish ready for any festive occasion.
Also Read: Best Haircare Products Under ₹1,000 That Help You Get Shiny, Bouncy, and Manageable Hair
Getting Your Hair Ready Before The Blowout
1. Start With A Good Wash
The foundation of any great blowout is clean, freshly washed hair. Use a lightweight, volumising shampoo and follow it up with a conditioner applied mainly to the mid-lengths and ends. Heavy conditioners on the roots tend to weigh the hair down, which works against the lift you are trying to build. Once you rinse, gently squeeze out the water rather than rubbing the hair with a towel.
2. Apply Heat Protection Before Anything Else
This step gets skipped far too often, and it genuinely matters. A good heat protectant spray or serum shields the hair from the direct heat of a dryer and helps the blowout last longer. Work it through damp hair evenly before you start sectioning, and try not to overload the roots with product.
3. Rough Dry To Around 80%
Trying to blow out hair that is completely soaking wet takes ages and can lead to excess heat exposure. Rough dry your hair with a dryer on medium heat first, keeping the nozzle moving so you are not holding it in one place too long. Stop when the hair is mostly dry but still slightly damp. This is actually the ideal point to start your proper blowout.
Tools You Actually Need For A Home Blowout
1. The Right Hairdryer Makes A Real Difference
Not every hairdryer gives the same result. A dryer with an ionic function reduces frizz and helps the hair dry faster without stripping moisture. If yours has a concentrator nozzle attachment, use it. It directs airflow much more precisely, which is what gives you that smooth, controlled finish rather than a puffy, undefined one.
2. Choose The Right Brush For Your Hair Length
A round brush is the real key to a blowout. For shorter hair, a smaller barrel creates better movement and curl at the ends. Medium to long hair works better with a larger barrel that gives volume at the roots and a soft, sweeping bend through the lengths. Hold sections taut as you roll the brush through and follow closely with the dryer for the best result.
The Blowout Technique, Step By Step
1. Section The Hair Properly
Divide the hair into at least four sections, clipping the top ones up out of the way. Working in smaller sections gives you more control and a much smoother result. Start from the nape of the neck and work your way up. This approach lets the heat layer properly and means no section gets left damp underneath.
2. Direct The Airflow Downwards
One of the most common mistakes during a home blowout is pointing the dryer upwards or sideways. Keeping the nozzle aimed downwards along the hair shaft smooths the cuticle, which is what creates shine. It also cuts down on frizz noticeably. Roll the brush under at the ends if you want a soft curl, or roll it inward for a polished, bounced look.
2. Finish With A Cool Shot
Once each section is dry, switch to the cool setting on your dryer and pass it over the hair briefly. This sets the style by closing the hair cuticle and helps the blowout hold for longer. It is a small step, but it genuinely extends how long your style lasts, especially during a long festive evening.
Making The Blowout Last Longer
A blowout does not have to disappear by midday. Once your hair is fully styled, a light-hold finishing spray helps lock the shape without making it feel stiff. If you have fine hair, avoid heavy serums on top, as they can flatten things out quickly.
Sleeping with hair loosely pinned up in a bun can also help preserve the blowout overnight. And if you need a quick refresh the next morning, a little dry shampoo at the roots adds back that volume and keeps everything looking freshly done.
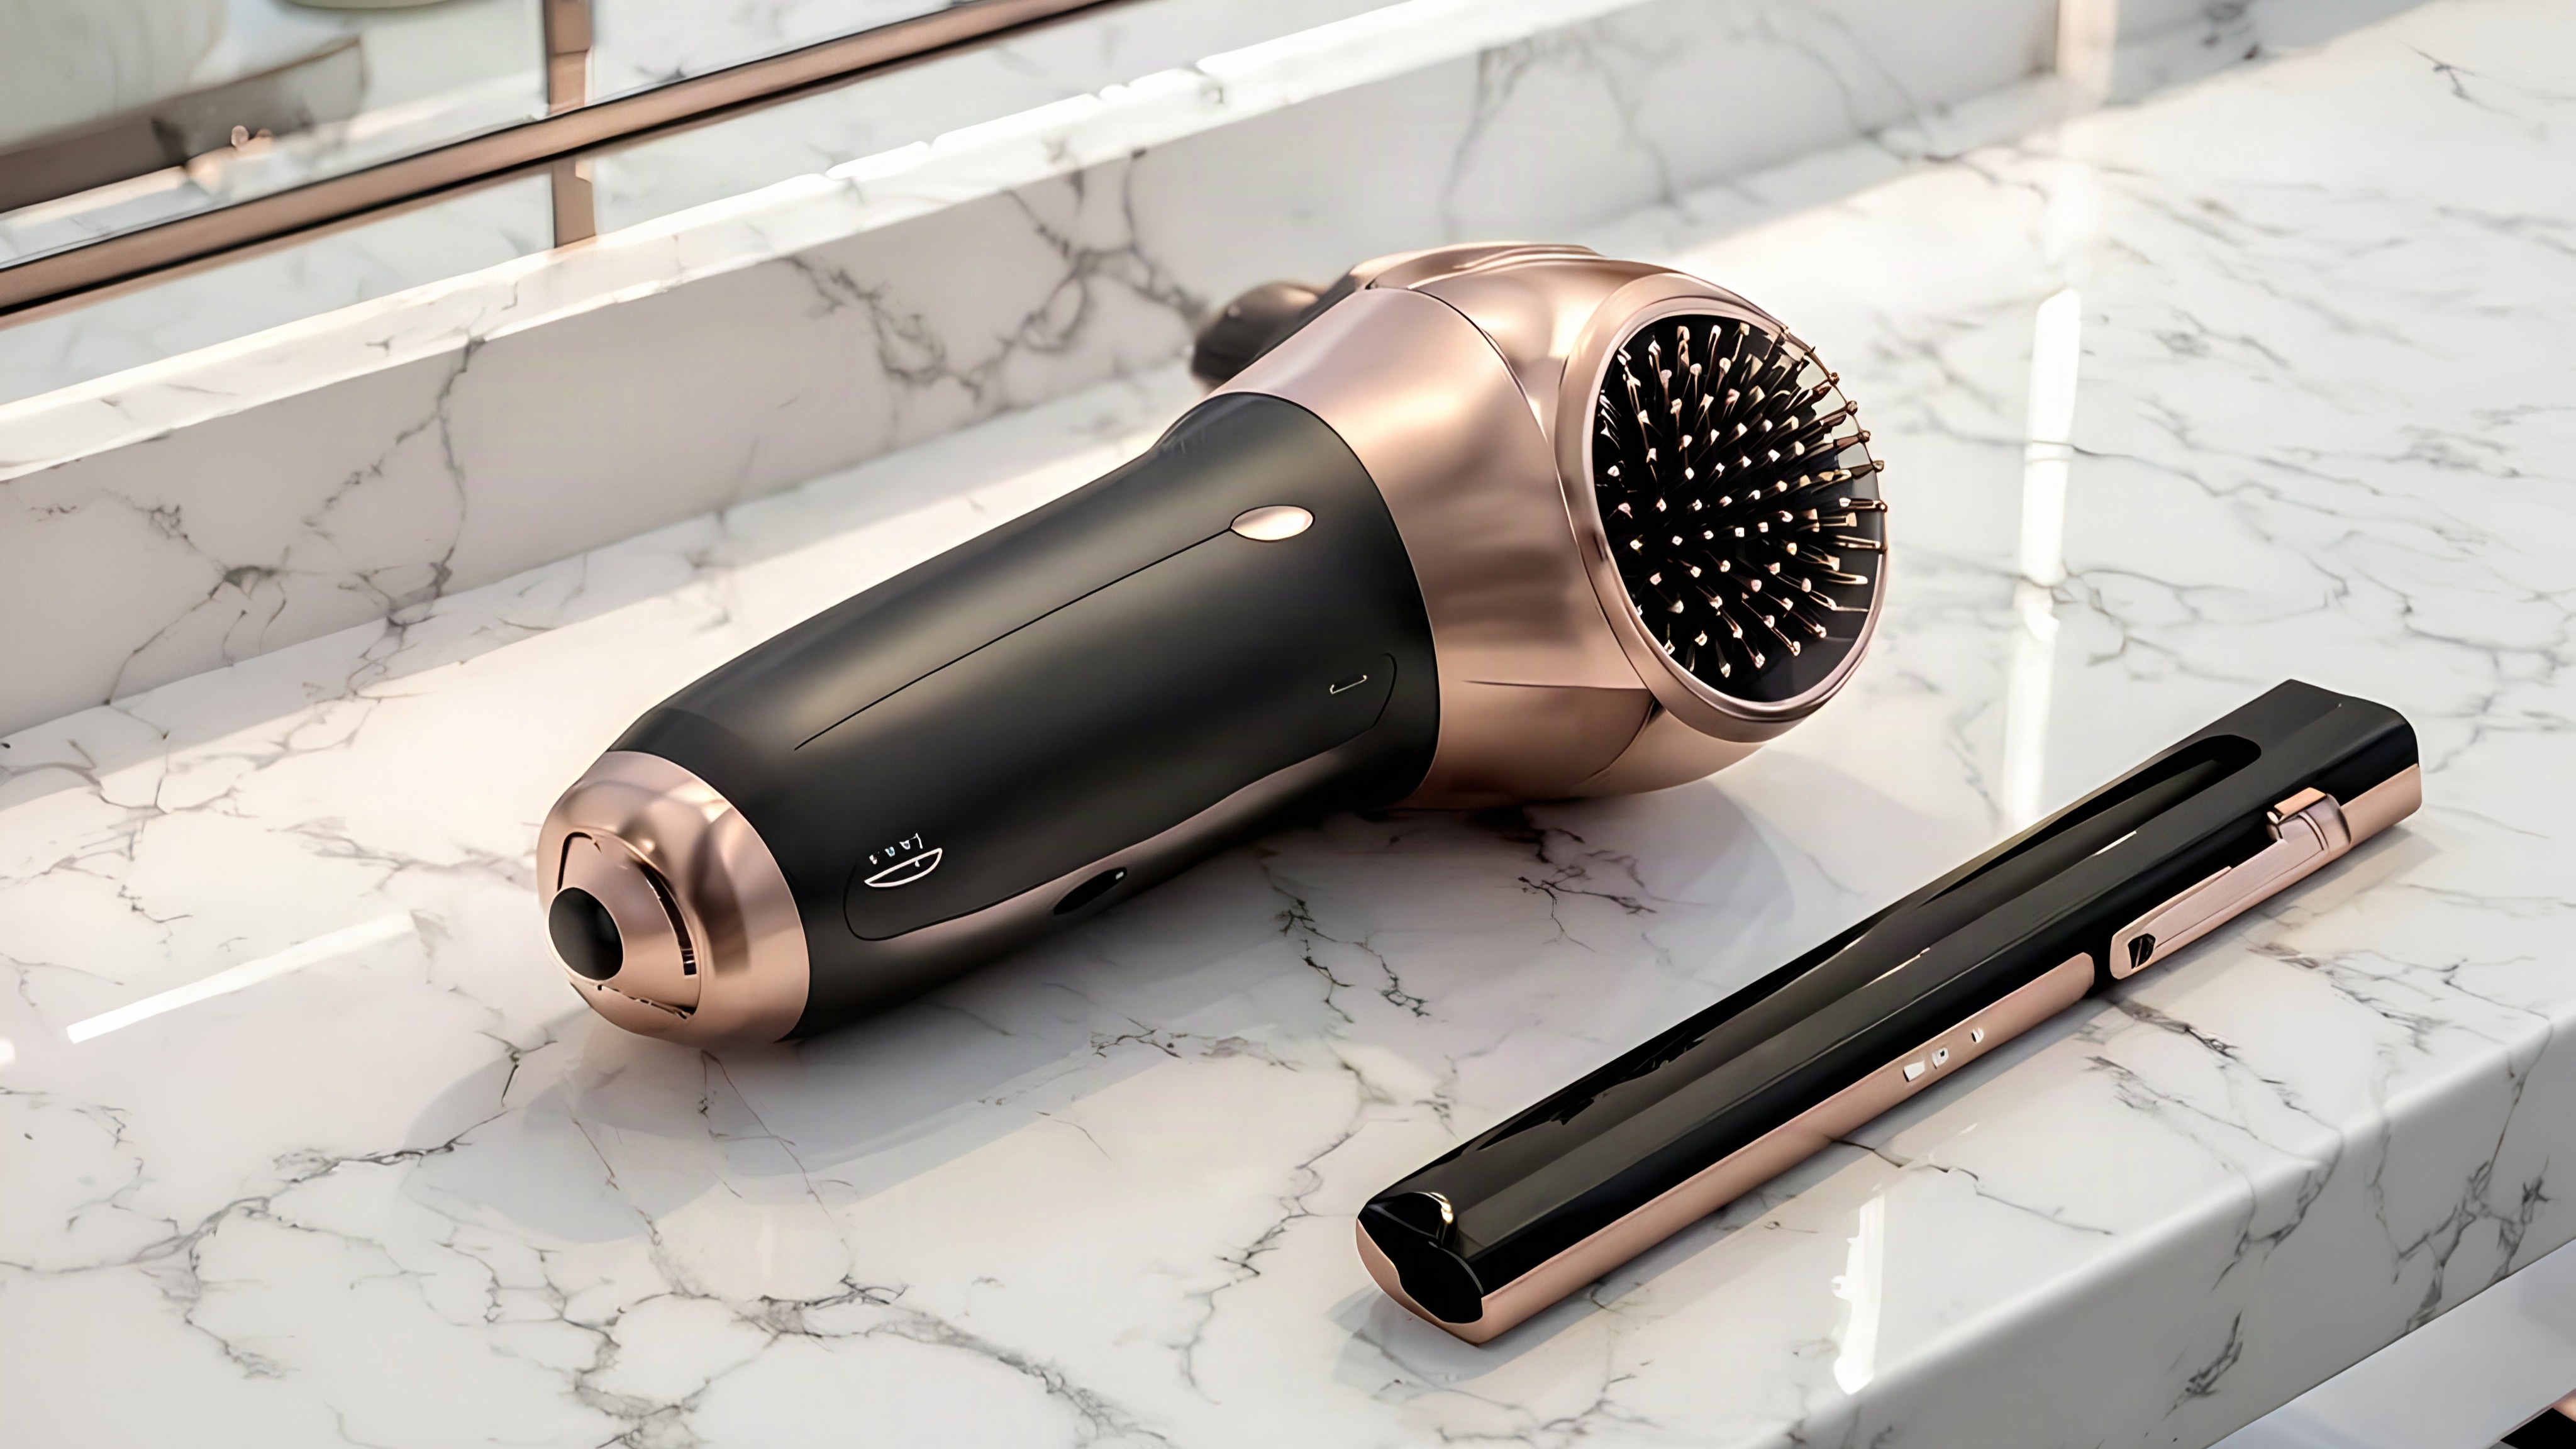
Some Products You May Like; Photo Credit: iStock
Some Products You May Like
1. Bombae Hairess Ionic 3-In-1 Hot Air Brush Dryer, Curl, Volumiser & Straightener
2. Havells HD3151 1200 W Foldable Hair Dryer
3. Urban Yog MakeMeeBold 3-in-1 Hot Air Brush
4. WINSTON 4 in 1 Hair Styling Blow Brush – Blow Dryer, Curling Iron & Volumising Brush
5. YOGIBAPA Hair Brush Dryer and Volumiser, Hot Air Brush
6. Vega Pro Volumiser Hair Blow-Dryer Brush
7. Ownair Hot Air Brush for Hair with Dryer
8. AGARO Hot Air Brush for Hair, Blow Dryer Brush, Volumiser & Styler
A salon‑style blowout at home blends technique with the right tools, delivering smooth volume and lasting shine. With careful sectioning, heat protection, and finishing touches, hair transforms into a festive statement. Mastering these steps ensures confidence, elegance, and effortless glamour for every celebration. Shop now on Amazon.
Frequently Asked Questions (FAQs)
1. How long does a home blowout usually last?
With the right products and finishing steps, a blowout can last between two and four days, depending on your hair type and how you sleep or style it in between.
2. Can I get a blowout on curly hair at home?
Yes, absolutely. Curly hair can be blown out straight or with soft volume using a round brush and a good heat protectant. It may take a bit more time, but the technique is the same.
3. Do I need a diffuser for a blowout?
Not for a traditional blowout. A concentrator nozzle is more useful here. Diffusers work better for enhancing natural curl rather than creating the smooth, voluminous blowout finish.
4. What if my hair gets frizzy mid-blowout?
This usually happens when hair is not dried evenly or the brush is moved too quickly. Slow down the process and make sure each section is properly dry before moving on to the next.
5. Is a blowout safe for colour-treated hair?
Yes, if you use a heat protectant first. Avoid putting stress on colour-treated strands by keeping the dryer on a medium heat setting instead of the highest setting.
(Disclaimer: This article may include references to or features of products and services made available through affiliate marketing campaigns. NDTV Convergence Limited (“NDTV”) strives to maintain editorial independence while participating in such campaigns. NDTV does not assume responsibility for the performance or claims of any featured products or services.)