Why Mixer Grinder Jars Leak And Which Parts Usually Need Attention
Mixer grinder jars often leak due to worn gaskets, loose blade assemblies, damaged washers or cracked lids. Spotting the faulty part early can prevent spills, protect the motor and reduce repair costs.

Why do some mixer grinder jars leak and how to prevent it
The mixer grinder sits at the heart of countless kitchens. It handles coconut chutney before breakfast, masala paste for lunch, tomato purée for dinner and the occasional milkshake when the weather refuses to behave. Because it works so often, even a minor fault quickly becomes irritating. Jar leakage ranks among the most common mixer grinder problems. At first, a few drops may appear beneath the jar. Later, the liquid may travel towards the motor unit, leaving sticky streaks and an unpleasant smell. Many households assume that the entire jar has reached the end of its life. In reality, one small component often causes the problem.
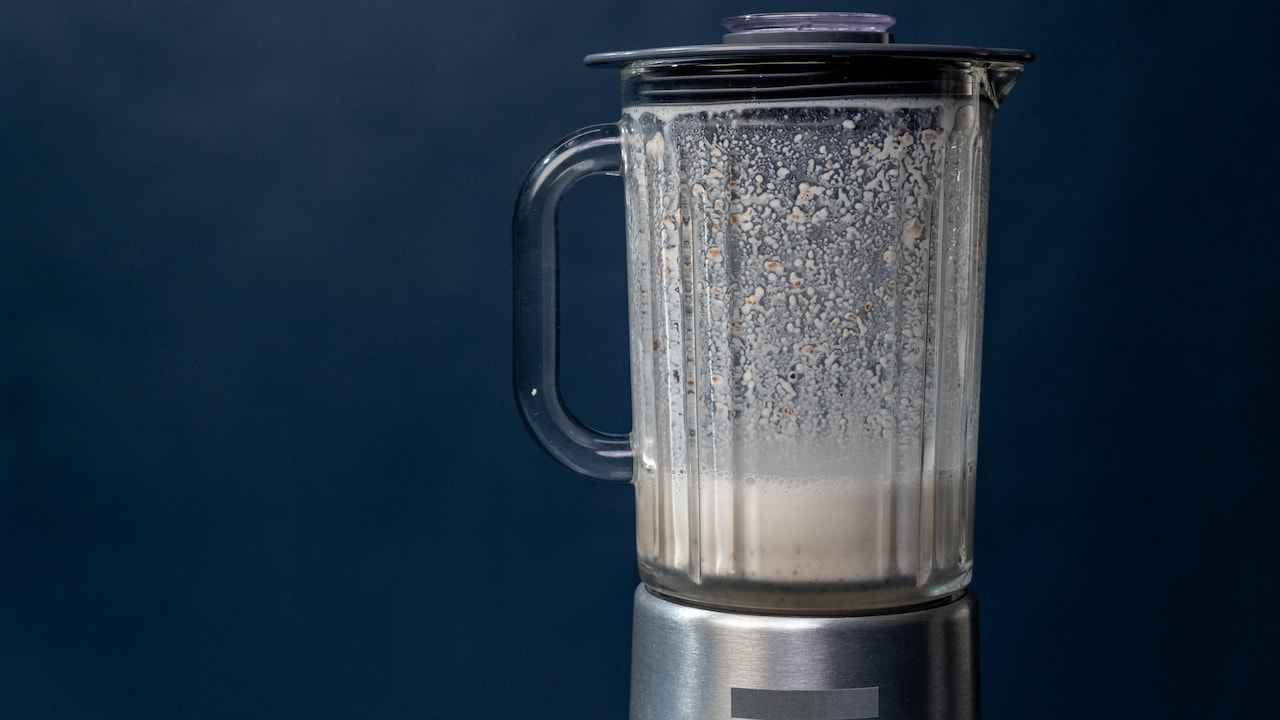
What causes leakage in mixer grinder jars
Photo Credit: Pexels
A mixer grinder jar contains several closely fitted parts. The lid, gasket, blade shaft, coupler, locking mechanism and jar base must all work together. Heat, pressure, rough handling and regular washing slowly affect these parts. Once a seal weakens or a fitting becomes loose, liquids find a way out.
Also Read: Best Mixer Grinders Under ₹7000 For Everyday Home Use
The following ten sections explain why mixer grinder jars leak, which parts deserve attention and how simple habits can prevent a messy kitchen surprise.
Common Causes Of Mixer Grinder Jar Leaks
1. A Worn Or Misaligned Lid Gasket
The lid gasket forms the first line of defence against leaks. This rubber or silicone ring sits around the lid and creates a tight seal when the jar closes. Over time, it can stretch, flatten, harden or develop tiny cuts. Even a small gap allows thin liquids such as buttermilk, tomato juice or watery chutney to escape.
Misalignment causes trouble too. After washing, the gasket may twist or sit unevenly inside its groove. The lid may appear properly closed, yet the seal remains incomplete. During grinding, pressure builds inside the jar and pushes liquid through the weakest point.
Remove the gasket and inspect it under good light. A healthy ring should feel flexible and return to shape after gentle stretching. If it looks brittle, loose or cracked, replace it. Most replacement gaskets cost only a modest amount in ₹, especially compared with the price of a new jar.
Regular cleaning also matters. Oil, spice residue and dried batter can collect beneath the gasket. This layer prevents a snug fit and creates lingering smells. Wash the ring separately, dry it fully and place it back carefully before the next use.
2. A Loose Blade Assembly
The blade assembly sits at the bottom of the jar and handles the toughest work. It crushes spices, grinds lentils and turns roasted peanuts into a smooth paste. Since the blade rotates at high speed, its fittings face constant vibration. Over time, the assembly may loosen and create a narrow passage for liquid.
Leakage from this area usually appears beneath the jar rather than around the lid. A few drops may collect near the coupler or spread across the motor base. Thick mixtures often hide the problem, while water or milk reveals it immediately.
The blade assembly includes the blades, shaft, washers, seals and locking nut. Tightening only the visible nut may not solve the issue because the internal seal could already have worn out. Excessive tightening can also damage threads or restrict blade movement.
A technician can remove the assembly safely and check whether the seal, washer or shaft needs replacement. This small repair often restores the jar completely. Continuing to use a leaking blade unit can damage the coupler and allow moisture to reach the motor. That turns a minor repair into a far more expensive problem.
3. A Damaged Rubber Washer Beneath The Blade
A small rubber washer beneath the blade assembly performs a surprisingly important job. It seals the gap between the blade shaft and the jar base. Because it remains hidden, many users overlook it until liquid begins dripping from underneath.
Heat, friction and strong cleaning products gradually weaken this washer. Grinding hot ingredients makes matters worse. Freshly roasted spices, boiled tomatoes or steaming dal can soften the rubber and reduce its ability to seal. The washer may eventually shrink, crack or lose its shape.
A damaged washer often creates slow leakage. The jar may look fine during grinding, but a small puddle appears after it sits on the counter. This delay can make the fault difficult to identify. Filling the jar halfway with plain water and placing it on a dry surface can help reveal the source.
Replacing the washer usually costs far less than purchasing a full blade assembly. However, the correct size and thickness matter. A poorly matched washer may leak again or make the blade wobble. Use a compatible spare from the manufacturer or a trusted repair shop. That tiny ring may look unimportant, but it works like a gatekeeper at the bottom of the jar.
4. Cracks In The Jar Body
Stainless-steel jars appear strong, but they can still develop cracks near welded joints, the base or the handle attachment. Polycarbonate and plastic jars may crack along the sides, especially after a fall or sudden temperature change. These cracks often begin as faint lines and grow with repeated use.
A jar may also leak only when it contains liquid. Dry grinding can hide the damage because powders do not travel through hairline openings easily. Water, coconut milk or thin batter quickly exposes the weakness.
Check the jar under bright light. Rotate it slowly and examine the area near the base. For transparent jars, look for cloudy stress marks or lines that widen when gentle pressure is applied. Avoid using adhesive as a long-term fix. Many common glues cannot tolerate heat, vibration or contact with food. They may also release unwanted chemicals.
A cracked jar body generally needs replacement. Continued use can worsen the split without warning. Imagine grinding hot rasam masala only to watch the jar surrender halfway through. It saves neither money nor peace of mind. Replacing the damaged jar protects the appliance and prevents injuries from sharp edges or sudden spills.
5. An Overfilled Jar
Sometimes the jar has no damaged parts at all. The problem lies in how much goes inside it. Every mixer grinder jar has a safe filling level. When ingredients cross that limit, the rotating blades push the mixture upwards and create extra pressure beneath the lid.
Foamy mixtures cause particular trouble. Lassi, milkshakes, whipped coffee and fermented batter expand during blending. A jar that looks comfortably filled at rest may overflow within seconds. Hot liquids also release steam, which raises internal pressure and forces liquid around the gasket.
Leave enough empty space at the top. For liquids, filling the jar to roughly half or two-thirds of its capacity usually offers better control. Grind large quantities in batches rather than treating the jar like an endlessly generous pressure cooker.
Start at a lower speed when possible. Sudden high-speed blending can throw liquid against the lid before the ingredients settle. Hold the lid gently with a folded kitchen cloth, but never press so hard that pressure cannot escape safely.
Overfilling may seem harmless, yet repeated spills can damage the lid gasket, stain the motor base and shorten the life of the coupler. A little patience often prevents a lot of wiping.
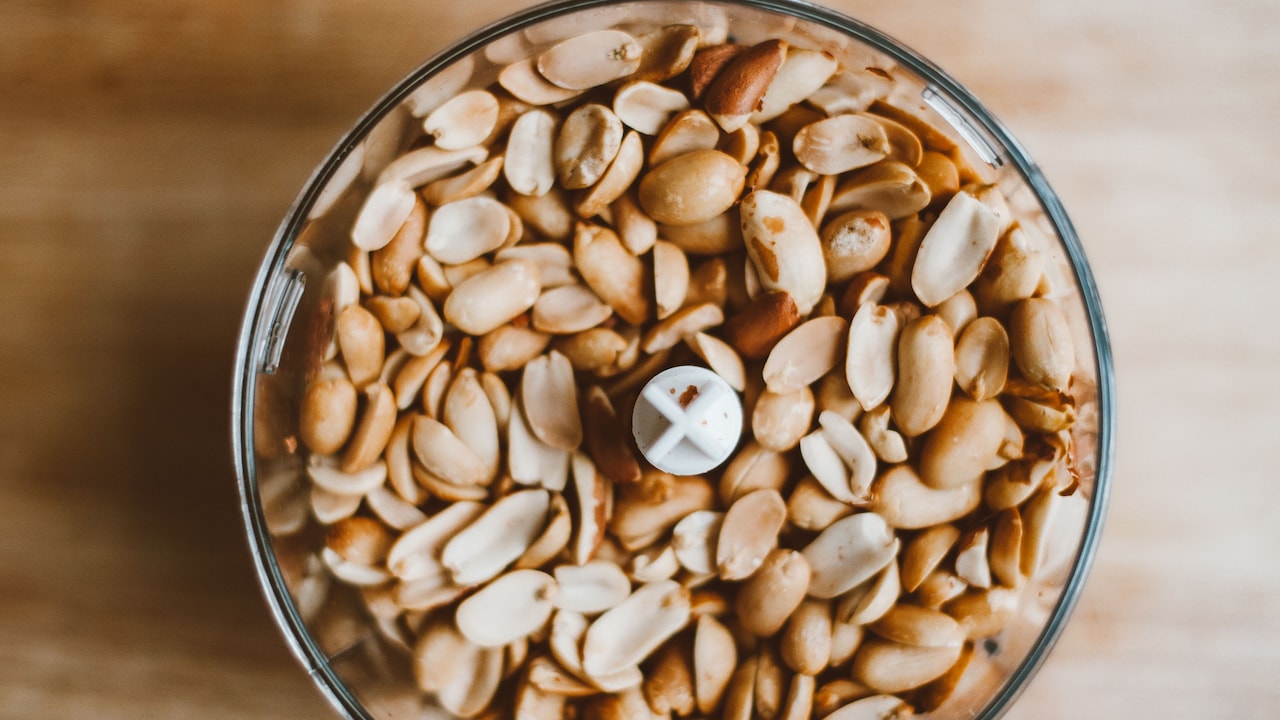
Overfilling the jar to the brim can also cause it to leak and create a mess
Photo Credit: Pexels
6. A Warped Or Cracked Lid
The lid must sit evenly across the mouth of the jar. Repeated exposure to heat, sunlight or rough handling can cause plastic lids to warp. A warped lid may fit tightly on one side and leave a slight gap on the other. Liquid then escapes during high-speed grinding.
Cracks often appear near the centre cap, locking tabs or outer rim. These areas face frequent pressure whenever the lid is pushed into place. Dropping the lid on a tiled floor can create damage that remains almost invisible until the next batch of chutney decorates the wall.
Place the lid on a flat surface and check whether it rocks. A stable lid should sit evenly. Inspect the rim for chips and run a finger carefully along the edge. Any unevenness can weaken the seal.
Replacing only the gasket may not help if the lid itself has changed shape. A new lid offers a better solution and usually costs much less than a new jar. Choose the correct model because similar-looking lids can have slightly different diameters.
Avoid pouring boiling ingredients directly into jars with plastic lids. Allow them to cool first. This simple habit protects the lid, the gasket and anyone standing close enough to receive an unexpected splash.
7. A Worn Blade Shaft Seal
The blade shaft passes through the base of the jar and connects the blades to the coupler. A shaft seal surrounds this moving part and prevents liquid from travelling downwards. Since the shaft spins thousands of times during each use, the seal faces continuous wear.
When the seal weakens, leakage may appear as dark, greasy moisture below the jar. The blade might also make a rough sound or feel stiff when turned by hand. In some cases, the shaft develops slight sideways movement. These signs suggest that the problem involves more than a loose fitting.
Ignoring a worn shaft seal can damage the bearing and coupler. Liquid mixed with food particles may enter the rotating parts, increase friction and produce heat. The jar may then smell burnt even though the motor remains healthy.
A trained repair technician should inspect the shaft, bearing and seal together. Replacing one worn component while leaving another damaged part in place may lead to another leak within weeks.
Never pour water over the underside of the jar during cleaning. Wipe it with a damp cloth instead. Keeping the shaft area dry reduces corrosion and helps the seal last longer.
8. A Loose Or Damaged Jar Base
Many mixer grinder jars have a detachable plastic base that supports the blade assembly and connects with the motor unit. Regular vibration, accidental drops and repeated twisting can loosen this section. Once the base shifts, the blade assembly may no longer sit tightly against the jar.
Look for movement between the steel body and the plastic base. A clicking sound, visible gap or slight wobble can indicate damage. Cracks around the screw points also deserve attention. These cracks spread quickly because the base absorbs the force created during grinding.
Some users try to solve the problem by twisting the base with maximum strength. This approach can strip the threads or crack the plastic further. Tighten it only as recommended. If the base continues to move, replace the damaged component.
A loose base can also affect balance. The jar may vibrate excessively on the appliance, making the mixer grinder sound like a scooter starting on a cold morning. Besides the noise, uneven rotation places stress on the coupler and motor shaft.
Inspect the base regularly, particularly after the jar falls. A quick check can prevent leakage, blade instability and costly damage to the main appliance.
9. A Worn Coupler Creating Excessive Vibration
The coupler is the small toothed component beneath the jar. It connects the blade shaft to the motor and transfers rotational force. Although the coupler does not directly seal liquid inside the jar, a damaged one can cause vibration that loosens other parts.
Worn teeth, cracks or poor alignment may make the jar shake during operation. This movement puts extra pressure on the blade assembly, washer and shaft seal. Over time, fittings that once sat tightly can begin to leak.
A damaged coupler often produces a rattling or grinding sound. The blades may rotate slowly, stop under load or move unevenly. Burning smells can also occur when the coupler slips against the motor drive.
Check both the jar coupler and the motor coupler. Replacing only one side may not solve the alignment problem. Compatible parts matter because even a slight mismatch can create further vibration.
Avoid running the mixer when the jar does not lock into place properly. Also, do not force a jammed blade by switching the appliance on repeatedly. Remove the jar, unplug the machine and clear the obstruction safely. Protecting the coupler helps every seal around the blade assembly remain secure.
10. Incorrect Cleaning And Storage Habits
Cleaning habits can either extend the life of a mixer grinder jar or quietly damage it. Soaking the entire jar for long periods allows water to enter the blade shaft, base and coupler area. Strong detergents may harden rubber seals, while metal scrubbers can scratch surfaces and damage edges.
Wash the inside soon after use. Add a little warm water and mild washing liquid, close the lid and run the mixer briefly at low speed. Rinse it thoroughly, then wipe the exterior. Clean the gasket separately and remove food trapped around the blade with a soft brush.
Drying matters just as much. Store the jar upside down only after excess water has drained, then allow air to circulate. Do not place the lid tightly on a damp jar. Trapped moisture encourages odour, mould and corrosion.
Avoid using knives or metal spoons to remove thick paste from around the blade. These tools can nick the gasket or disturb the blade assembly. A silicone spatula works better and saves every last spoonful of chutney without starting a wrestling match.
Careful cleaning may feel like a small routine, yet it protects the seals, shaft and base from early wear.
Products Related To This Article
1. Butterfly Smart 750 Watts Mixer Grinder with 4 Jars
2. Ninja Blast Portable Cordless Blender
3. Lifelong LLMG23 Power Pro 500-Watt Mixer Grinder with 3 Jars
4. Longway Super Pro Juicer Mixer Grinder
5. Philips HL7759/00 Mixer Grinder, 750 Watt Turbo Motor
6. Sujata MG02 Mixer Grinder 1000Watts
7. Wipro Elato Divine FMG 214 800 Watt Mixer Grinder with 3 Jars
A leaking mixer grinder jar rarely means the whole appliance needs replacement. In most cases, the trouble begins with a worn gasket, loose blade assembly, damaged washer, cracked lid or ageing shaft seal. Overfilling, rough cleaning and excessive vibration can make these faults worse.
The location of the leak offers the first clue. Liquid around the lid usually points towards the gasket, lid shape or overfilling. Moisture beneath the jar suggests a problem with the blade assembly, washer, shaft seal or base. Strange sounds and heavy vibration may indicate coupler damage.
Early attention saves money and protects the motor. A ₹100 or ₹200 component can sometimes prevent a repair bill several times larger. More importantly, it prevents breakfast chutney from flowing across the counter just when everyone needs to leave the house.
Treat the jar gently, avoid grinding very hot ingredients, clean each part carefully and replace worn seals promptly. The mixer grinder will then continue doing what it does best: turning everyday ingredients into the flavours that make home-cooked meals worth waiting for.
(Disclaimer: This article may include references to or features of products and services made available through affiliate marketing campaigns. NDTV Convergence Limited (“NDTV”) strives to maintain editorial independence while participating in such campaigns. NDTV does not assume responsibility for the performance or claims of any featured products or services.)