10 Frothing Mistakes That Leave Milk Thin, Over-Aerated Or Uneven
Struggling with thin, bubbly or uneven milk foam? Discover 10 common frothing mistakes that affect texture, consistency and taste, along with simple ways to create smoother, creamier milk for homemade coffee.
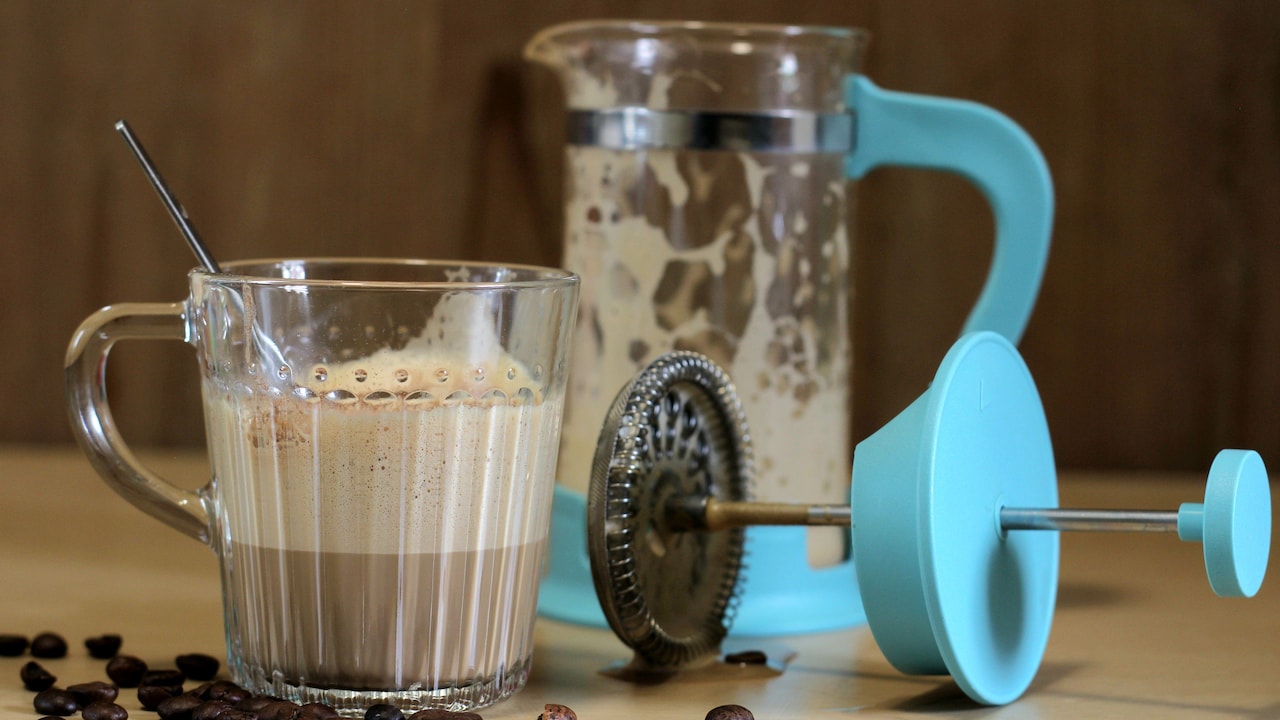
Avoid these mistakes to froth milk the right way
A creamy cappuccino or beautifully layered latte can make an ordinary morning feel like a small luxury. Yet recreating that café-style experience at home isn't always straightforward. Sometimes, milk refuses to froth. Other times, it expands into a mountain of bubbles that looks impressive but disappears before the first sip. Even worse, the foam might sit awkwardly above a watery layer of milk, leaving the coffee with an uneven texture. The good news? Making smooth, velvety milk foam doesn't necessarily require expensive equipment or professional barista skills. A handheld frother, French press or steam wand can produce satisfying results when used correctly. However, small mistakes involving temperature, milk selection, frothing technique and timing can completely change the outcome. Understanding these mistakes can help turn frustrating coffee experiments into consistently enjoyable cups. Whether preparing a quick morning coffee before work or treating guests to homemade cappuccinos, a few thoughtful adjustments can make all the difference.
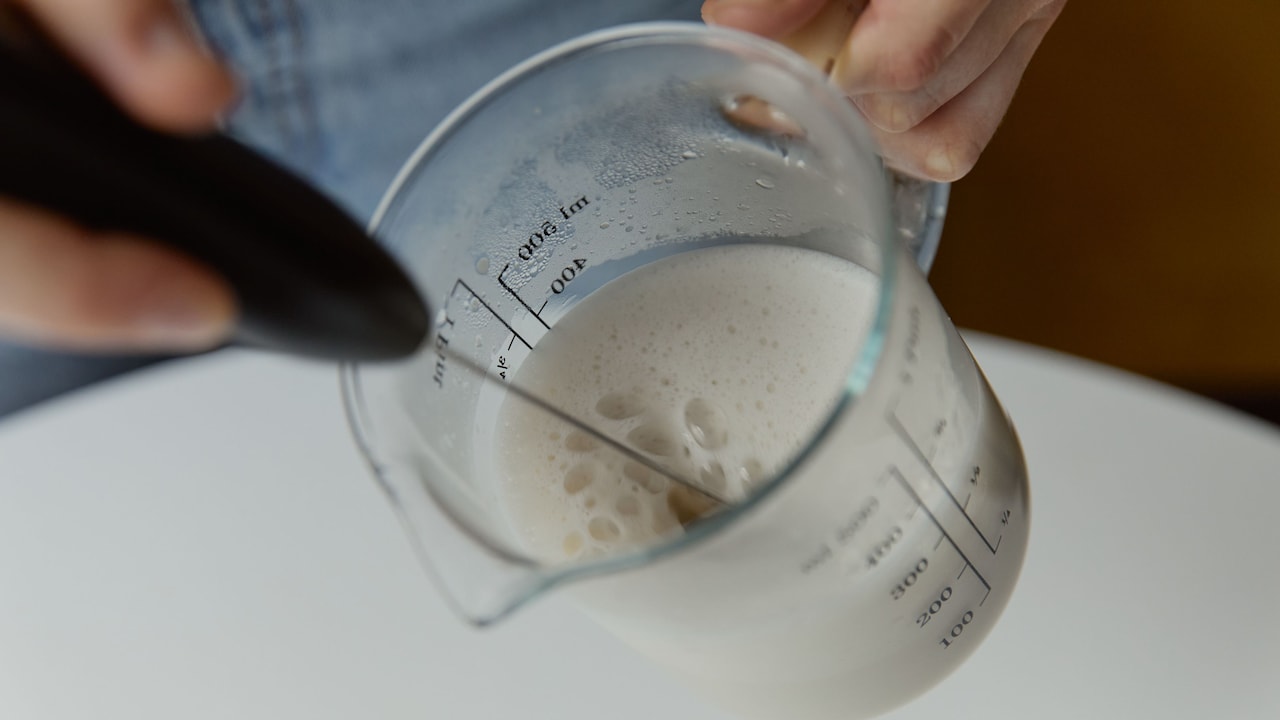
How to froth milk the right way
Photo Credit: Pexels
Top 10 Common Milk Frothing Mistakes And How To Avoid Them
1. Using Milk That Is Too Warm Before Frothing
Milk temperature plays a surprisingly important role in creating smooth, stable foam. One common mistake involves heating milk excessively before starting the frothing process. When milk becomes too hot, its proteins can lose their ability to form and maintain a stable foam structure. The result often feels thin, uneven or strangely bubbly.
For most milk-based coffee drinks, a final temperature of approximately 55°C to 65°C works well. This range allows milk proteins to support foam formation while keeping the natural sweetness pleasant. Heating milk much beyond 70°C can affect both texture and flavour, occasionally producing a cooked taste that overshadows the coffee.
The correct starting temperature also depends on the equipment. Steam wands generally work best with cold milk because they heat and aerate it simultaneously. Handheld frothers, meanwhile, often work well with milk that has already reached a suitable serving temperature.
A simple kitchen thermometer can remove the guesswork. Without one, avoid letting milk boil or develop a thick skin.
For anyone preparing coffee during a rushed morning, overheating might seem like a minor detail. However, controlling temperature often separates silky foam from a disappointing collection of bubbles.
2. Choosing Milk Without Considering Its Fat And Protein Content
Not every carton of milk behaves the same way when frothing. Choosing milk solely based on taste or availability can lead to unexpected results, particularly when switching between full-cream, toned, double-toned and plant-based varieties.
Milk proteins help capture air and form bubbles, while fat influences richness and mouthfeel. Full-cream milk usually creates a richer, creamier sensation. Lower-fat milk can produce substantial foam, although its texture may feel lighter and less indulgent. Neither option automatically guarantees better results.
Protein content matters because it helps stabilise the bubbles. Two milk products with similar fat percentages may still froth differently because their overall compositions vary.
Plant-based alternatives introduce another challenge. Almond, oat and soy drinks contain different combinations of proteins, fats and stabilisers. Some produce excellent microfoam, while others separate quickly or develop large bubbles. Barista-style formulations often perform more consistently because manufacturers design them for coffee preparation.
Experimenting with different milk varieties can reveal which texture suits a preferred drink. A cappuccino might benefit from a more substantial foam layer, while a latte typically needs fine, integrated microfoam.
The important lesson is simple: frothing performance depends on milk composition, not just the technique or the price printed on the carton.
Also Read: 5 Delicious Spreads To Try From Amazon
3. Starting With Too Much Milk In The Frothing Container
Filling a frothing jug almost to the brim might appear practical, especially when preparing coffee for several people. Unfortunately, overcrowding the container leaves little room for milk to circulate or expand as air enters the liquid.
As foam develops, milk volume increases. Without adequate space, the bubbles can overflow or collect unevenly around the edges. A handheld frother may also struggle to create a consistent whirlpool when the container holds too much liquid.
The ideal filling level depends on the equipment. Steam pitchers often work well when filled to just below the base of the spout, provided this leaves enough expansion room. Electric frothers usually include separate maximum markings for heating and frothing, which deserve attention.
A tall, narrow container can help handheld frothers circulate milk effectively, although the whisk still needs enough clearance to move freely.
Rather than preparing an oversized batch, frothing smaller quantities can provide better control. It also makes adjusting the technique easier when the texture starts changing.
Nobody enjoys cleaning spilled milk from the kitchen counter before their first coffee. Leaving sufficient space prevents unnecessary mess and gives the milk room to develop a smoother, more uniform consistency.
4. Holding The Frother Too Close To The Milk's Surface
Handheld frothers seem straightforward: place the whisk in milk, switch it on and watch the bubbles appear. However, positioning the whisk incorrectly can turn an ordinary latte into something resembling a bubble bath.
Holding the frother too close to the surface continuously draws large amounts of air into the milk. This creates oversized bubbles rather than the fine, tightly packed microfoam that gives café-style drinks their smooth texture.
A better approach involves briefly introducing air near the surface and then lowering the whisk slightly beneath it. The movement helps distribute the incorporated air throughout the milk.
The whisk should remain submerged enough to prevent splashing while still generating visible circulation. Gentle adjustments work better than repeatedly moving the frother up and down.
The desired texture also matters. Cappuccinos generally contain more foam than flat whites or lattes, so the amount of aeration should reflect the drink.
Watch how the milk behaves rather than relying entirely on a fixed frothing time. A smooth, glossy appearance and noticeably finer bubbles usually indicate progress.
Once the milk starts looking creamy, continued surface aeration rarely improves it. Sometimes, the most effective technique involves knowing when to stop.
5. Frothing For Too Long And Creating Excessive Air
More frothing doesn't always mean better foam. In fact, excessive aeration ranks among the most common reasons homemade coffee develops a thick, dry layer of bubbles that refuses to blend with the liquid underneath.
Milk needs enough air to create foam, but introducing too much produces an unstable or overly stiff texture. Instead of silky microfoam, the surface develops large bubbles that feel light and hollow.
This often happens when someone keeps the frother running because the expanding milk looks impressive. Unfortunately, impressive volume doesn't necessarily translate into pleasant mouthfeel.
For handheld frothers, begin with a short frothing period and assess the texture before continuing. The ideal duration depends on the milk quantity, temperature, whisk speed and equipment design.
With steam wands, introduce air during the initial stage, then position the wand to circulate and refine the foam while heating continues.
A good latte needs milk that pours smoothly rather than sitting in the jug like shaving foam. Cappuccinos can accommodate a thicker foam layer, but the bubbles should still feel relatively fine and cohesive.
Aim for texture rather than maximum volume. The goal isn't to make the milk climb higher inside the jug. It's to create foam that complements the coffee instead of overwhelming it.
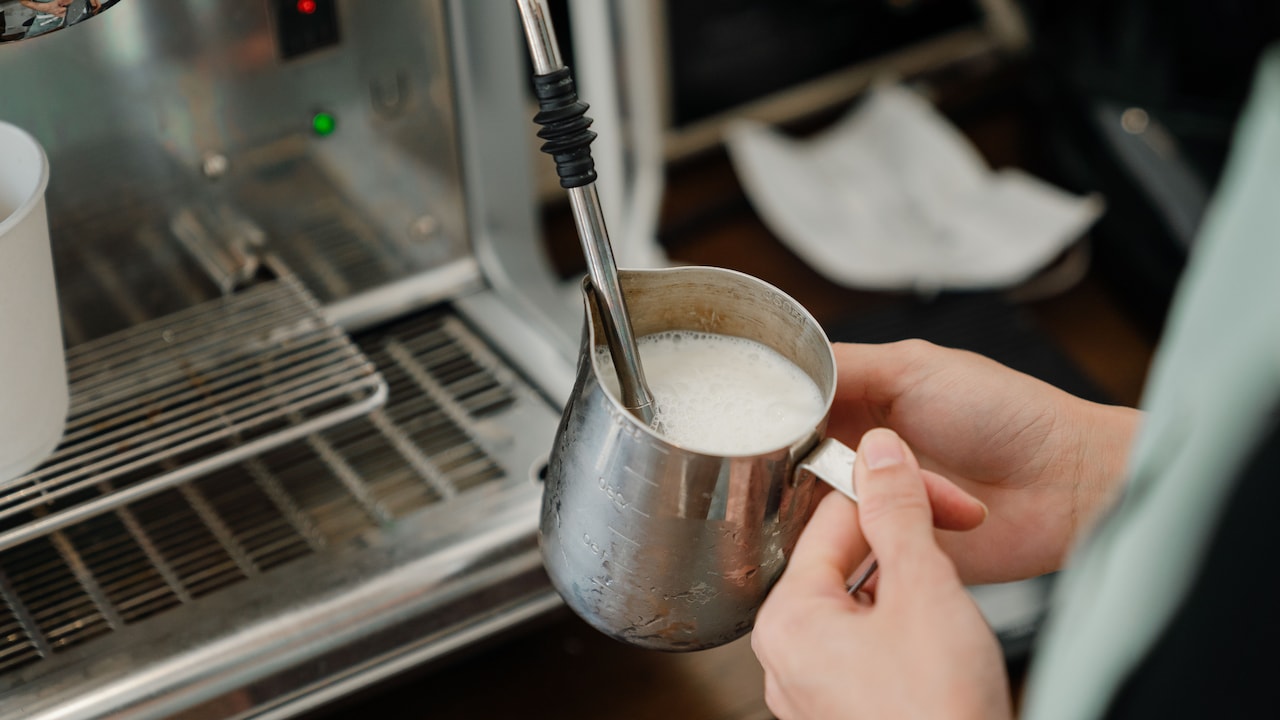
Excessive frothing may not always give the best results
Photo Credit: Pexels
6. Forgetting To Create A Consistent Whirlpool
Successful milk frothing involves more than simply introducing air. The milk also needs movement to distribute bubbles evenly and develop a consistent texture.
Without sufficient circulation, some areas may become excessively foamy while others remain almost completely liquid. This imbalance creates the familiar problem of thick foam floating above thin milk.
A controlled whirlpool helps break up and redistribute larger bubbles, encouraging the mixture to become smoother and more uniform.
Steam wand users can achieve this by positioning the wand slightly off-centre and adjusting the angle until the milk rotates steadily. The exact placement varies with jug size and wand design.
For handheld frothers, placing the whisk slightly away from the centre can encourage circulation. However, excessive movement or aggressive stirring may introduce unwanted air and disrupt the developing foam.
The objective is steady, controlled motion rather than a dramatic vortex that splashes milk across the counter.
Observing the surface provides useful feedback. Milk should gradually develop a glossy appearance, with fewer visible large bubbles.
This technique often requires a little experimentation. Once the correct position becomes familiar, creating consistent foam becomes considerably easier. Even a basic frother can perform better when the milk circulates properly instead of merely bubbling in one spot.
7. Using A Dirty Frother Or Container With Residue
A frothing jug might look clean while still holding traces of oil, detergent or dried milk around its edges. These residues can interfere with foam formation and affect the flavour of freshly prepared coffee.
Milk foam relies on proteins forming films around air bubbles. Grease and certain cleaning residues can disrupt those films, making bubbles less stable. The result may involve foam that collapses quickly or develops an uneven appearance.
Old milk deposits introduce another concern. They can harbour bacteria, particularly when equipment hasn't received proper cleaning after previous use.
Handheld frothers require attention around the whisk and its connecting shaft, where milk can collect. Steam wands need immediate wiping and a brief steam purge after use, following the manufacturer's instructions.
Electric frothers also benefit from thorough cleaning, especially around removable whisks and internal surfaces. Avoid immersing electrical components unless the appliance instructions explicitly allow it.
Use suitable cleaning products, rinse thoroughly and allow equipment to dry properly.
A clean container won't magically correct every frothing problem, but it removes an avoidable source of inconsistency.
That slightly disappointing second cup of coffee might not reflect poor technique at all. Sometimes, the culprit is yesterday's milk residue hiding in a difficult-to-reach corner.
8. Ignoring The Difference Between Foam And Microfoam
Not all milk foam serves the same purpose. Treating every frothing method as interchangeable can lead to disappointment, especially when trying to recreate a particular coffee-shop drink.
Traditional airy foam contains noticeable bubbles and feels light. Microfoam, however, consists of much finer bubbles dispersed throughout the milk. This creates the smooth, glossy texture associated with well-prepared lattes and flat whites.
A handheld whisk can produce enjoyable foam, but achieving consistently fine microfoam may prove more challenging than with a properly controlled steam wand.
French presses can also froth milk by repeatedly moving the plunger through it. However, this technique can produce relatively large bubbles unless the milk receives careful handling afterwards.
Understanding these differences helps establish realistic expectations. Someone who prefers a thick cappuccino topping might enjoy an electric frother's aerated results. Those hoping to practise latte art generally need milk with a more fluid, integrated texture.
The equipment matters, but technique and milk selection remain important.
Instead of chasing the thickest possible foam, consider the finished drink. A smooth latte needs milk that blends naturally with espresso, while a cappuccino welcomes a more generous foam layer.
Choosing the appropriate texture makes the coffee feel balanced rather than simply decorative.
9. Letting Frothed Milk Sit Too Long Before Pouring
Milk foam begins changing almost immediately after frothing stops. When left undisturbed, larger bubbles may rise, liquid can drain downwards and the mixture gradually loses its uniform consistency.
This separation explains why milk sometimes looks beautifully textured inside the jug but pours into the cup as thin liquid followed by a stubborn blob of foam.
The solution involves coordinating coffee preparation and milk frothing so that both components are ready at approximately the same time.
Prepare the espresso or coffee concentrate before finishing the milk, or organise the process to minimise unnecessary waiting.
Once frothing ends, gently swirl the container to keep the milk and foam integrated. A light tap against the counter can help release larger visible bubbles, although aggressive tapping isn't necessary.
Pour promptly while the milk maintains its glossy, fluid texture.
If the foam has already separated considerably, gentle swirling may improve its consistency, but it cannot always restore the original structure completely.
This timing issue becomes particularly noticeable when preparing multiple cups for guests. The first serving might appear smooth, while the last receives uneven foam.
Working in manageable batches helps prevent this problem. Freshly textured milk generally pours better, tastes more consistent and creates a more enjoyable drinking experience.
10. Pouring The Milk Too Quickly Or Without Control
Even perfectly frothed milk can produce an uneven coffee when poured carelessly. Pouring from too great a height, moving the jug abruptly or tipping it too aggressively can disrupt the balance between milk and foam.
The result might include a watery first layer, oversized bubbles or a thick mound of foam that lands awkwardly in the centre of the cup.
For smoother integration, begin with a controlled stream that allows the milk to mix with the espresso. Keeping the jug reasonably close to the cup while adjusting the flow helps maintain consistency.
When using fluid microfoam, a slightly higher starting pour can help the milk mix beneath the coffee's surface. Bringing the spout closer later allows more foam to appear on top.
The technique changes depending on the drink. A latte benefits from controlled integration, whereas a cappuccino may require a more generous foam finish.
Avoid shaking the jug or scooping out large amounts of foam unnecessarily, particularly when the goal is a smooth, uniform texture.
A little practice with water can even improve pouring control without wasting milk.
Ultimately, pouring is the final stage of frothing, not an unrelated finishing touch. Treating it with the same attention as heating and aerating helps preserve the texture created during preparation.
Products Related To This Article
1. CÜRAA Coffee Frother Electric
2. Nova Electric Milk Frother for Coffee - Rechargeable Coffee Frother
3. Coffee Frother Electric Rechargeable Coffee Maker Machine
4. Kaizo ZUMI - Electric Milk Frother & Coffee Whisk
5. CIRCLE JOY 3-Speed Rechargeable Coffee Frother Electric
6. AGARO Royal Milk, 3‑Speed Electric for Coffee with Whisk
7. GetSetNova Coffee Maker Machine for Home – Electric Frother
Creating smooth, creamy milk foam doesn't depend entirely on owning a professional coffee machine. Small details, from selecting suitable milk and controlling temperature to maintaining circulation and pouring promptly, influence the final texture. Overheating, excessive aeration and poor timing can quickly undo otherwise careful preparation.
The trick is to focus on consistency rather than simply producing more bubbles. With a little patience and a few adjustments, homemade cappuccinos, lattes and other milk-based drinks can develop a noticeably smoother finish. After all, good coffee deserves foam that tastes as satisfying as it looks.
(Disclaimer: This article may include references to or features of products and services made available through affiliate marketing campaigns. NDTV Convergence Limited (“NDTV”) strives to maintain editorial independence while participating in such campaigns. NDTV does not assume responsibility for the performance or claims of any featured products or services.)