10 Garment-Steamer Maintenance Mistakes That Gradually Reduce Steam Output
Poor maintenance can quietly weaken a garment steamer. From hard water and limescale to clogged vents and damp storage, these common mistakes gradually reduce steam output and performance.
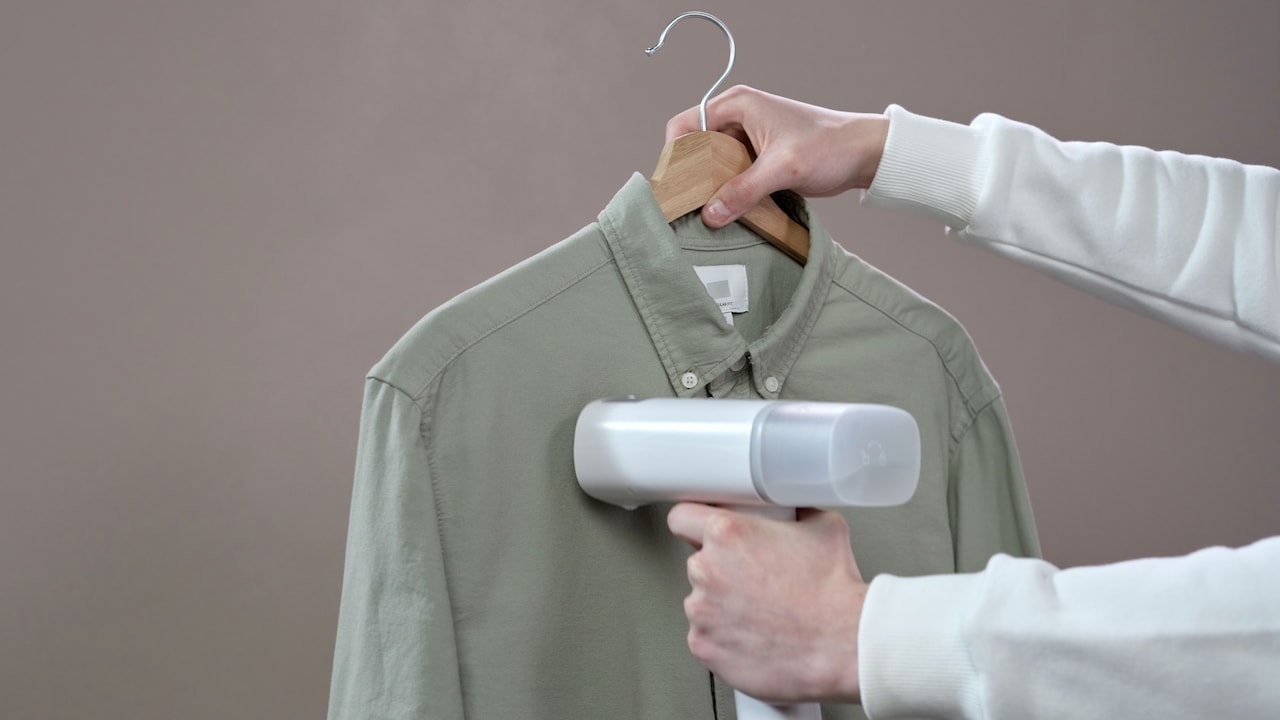
Garment Steamer Not Working Well? 10 Maintenance Mistakes To Avoid
A garment steamer often earns its place in the home by making rushed mornings considerably easier. There is no ironing board to unfold, no wrestling with awkward sleeves and, in many cases, no need to worry about leaving shiny patches on delicate fabric. Fill the tank, wait for the steam and those stubborn creases start surrendering. At least, that is how things work when the steamer receives proper care. Steam output rarely disappears overnight. More often, it fades so gradually that the change goes unnoticed. A blouse that once took two minutes suddenly needs four. The steamer starts coughing droplets. Steam arrives in enthusiastic bursts rather than as a smooth flow. Eventually, people blame the machine, even though everyday laundry habits may have caused the trouble. Water quality, storage, cleaning and even the way the steamer gets switched off can affect its performance. A little attention therefore goes a surprisingly long way. Here are ten maintenance mistakes that can quietly weaken a garment steamer and what to do differently.

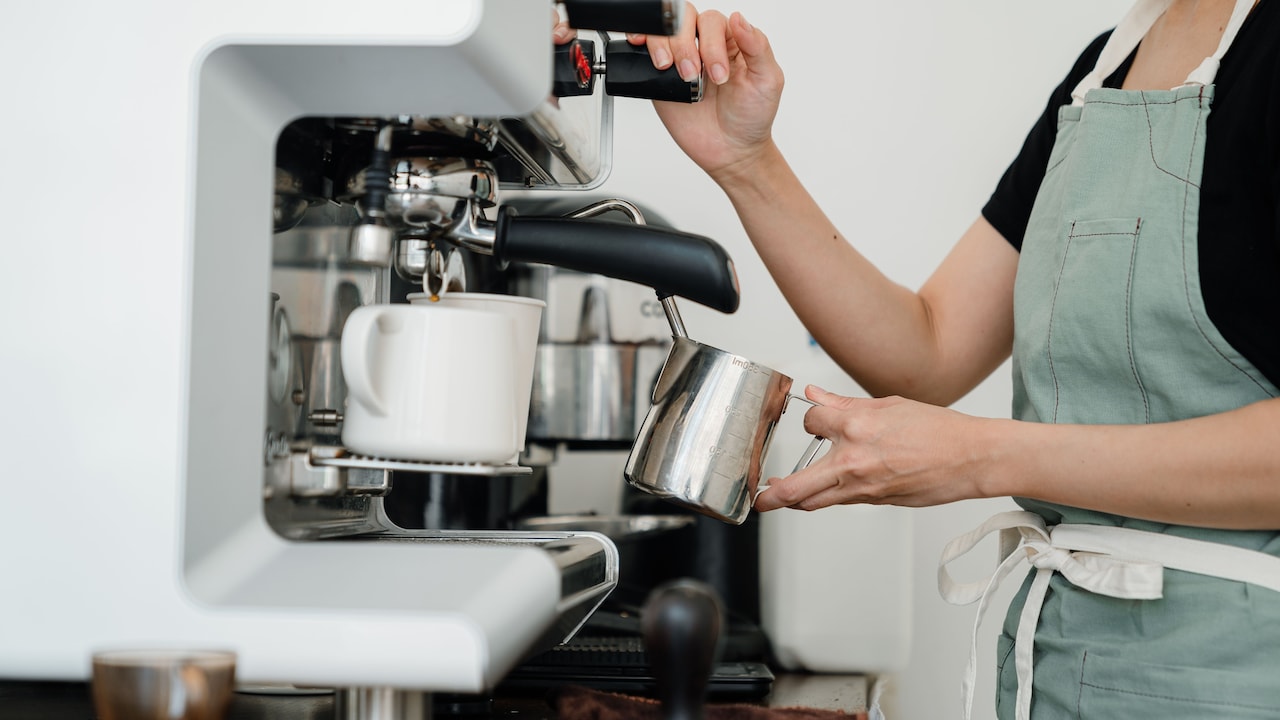
Garment Steamer Not Working Well? 10 Maintenance Mistakes To Avoid; Photo Credit: Pexels
Common Garment-Steamer Maintenance Mistakes To Avoid
1. Leaving Water In The Tank For Days
Finishing a steaming session and leaving the remaining water inside may seem harmless. After all, the same water will probably get used again. Unfortunately, a steamer tank is not a storage bottle.
Standing water can leave mineral residue behind, particularly when the local supply contains plenty of dissolved minerals. Over time, deposits collect around the tank, internal channels and heating components. The steamer then has to work harder to push vapour through narrower passages, which gradually affects steam strength.
Stored water can also develop an unpleasant smell, especially during warm and humid weather. That stale odour may eventually travel with the steam towards freshly washed clothes. Hardly the finishing touch anyone wants before heading to work or attending a family function.
Empty the tank after each use once the appliance has cooled. Give it a gentle shake to remove excess droplets and allow the interior to air-dry before storage. This tiny habit takes less than a minute but can save considerable trouble later.
Also Read: 5 Best Portable Steamers For Clothes Under ₹3000
2. Using Hard Tap Water Without Checking The Manual
Filling the steamer straight from the tap feels like the obvious choice, and some models handle tap water perfectly well. Others struggle when the water contains high concentrations of calcium and magnesium.
When that mineral-rich water heats repeatedly, it leaves scale behind. Think of the chalky layer that sometimes appears inside an electric kettle. A similar process can occur inside a garment steamer, except much of the buildup remains hidden. Gradually, scale coats heating surfaces and restricts narrow steam pathways.
The result often looks like an ageing appliance: weaker steam, occasional sputtering and longer heating times.
Before switching water types, check the manufacturer's instructions. Some steamers specifically recommend tap water, some allow a mixture, while others work better with distilled or demineralised water. Following the recommendation matters because appliance designs differ.
If suitable distilled water costs around ₹40 to ₹80 for a container in a local shop or online, using it occasionally may prove cheaper than replacing a badly scaled steamer. The right water keeps the machine breathing freely.
3. Ignoring Early Signs Of Limescale
Limescale rarely announces itself dramatically. It prefers a slow entrance.
Perhaps the steamer takes slightly longer to produce vapour. Maybe steam starts coming out unevenly. Tiny white flakes may appear near the steam holes, or the appliance may make unfamiliar bubbling sounds. These little clues often get ignored because the machine still technically works.
That delay allows deposits to thicken.
Scale acts like an unwanted blanket around parts that transfer heat to water. As buildup increases, the appliance may become less efficient at producing a consistent stream of vapour. Narrow openings can also become partially blocked.
Regular descaling helps prevent the problem from reaching that stage. Follow the appliance manual because cleaning methods vary between models. Some manufacturers permit a diluted vinegar solution, while others warn against vinegar because it can damage internal components or seals.
Never assume that a popular household remedy suits every machine. When the manual recommends a specific descaling process, follow it carefully. Catching mild buildup early remains far easier than dealing with a steamer that has started behaving like a tired pressure cooker.
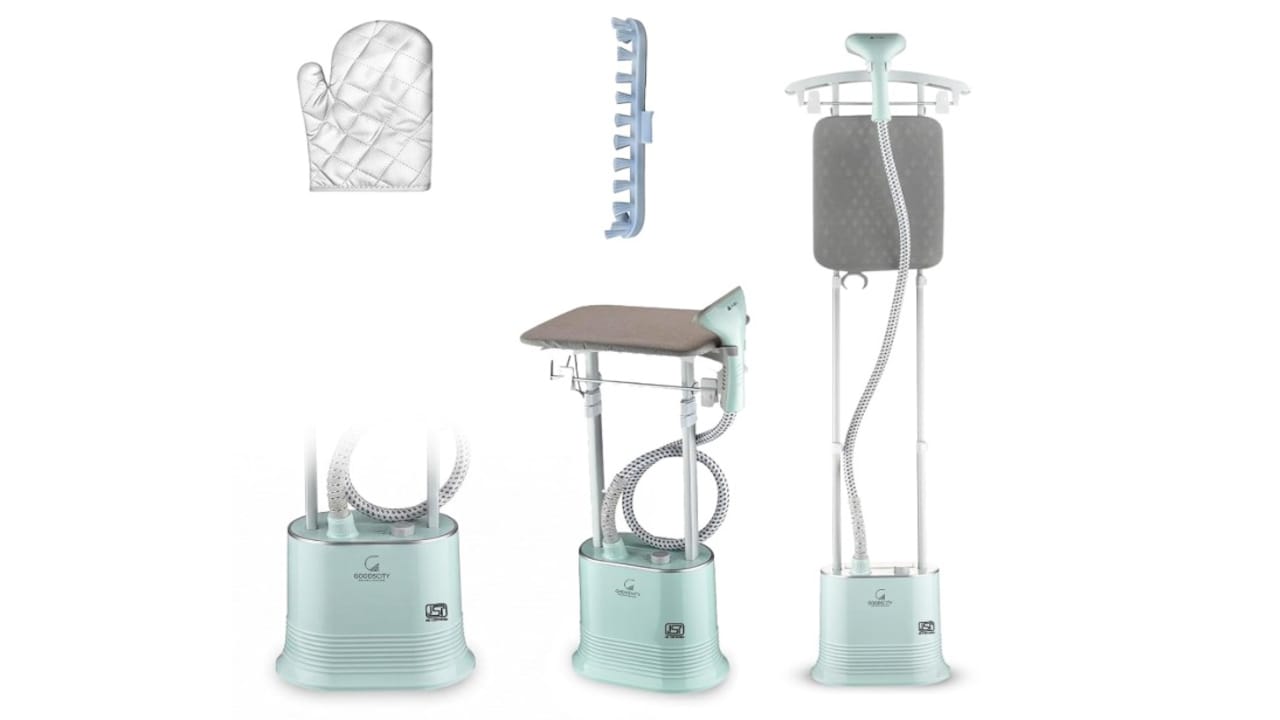
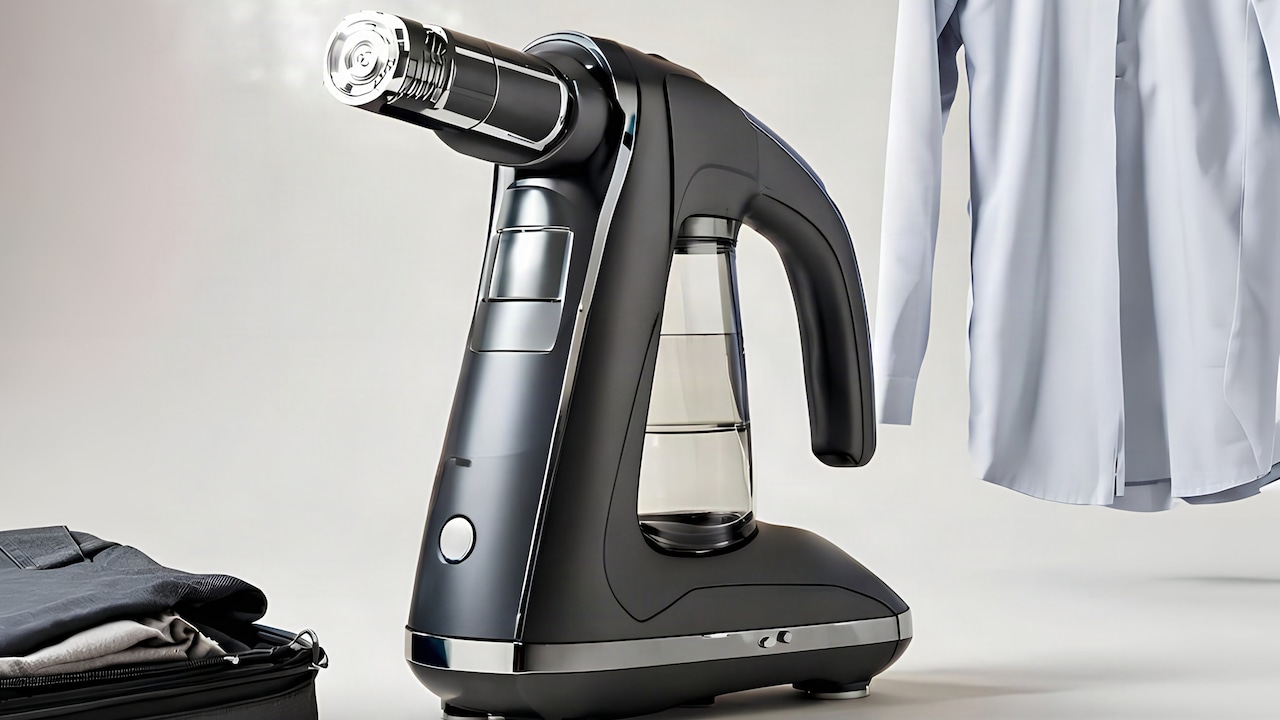
Garment Steamer Not Working Well? 10 Maintenance Mistakes To Avoid; Photo Credit: Amazon
4. Cleaning Steam Holes With Sharp Objects
A blocked steam hole can tempt anyone into reaching for a safety pin, needle or other conveniently pointy object. It feels satisfying too: poke the blockage, clear the opening and carry on.
That quick fix can cause more harm than expected.
Sharp metal objects may scratch the steam plate, enlarge delicate openings or push mineral deposits deeper into the internal channel. Some steamers also contain carefully shaped outlets that control vapour distribution. Damaging them can create uneven steam or annoying spurts of hot water.
A gentler approach works better. First, unplug the appliance and allow it to cool completely. Wipe the steam head with a soft, damp cloth. Where the manufacturer recommends additional cleaning, use the approved procedure rather than improvising with pins or abrasive scrubbers.
A cotton bud can sometimes help around accessible exterior areas, provided the manual allows it and no fibres enter the steam openings.
Those tiny holes may look sturdy, but they play an important role in producing an even cloud of steam. Treating them like clogged gas-stove burners can quickly turn minor maintenance into permanent damage.
5. Forgetting To Rinse The Water Tank
Emptying the tank helps, but never rinsing it allows a thin layer of residue to build gradually along its inner surfaces.
The problem becomes more noticeable with frequent use. Imagine someone steaming office clothes almost every morning, then festive outfits and curtains on weekends. Water enters and leaves the reservoir repeatedly, yet traces of minerals remain behind each time. After a few months, those traces can become visible deposits.
A simple rinse can interrupt that cycle.
Once the steamer has cooled and the manufacturer permits tank removal or rinsing, add a small quantity of clean water, gently swirl it around and empty it fully. Avoid adding detergents, perfume, fabric conditioner or random cleaning liquids unless the instructions explicitly recommend them.
Soap may create foam inside the system, while fragrances and fabric products can leave sticky residues. A garment steamer needs water, not a homemade spa treatment.
Occasional rinsing keeps loose particles from travelling towards internal waterways. It also helps the reservoir stay fresher, particularly if the appliance spends long periods inside a cupboard between weddings, interviews and last-minute Monday-morning rescue missions.
6. Storing The Steamer While It Is Still Damp
After use, the temptation to wrap the cord, place the appliance inside a cupboard and forget about it can be strong. A neat room wins, but the steamer may lose.
Moisture trapped inside the tank or around removable attachments can encourage unpleasant smells and residue. In humid conditions, damp storage can become particularly troublesome. Metal components may also face greater risk of corrosion over time if moisture remains where it should not.
Proper storage starts after the steamer cools. Empty the reservoir, drain any remaining accessible water and leave relevant components open long enough to dry. Wipe the outer surfaces before putting everything away.
Avoid sealing a damp steamer inside an airtight plastic bag. A dry cupboard with enough ventilation makes a better home.
The hose of a standing steamer also deserves attention. Store it without severe bends or tight twists because kinks can interfere with steam movement and eventually strain the material.
Think of the appliance like an umbrella after a monsoon shower. Folding it wet and stuffing it into a corner may look convenient today, but tomorrow often brings an unpleasant surprise.
7. Overfilling The Water Reservoir
The maximum-fill line exists for a reason, although it often gets treated as a polite suggestion.
Overfilling seems efficient when several outfits need steaming. More water should mean fewer refills, right? Not necessarily. Excess water can disrupt the space the appliance needs to heat and manage vapour properly. Depending on the steamer's design, overfilling may encourage sputtering, leaking or droplets coming through the steam head.
Those droplets can leave water marks on delicate fabrics and create the impression that the steamer has developed a fault.
Use the quantity recommended by the manufacturer and stop at the marked maximum level. If the reservoir needs another fill halfway through a large batch of clothes, take the extra minute rather than squeezing in a little more “for luck”.
Also keep the steamer in the intended operating position. Tilting some handheld models excessively can send water towards areas designed mainly for vapour.
A garment steamer relies on controlled heat, pressure and water movement. Giving it the correct amount of water helps that balance. Filling it like a bottle before a long train journey does not improve performance.
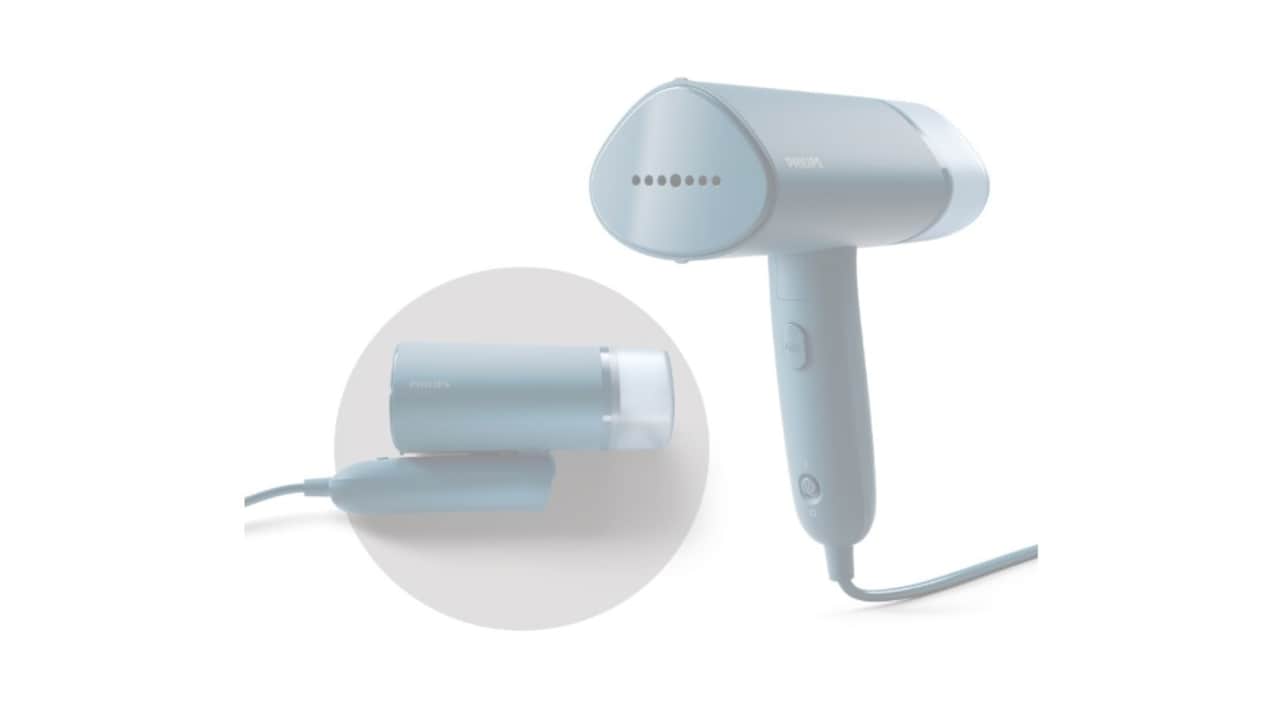
Garment Steamer Not Working Well? 10 Maintenance Mistakes To Avoid; Photo Credit: Amazon
8. Skipping Regular Deep Cleaning
A steamer can look perfectly clean from the outside while its internal pathways slowly collect mineral deposits. Wiping the body therefore does not count as complete maintenance.
How often deep cleaning becomes necessary depends on usage, water quality and the manufacturer's guidance. A steamer used twice a month will have different needs from one tackling uniforms, office wear and household fabrics several times a week.
Waiting until steam output becomes painfully weak usually means buildup has already progressed.
Set a sensible cleaning routine based on the manual. Some models include self-cleaning or anti-calc functions. Others require a particular descaling procedure. Use those features rather than inventing aggressive home solutions.
The most important part involves consistency. Maintenance works best before symptoms become severe.
Think of it like cleaning a mixer-grinder jar after making chutney. Nobody waits six months for layers of dried coriander and masala to become part of the appliance. Yet hidden scale inside a steamer often receives exactly that treatment.
A periodic clean helps preserve steady steam, short heating times and the convenience that made the appliance useful in the first place.
9. Ignoring The Hose On Full-Size Steamers
With upright garment steamers, attention usually goes to the tank and steam head. The hose quietly connects the two and often receives little thought until steam output drops.
A twisted or sharply bent hose can restrict the movement of steam. Condensation may also collect inside during use. If the hose develops deep kinks or remains folded badly during storage, vapour may struggle to travel smoothly towards the nozzle.
Position the hose in a relaxed curve while steaming. Avoid trapping it beneath the appliance or bending it sharply around furniture. If condensation causes gurgling, follow the manufacturer's advice for allowing collected water to return safely to the tank.
Storage matters too. Coiling the hose tightly may save cupboard space, but repeated stress can shorten its life.
The same principle applies to detachable connections. Check that they fit securely and keep connection points clean. Escaping vapour around a loose joint means less steam reaches the clothes.
When an upright steamer suddenly feels underpowered, the boiler does not always deserve the blame. Sometimes the humble hose has simply spent too long folded like earphones at the bottom of a handbag.
10. Putting The Steamer Away Without Checking For Problems
Small faults become expensive when they receive months of neglect.
After steaming, take a few seconds to notice how the appliance behaves. Has steam output changed noticeably? Does the machine leak near the reservoir? Has the power cord developed damage? Does the steam head produce unusual sounds or excessive droplets?
Spotting a change early makes troubleshooting easier.
Continuing to use a steamer with damaged electrical parts can create a safety risk, so stop using it when cords, plugs or other electrical components show visible damage. Qualified service support should handle repairs involving electrical or sealed internal parts.
The same caution applies when cleaning fails to restore weak steam. Constantly adding stronger descaling mixtures or poking inside the machine can make matters worse. At some point, professional inspection makes more sense than enthusiastic DIY surgery at the dining table.
Keep the instruction manual or a digital copy somewhere accessible. It can answer questions about water type, cleaning intervals, replacement components and troubleshooting steps.
A quick post-use check helps catch minor issues while they remain minor. Appliances tend to give warnings before serious problems arrive; the trick lies in noticing them.
Products Related To This Article
1. OWNAIR Steam Iron Handheld for Clothes
2. Laurastar IZZI Plus 2-in-1 Garment & Surface Steamer
3. Goodscity Garment Steamer for Clothes
4. Philips STH 5030/20 Garment Steamer Perfect Rakhi Gift
5. NUUK STROM GO V2 Super Compact and Lightweight Travel Garment Steamer For Clothes
6. Russell Hobbs 2000 W Double‑Pole Garment Steamer
7. AGARO Regency Handheld Garment Steamer
Garment-steamer maintenance does not require a complicated toolkit or an entire Sunday afternoon. Most of the habits that protect steam output take only a few minutes: emptying leftover water, choosing the recommended water type, preventing scale, keeping steam holes clean and storing the appliance properly.
The bigger challenge comes from complacency. Because a steamer can continue working while its performance slowly deteriorates, maintenance often gets postponed until a once-powerful stream turns into a disappointing puff.
Paying attention to small changes can extend the appliance's useful life and keep everyday steaming quick and predictable. It may also prevent the familiar scene of standing beside a half-ready outfit, repeatedly running a weak steamer over the same stubborn crease while the clock moves far too quickly.
Treat the steamer well, follow its manual and deal with buildup before it becomes serious. That simple routine helps ensure the next kurta, saree, shirt, dress or blazer gets crisp, reliable steam when it matters most.
(Disclaimer: This article may include references to or features of products and services made available through affiliate marketing campaigns. NDTV Convergence Limited (“NDTV”) strives to maintain editorial independence while participating in such campaigns. NDTV does not assume responsibility for the performance or claims of any featured products or services.)