How To Get A Salon Blowout At Home For Diwali
Learn how to get a salon blowout at home for Diwali with simple prep, sectioning, round-brush techniques and heat-protection tips for bouncy hair.
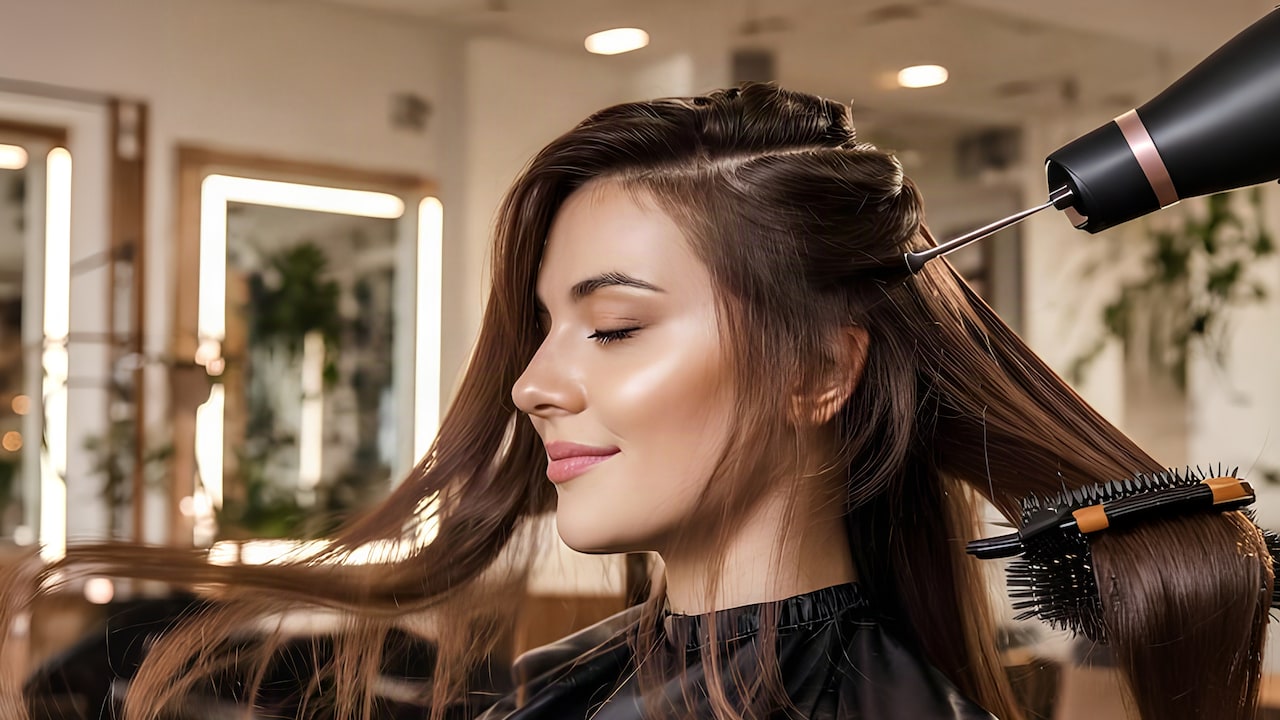
Here's how you can achieve salon-like blowout at home
Diwali dressing is often put together with the smallest finishing details, and hair can make a big difference to the overall look. A blowout that's smooth and bouncy adds movement to a saree, lehenga, suit or festive dress without an elaborate hairstyle. The secret is to achieve that glossy salon look without the flat roots, frayed ends or tired arms. The trick is not merely to turn the dryer to the hottest setting. Proper preparation, controlled airflow, manageable sections and the right brush technique all come together to a good result.
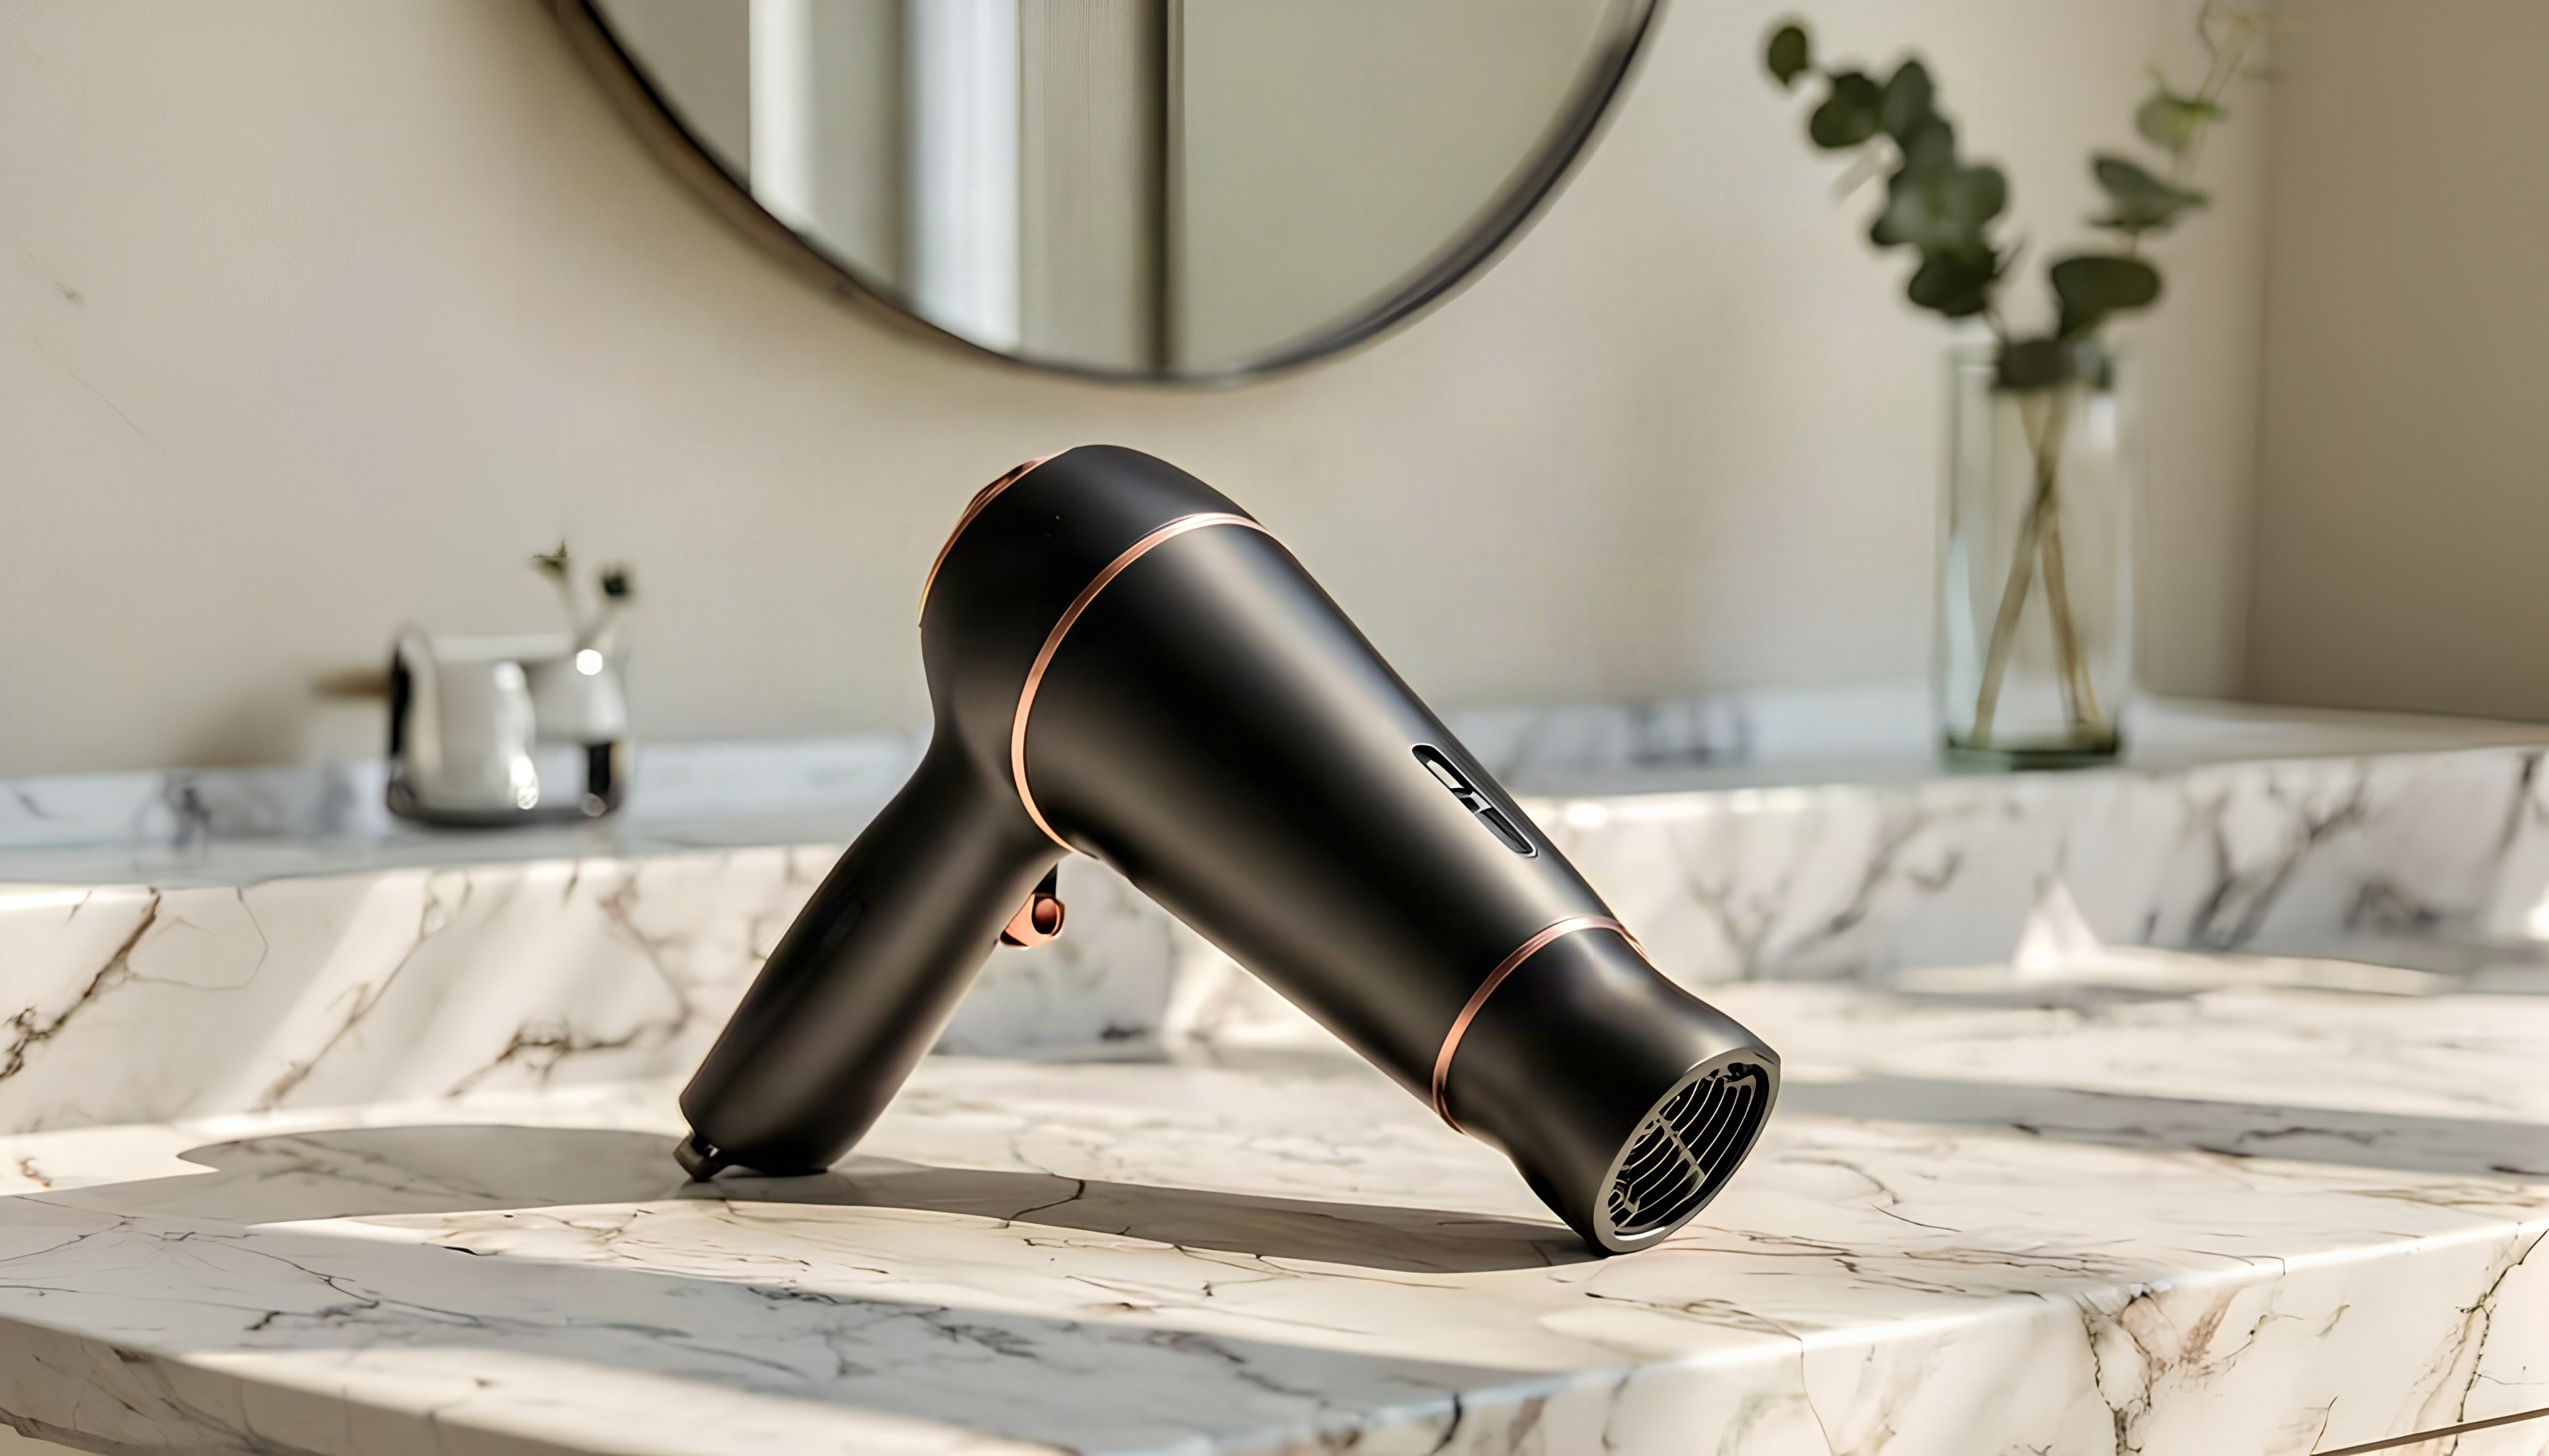
Hair Dryer
Photo Credit: iStock
You can also tailor an at-home blowout to suit different hair types and lengths. Fine hair might want to focus on root lift, but thicker or naturally wavy hair might need more roughing up and smaller sections before the final styling pass. Always be cautious when using heat, as excessive styling can damage your hair.
Also Read: Different Hair Journeys, Shared Concerns: Why Hair Growth Serums Matter For Both Men And Women
H2: Why Is A Blowout Ideal For A Diwali Look?
A blowout gives a sleek base that pairs well with traditional and modern festive looks. Soft volume around the crown can complement a saree. Smooth lengths and curved ends work particularly well with a lehenga or anarkali.
H2: Things To Do Before Starting A Home Blowout
1: Begin With Clean, Conditioned Hair
Start with freshly washed, well-conditioned hair. It can be easier to apply conditioner and detangle through the lengths. This is especially true if your hair is dry, long, or frizzy, or if it tends to get oily or flat easily. Just don't load heavy conditioner on the roots. Focusing it on the lengths and ends can give softness without losing root volume.
2: Remove Excess Water With A Gentle Touch
Do not use a round brush on soaking wet hair. Use a towel or microfibre towel to gently wrap your hair and soak up excess moisture, rather than rubbing it aggressively. At this point, wet hair is more likely to break, so it's important to be gentle with it. When the hair is damp (not dripping), gently comb through using a wide-toothed comb. Start at the ends and work your way up to minimise pulling.
H2: Step-By-Step Instructions To Create A Salon Blowout
Step 1: Apply Heat Protectant
Apply a heat protectant product as directed before blow-drying; leave-ins can also help with smoothness and frizz when they're formulated to give heat protection. Then rough-dry with your fingers on a low to medium heat setting until the hair is about 60-70% dry. Professional blowout guidance suggests removing much of the moisture first, making the detailed styling stage simpler.
Step 2: Separate Hair Into Sections That Are Easy To Manage
Divide the hair into sections with clips. It depends on thickness and length, but generally the smaller the sections, the better control you have, rather than trying to style a lot of hair at once; start at the lower sections and slowly work your way to the crown. You want to keep the rest of the hair clipped away so that the pieces you have already dried don't get tangled up with the wet hair.
Step 3: Use The Round Brush To Create Volume And Shape
Place the round brush under a section of hair close to the roots and point the dryer's airstream down the hair shaft. Always keep the nozzle along the hair, not blowing across it randomly.
Run the brush gently through the section, following it with the dryer. If you want more root volume, lift the section up before directing the airflow. A larger round brush usually makes more sweeping movement and volume, while smaller brushes can make a tighter bend.
Step 4: Cool Down Each Section Before Letting It Go
Once a section is dry and moulded around the brush, let it cool for a moment before pulling it away. Cooling helps to set the shape of the newly styled section.
Finish the final pass with cool air if the dryer provides a cool-shot function. Avoid repeatedly blasting the same section with high heat simply to make it look smoother, since excessive heat can weaken the hair over time.
H2: What Makes A Diwali Blowout Look More Polished?
The finishing stage can make the difference between ordinary dried hair and a more salon-inspired result; once the complete head is dry, allow the hair to settle before making any final adjustments. Use your fingers to gently separate sections rather than aggressively brushing through the entire hairstyle.
A small amount of lightweight finishing product can be applied to the lengths if additional smoothness is needed. For a classic festive appearance, keep the ends softly curved away from the face, or alternatively create a centre or side parting and focus on lifting the front sections to create a more noticeable frame around the face.
H2: What Blowout Mistakes Should You Avoid?
1: Using Maximum Heat Throughout
High heat may appear to speed up the process, but excessive heat can contribute to dryness and damage. Dermatologists recommend using lower or medium heat settings and reducing how frequently hair is exposed to blow-drying.
2: Pulling Too Hard With The Brush
A salon blowout depends on controlled tension, not force. Tugging aggressively can create unnecessary stress, especially when the hair is still damp.
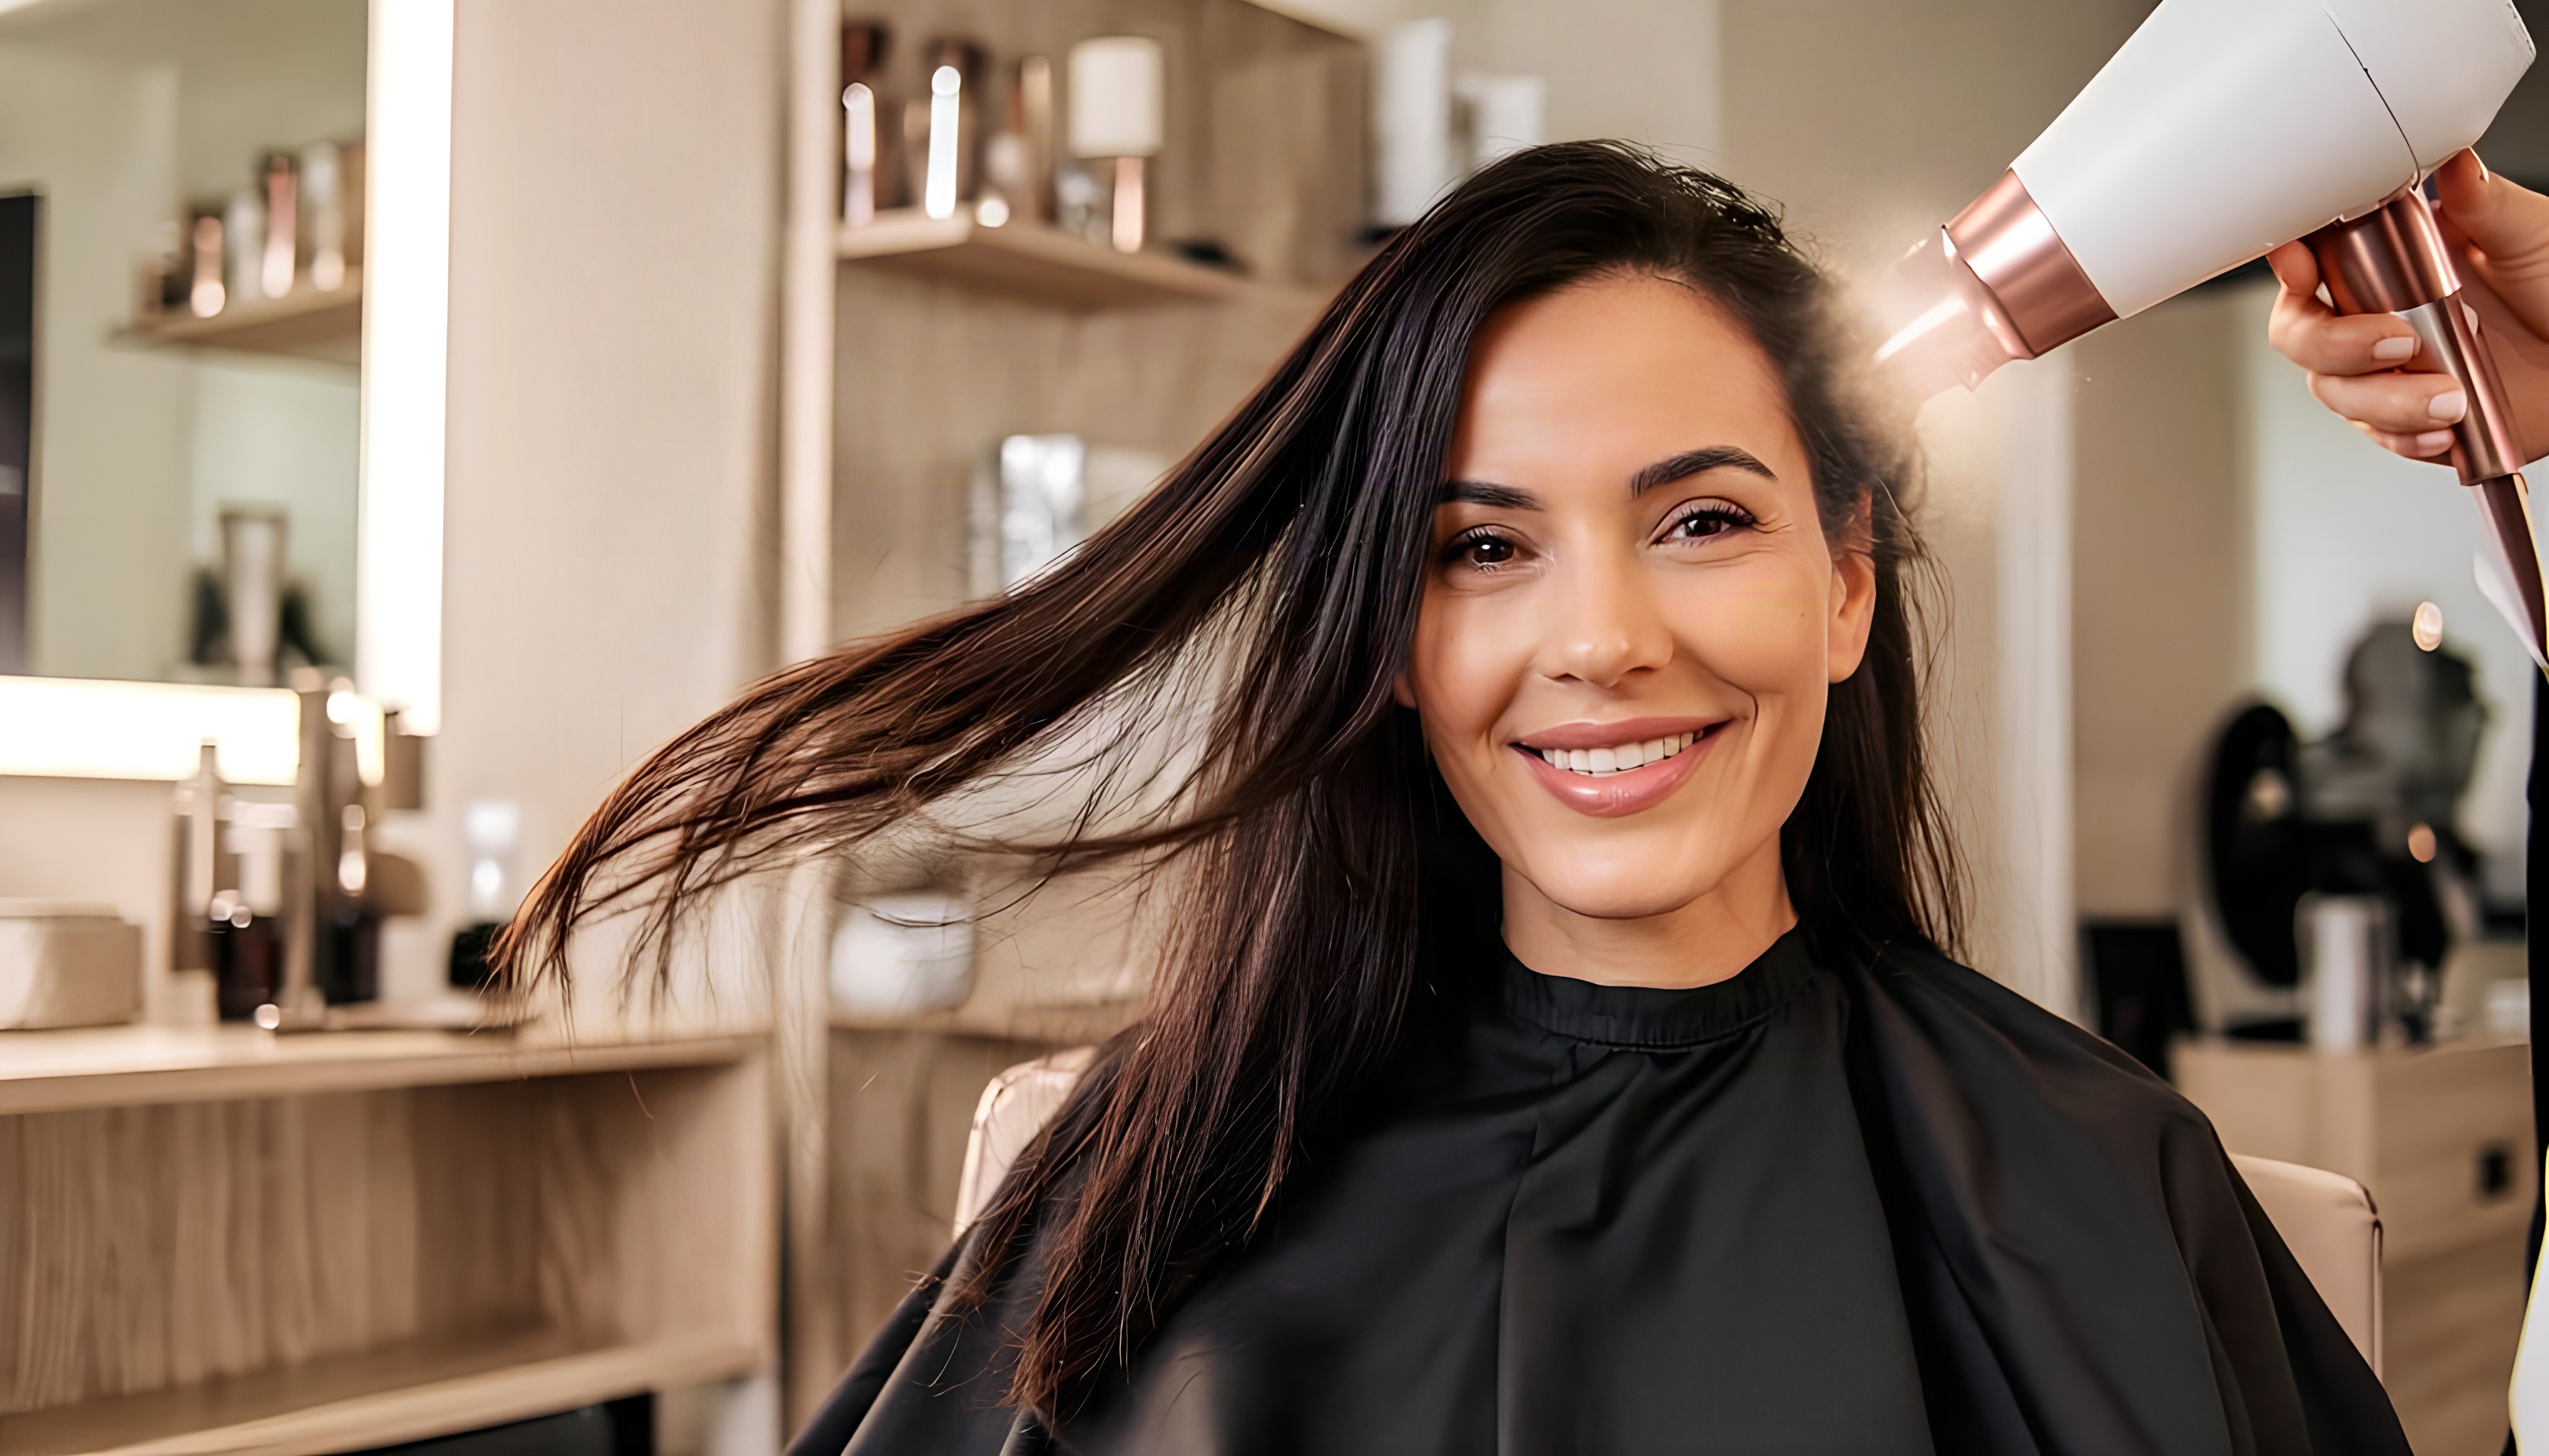
Hair Dryer
Photo Credit: iStock
H2: Few Products To Consider From
WINSTON Turbo Pro Hair Dryer
Urban Yog MakeMeeBold 3-in-1 Hot Air Brush
Bombae Thermal Blowout Round Brush
Caresmith Bloom Heated Round Brush
VEGA PROFESSIONAL Ceramix Shine Blow Dry Round Hair Brush
Caresmith Bloom 3 in 1 Hot Air Brush for Hair
AGARO Hot Air Brush for Hair
Caresmith Bloom 2 in 1 Hair Volumiser Brush + Hair Dryer
H2: Frequently Asked Questions
1. Can a salon blowout be done on slightly wet hair?
Yes. The hair should be rough-dried to a fairly dry condition before detailed styling with a round brush begins. That means less time spent applying concentrated heat to each area.
2. Should you apply heat protectant before getting a blowout?
Yeah. Use a heat protectant before you get a blowout. Especially if you are using heat tools to reduce damage from styling.
3. What round brush is best for a blowout?
Larger brushes add volume and soft waves; smaller brushes add more defined bends. The size will be based on the length of the hair and how you want to finish it.
4. How to get more volume in fine hair from a blowout?
While drying, focus on lifting the roots and use a larger round brush through the lengths. To prevent heavy styling products from weighing the hair down, keep them away from the roots.
5. Does blow-drying your hair too often damage it?
Too much heat styling can damage your hair, so reduce the risk by air-drying your hair and using heat as little as possible; keep the heat setting low or medium.
(Disclaimer: This article may include references to or features of products and services made available through affiliate marketing campaigns. NDTV Convergence Limited (“NDTV”) strives to maintain editorial independence while participating in such campaigns. NDTV does not assume responsibility for the performance or claims of any featured products or services.)