10 Reasons Night Photos Look Overprocessed Even On DSLR Camera
Night photos can look overprocessed due to high ISO, heavy noise reduction, excess sharpening, HDR, poor white balance and aggressive edits. Here are 10 common causes and how to keep DSLR shots natural.
10 Reasons Night Photos Look Overprocessed Even On DSLR Camera
Night photography has a certain charm that daylight cannot quite copy. A quiet railway platform under yellow lamps, a rain-soaked road reflecting shop signs, or a wedding venue glowing with fairy lights can look far more dramatic after sunset. That mood often encourages photographers to push their cameras a little harder. Then comes the surprise. The photo looked beautiful on the camera screen, yet on a laptop or phone it appears excessively sharp, unusually bright or oddly colourful. Skin looks polished like plastic. The sky turns an unnatural shade of blue. Streetlights seem to carry glowing rings around them. Even photographs taken on a DSLR can suddenly resemble images that have gone through several heavy filters. The problem is rarely the camera alone. Night photography places unusual pressure on exposure, autofocus, ISO performance and editing software. A few small adjustments can quickly pile up until the image loses its natural character. Here are ten common reasons night photos look overprocessed, along with practical ways to keep them believable.
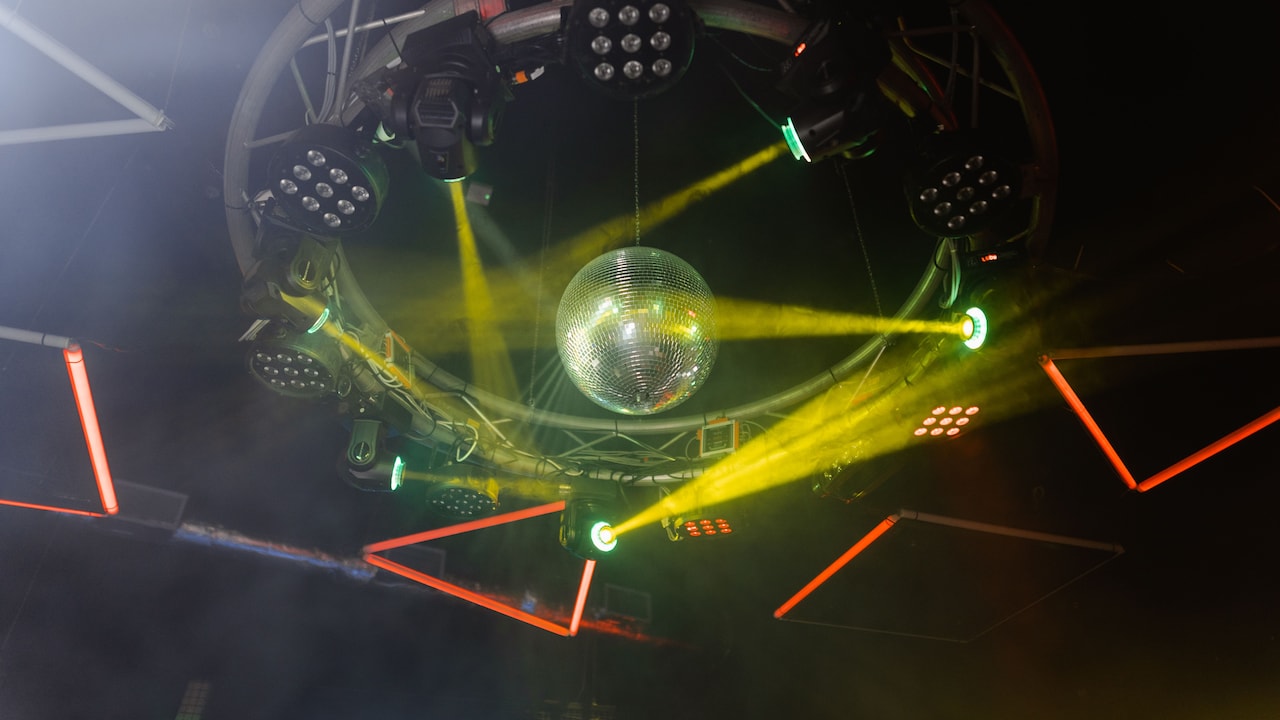
10 Reasons Night Photos Look Overprocessed Even On DSLR Camera; Photo Credit: Pexels
Why DSLR Night Photos Can Still Look Overprocessed
1. ISO Is Pushed Too High
ISO is often the first setting photographers raise when light disappears. It makes sense. A higher ISO helps the camera capture a brighter image without demanding an extremely slow shutter speed. The trouble begins when ISO climbs further than necessary.
High ISO introduces digital noise, particularly in dark areas. Tiny coloured specks appear in shadows, walls and skies. The camera or editing software then tries to hide those imperfections through automatic noise reduction. That correction can remove fine texture along with the noise.
Suddenly, skin loses pores, fabric loses weave and distant buildings look unusually smooth.
This effect is especially noticeable during night events. Imagine photographing a family function in a dim banquet hall. Raising ISO aggressively may rescue the exposure, but faces can later appear strangely polished once noise reduction enters the picture.
Instead of treating ISO as the only solution, balance it with aperture and shutter speed. A tripod can also help with static scenes. Using ISO 800 or 1600 intelligently often produces a more natural result than automatically jumping towards the camera's upper limits.
Brightness can be corrected. Lost texture is harder to bring back.
Also Read: Which DSLR Camera Type Matches Your Photography Style?
2. Noise Reduction Becomes Too Aggressive
Noise reduction sounds helpful, and in moderation it certainly is. Night photographs naturally contain more grain and colour noise, particularly when shadows need lifting. Problems appear when software tries too enthusiastically to make every surface perfectly clean.
Heavy noise reduction often creates what photographers jokingly call the wax effect.
Faces become unnaturally smooth. Brick walls lose their gritty texture. Hair starts merging into soft blocks instead of showing individual strands. Even trees can look painted rather than photographed.
Many cameras apply noise reduction automatically when JPEG files are captured. Editing apps may add another layer later. By the time the photo reaches social media, several rounds of smoothing may have taken place.
A little grain is not necessarily a flaw. In fact, mild noise can preserve the feeling of an authentic low-light scene. A roadside tea stall at midnight does not need to look as clinically smooth as a catalogue photograph.
Reduce noise only until it stops becoming distracting. Then leave some texture behind.
Night photographs often look more convincing when they retain a touch of imperfection.
3. Too Much Sharpening Creates Crunchy Detail
Sharpening can make a photograph appear clearer, but excessive sharpening creates the exact opposite effect. Details begin to look brittle, outlined and artificial.
Night photographs are particularly vulnerable because bright edges stand against dark backgrounds. Street signs, windows, headlights and jewellery already have strong contrast. Apply too much sharpening and thin glowing borders begin appearing around them.
These borders are commonly known as halos.
Consider a photograph of a brightly lit monument against a dark sky. A little sharpening may reveal carvings and architectural detail. Push it too far and every edge starts glowing as though someone traced the structure with a white pencil.
The same problem affects portraits. Eyelashes may look unnaturally hard, beard hair becomes coarse and facial lines become harsher than they appeared in real life.
Sharpening should enhance genuine detail rather than manufacture it. Zoom in while editing and watch high-contrast edges carefully. If outlines become obvious, the setting has probably gone too far.
A slightly softer photograph often feels more photographic than one sharpened until every pixel seems determined to announce itself.
10 Reasons Night Photos Look Overprocessed Even On DSLR Camera; Photo Credit: Pexels
4. Shadows Are Lifted Far Beyond Reality
Modern DSLR sensors capture impressive information in dark areas. Editing software makes it tempting to drag the shadow slider upwards and reveal every hidden detail.
That ability can become a trap.
Night scenes naturally contain darkness. A lane illuminated by two streetlights should have deep corners. A café photographed after closing time may contain windows that fade almost completely into black. When every shadow is opened, the photograph stops looking like night.
Noise also becomes more visible when dark regions are brightened aggressively. Photographers then compensate with stronger noise reduction, creating another layer of artificial processing.
Suppose a night photograph shows a scooter parked outside a small shop. The original scene contains warm light around the entrance and deep darkness near the pavement. Lifting every shadow may expose the scooter beautifully, but it can also flatten the entire atmosphere.
Keep some blacks genuinely dark.
Instead of asking whether every detail can be recovered, ask whether it should be recovered. Darkness is part of the composition, not an editing mistake.
Night photography becomes far more convincing once shadows are allowed to behave like shadows.
5. Highlights Are Pulled Back Too Hard
Bright lights are difficult to control at night. Headlamps, neon boards, decorative bulbs and streetlights can easily become overexposed. Modern editing software offers powerful highlight recovery tools, which can certainly help.
Yet forcing every bright area back into perfect detail can create an unnatural appearance.
Real lights often look intensely bright to the eye. A streetlamp naturally contains a glowing centre. A wedding light aimed directly towards the camera may reasonably lose some detail. Trying to recover every highlight can make those light sources appear grey, flat or strangely textured.
Imagine photographing a busy market at night. Shop signs, vehicle lights and food stalls all compete for attention. Pulling the highlight slider aggressively may technically preserve more information, yet the scene can start looking dull and heavily processed.
The better approach is selective recovery.
Protect important details, such as a person's face near a bright source, while allowing tiny lights to remain brilliant. Some clipped highlights are perfectly acceptable in night photography.
Not every glowing bulb needs visible internal detail.
A believable photograph usually preserves the sensation of brightness rather than attempting to tame every luminous point.
6. White Balance Makes Colours Look Unreal
Night lighting is rarely colour-neutral.
One street may contain warm sodium lamps, cool LED boards, fluorescent shop lighting and colourful vehicle lights within the same frame. Automatic white balance has to make sense of this visual circus, and it does not always succeed.
The result may look excessively orange, blue, green or magenta.
Editing can make matters worse when white balance is corrected too aggressively. A photographer may cool down an orange street scene until the road suddenly looks blue. Someone else may warm a photograph so heavily that every face appears sunburnt.
The key is remembering that night scenes are supposed to contain colour casts.
A roadside food stall illuminated by warm bulbs should probably feel warm. A modern office district under blue-white LEDs may naturally appear cooler. Removing every trace of those colours can destroy the character of the location.
Use white balance to control distracting colour, not erase atmosphere.
Skin tones deserve special attention. If people appear healthy and recognisable while the surrounding lights retain some of their original warmth or coolness, the balance is usually close. Perfect neutrality is not always realistic after sunset.
10 Reasons Night Photos Look Overprocessed Even On DSLR Camera; Photo Credit: Pexels
7. Saturation And Vibrance Are Overused
Night photographs often contain colours that seem dull straight out of the camera. Photographers naturally reach for saturation or vibrance sliders to restore energy.
A small adjustment can work beautifully.
A large one can turn reality into a festival poster.
Blue skies become electric navy. Red tail-lights turn fluorescent. Green signboards begin glowing like radioactive panels. Skin tones can also shift towards orange or pink, particularly under mixed lighting.
The problem is easy to miss because colourful images look impressive for a few seconds. On social media, punchy colours also attract attention quickly. Yet viewers usually sense when the photograph has crossed into artificial territory.
Consider a rainy night street with reflections across the road. Those reflections may already contain rich reds, yellows and blues. Increasing saturation heavily can make the scene dramatic, but it can also remove subtle colour differences and turn everything into visual noise.
Instead, strengthen only the colours that need help. Vibrance usually handles weaker colours more gently than global saturation, though even vibrance can be overdone.
Good night colour has depth.
Overprocessed colour simply shouts.
8. HDR Processing Flattens The Scene
High dynamic range processing can rescue difficult night scenes where bright lights and dark shadows exist together. Used carefully, it is useful. Used aggressively, it creates that instantly recognisable processed look.
HDR often tries to retain detail everywhere.
The sky gains texture. Shadows become visible. Light bulbs stop glowing. Buildings reveal every surface. Technically, more information is present, yet the photograph can feel flatter because nothing remains genuinely dark or brilliantly bright.
This is especially common in cityscape photography.
Picture a skyline shot from a rooftop. One exposure protects illuminated buildings while another captures darker streets. Combining them can produce a balanced result. Push the HDR settings too far, though, and the entire city begins resembling a computer game environment.
Contrast becomes strangely localised. Halos form around buildings. Clouds acquire exaggerated detail. Colours become heavier than they appeared on location.
HDR should solve an exposure problem rather than become the visual style.
Blend exposures gently and preserve natural contrast. The viewer should notice the scene first, not the technique used to create it.
The best HDR work often does not look like HDR at all.
9. Clarity And Texture Are Pushed For Instant Drama
Clarity is dangerously satisfying.
Move the slider slightly and roads become gritty, buildings gain definition and clouds suddenly look dramatic. Move it further and the photograph begins developing a harsh, metallic quality.
Clarity mainly increases midtone contrast. In night scenes, where contrast is already strong, the effect can become exaggerated quickly.
Portraits suffer particularly badly.
Someone photographed outside a restaurant may have perfectly normal skin in the original file. Add strong clarity and every pore, crease and shadow becomes more pronounced. The result can make a cheerful thirty-year-old guest look as though they have just completed a week-long trek without sleep.
Texture adjustments can cause similar problems when pushed without restraint.
Architecture can tolerate more local contrast than faces, but even buildings have limits. Concrete surfaces and old walls should show detail without appearing carved from sandpaper.
Apply clarity selectively when possible. A little extra definition in architecture may help, while faces usually need gentler treatment.
Drama should come from light, composition and timing.
A slider should merely support it.
10. Phone Screens And Social Media Add Another Layer
Sometimes the DSLR edit is not the final culprit.
A photograph may look balanced on a calibrated monitor and completely different once viewed on a bright smartphone. Many modern displays boost contrast, colour and perceived sharpness. Social media platforms may also resize and compress images before displaying them.
The result can make an already punchy edit appear even more processed.
This explains why a night photograph that looked tasteful on a laptop may suddenly show oversaturated neon lights and crushed shadows on a phone.
Compression can create additional artefacts around fine details, especially in dark skies. Smooth gradients may break into visible bands. Sharpened edges can become harsher after resizing.
Before publishing an important photograph, preview it on more than one screen. Checking it on a regular phone at normal brightness can reveal problems that an editing monitor hides.
Also avoid preparing an image specifically to look dramatic at maximum screen brightness.
Most people will view it while travelling, sitting in a café or scrolling between messages.
A photograph that survives ordinary viewing conditions usually feels far more natural.
Products Related To This Article
1. Nikon D7500 20.9MP Digital SLR Camera (Black) with AF-S DX NIKKOR
2. Sony Alpha Ilce-6400M 24.2Mp Mirrorless Digital SLR 16 GB Camera
3. Nikon Store D850 45.7 MP Camera with 1 X Optical Zoom
4. Pomya DSLR Camera, 70MP 4K 50X Zoom Auto Focus Wide Angle
5. Sony Alpha Ilce-6400M 24.2Mp Mirrorless Digital SLR 16 GB Camera
6. Pentax K-5 16.3 MP Digital SLR with 3-Inch LCD
7. Sony Alpha Ilce-6400M 24.2Mp Mirrorless Digital SLR 16 GB Camera
A DSLR camera does not automatically guarantee natural-looking night photographs. The camera captures the scene, but settings, in-camera processing, editing choices and even the final display can dramatically change how that scene feels.
Most overprocessed night photos come from good intentions taken slightly too far. More brightness seems useful, so shadows get lifted. More detail sounds appealing, so sharpening increases. Cleaner files appear better, so noise reduction removes every trace of grain. Before long, the photograph contains plenty of technical information but very little atmosphere.
Night scenes need contrast, darkness and imperfect light. A glowing streetlamp can glow. A quiet corner can remain black. A little grain can stay visible. Colours can carry the warmth of roadside bulbs or the coolness of modern LEDs.
The goal is not to make every part of the frame equally visible. It is to preserve the feeling that made the camera come out in the first place.
When editing starts becoming noticeable before the photograph itself, dial things back. At night, restraint often produces the most striking result.
(Disclaimer: This article may include references to or features of products and services made available through affiliate marketing campaigns. NDTV Convergence Limited (“NDTV”) strives to maintain editorial independence while participating in such campaigns. NDTV does not assume responsibility for the performance or claims of any featured products or services.)