How To Improve Reverse Camera Visibility In Daylight: 10 Checks For Lens Glare, Display Brightness And Camera Angle
Improve reverse camera visibility in daylight with 10 practical checks covering lens glare, screen brightness, reflections, camera angle, condensation and wiring issues.
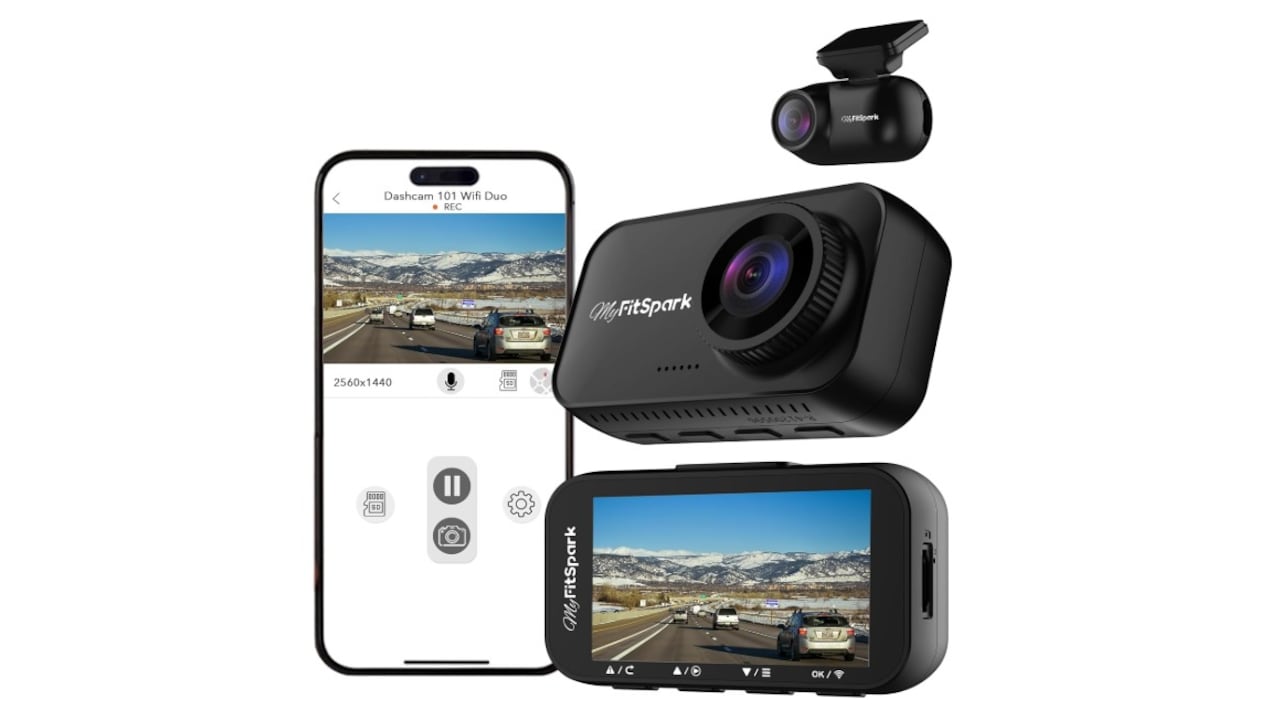
Reverse Camera Not Clear In Daylight? 10 Checks To Improve Visibility
Reverse cameras have quietly become one of those car features that drivers start relying on almost immediately. They help while squeezing into a narrow basement slot, reversing past a low wall or judging the final few centimetres before a bumper meets an unwanted obstacle. Then comes a bright summer afternoon. The reverse gear goes in, the display lights up, and the picture suddenly looks pale, reflective or almost impossible to read. Strong sunlight can expose weaknesses that remain hidden at night. A dusty lens scatters light. A glossy infotainment screen behaves like a mirror. Incorrect brightness settings can bleach out the image, while a badly positioned camera may stare straight towards the brightest part of the sky. The good news is that poor daylight visibility does not automatically mean the camera has failed. Many problems come down to cleaning, adjustment or simple settings. Working through these ten checks can help identify the cause before anyone starts thinking about expensive repairs.
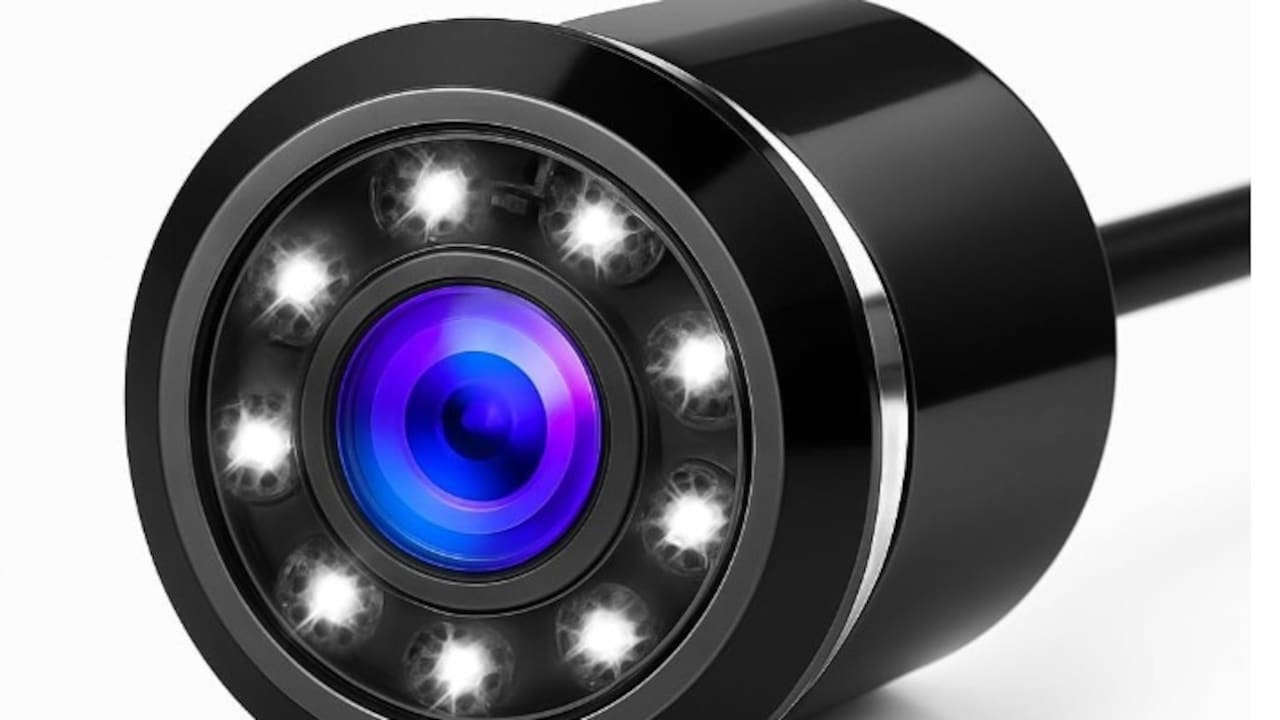
Reverse Camera Not Clear In Daylight? 10 Checks To Improve Visibility; Photo Credit: Amazon
10 Checks To Improve Reverse Camera Visibility In Daylight
1. Clean The Camera Lens Properly
The first check sounds almost too obvious, yet it solves a surprising number of visibility problems. Reverse cameras sit in one of the dirtiest places on a vehicle. Road spray, dust, rain marks, polishing residue, and fine grime can settle on the tiny lens without looking particularly dramatic.
Under soft evening light, the picture may still appear acceptable. Bright sunlight changes everything. Light hits those particles and scatters across the lens, creating haze, flare, and a washed-out image.
Use a clean microfibre cloth and gently wipe the lens. If dry dust refuses to move, dampen the cloth slightly with clean water or a mild car-safe glass cleaner. Avoid harsh rubbing, household chemicals and rough tissues, which can leave scratches on plastic lens covers.
Pay attention after a dusty highway journey or a monsoon drive. Mud spots can dry into a surprisingly stubborn film.
Making lens cleaning part of the regular car-wash routine takes seconds and often gives the camera picture an instant lift.
Also Read: 5 Best Dashcams For Driving Safely In Monsoon Weather Under ₹4,200
2. Check For Water Spots And Fine Scratches
A lens can look clean at first glance and still struggle badly in sunlight. Water spots and tiny surface scratches often remain almost invisible until strong light strikes them at the right angle.
Hard-water marks deserve particular attention. After repeated washing, mineral deposits can form a faint ring or cloudy layer over the camera cover. When the afternoon sun hits that surface, the picture may develop bright streaks, halos or reduced contrast.
Inspect the camera closely in good light. Look from different angles rather than staring straight at it. Fine scratches often reveal themselves when the surface catches a reflection.
Gentle cleaning may remove mineral residue, but avoid aggressive polishing unless the vehicle manufacturer specifically recommends it. Some cameras use delicate protective coatings.
A badly scratched lens cover may require professional replacement rather than enthusiastic DIY treatment. It is a tiny component, after all, not a kitchen countertop.
If visibility improves dramatically after shading the camera with a hand, surface damage or deposits may well be contributing to the glare.
3. Adjust The Display Brightness
Drivers often increase screen brightness when sunlight makes the display difficult to see. That sounds logical, but maximum brightness does not always produce the clearest reverse-camera picture.
An overly bright display can crush lighter details and make an already sunlit image look pale. White walls, concrete surfaces and bright road markings may merge into one glowing patch.
Open the infotainment or display settings and adjust brightness gradually while the reverse camera is active, if the system allows it. Look for a setting that keeps darker objects visible without bleaching the brighter parts of the picture.
Some cars store separate daytime and night-time brightness levels. Others link the screen to the headlamp setting or an ambient-light sensor.
This becomes especially noticeable when entering or leaving basement parking. A display tuned for a dim car park may feel completely wrong moments later in open sunshine.
Do not judge brightness by how colourful the home screen looks. Judge it by whether the camera clearly shows kerbs, pillars, parked scooters and other obstacles.
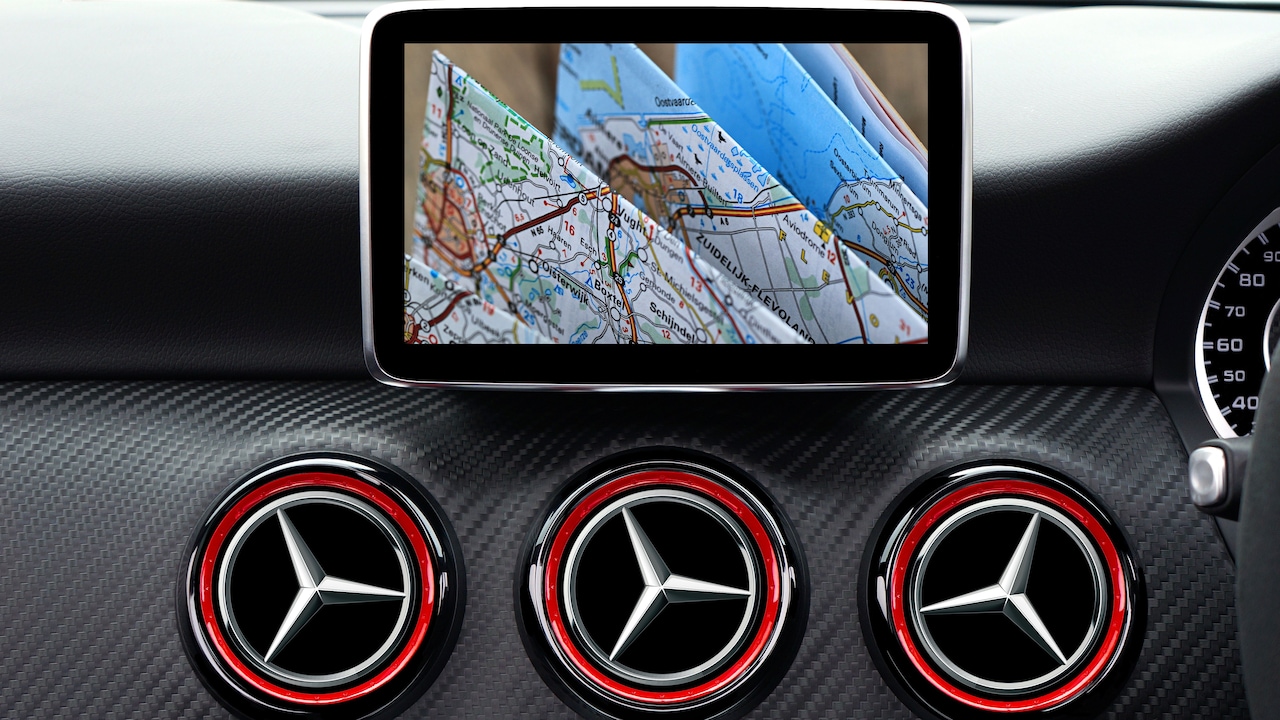
Reverse Camera Not Clear In Daylight? 10 Checks To Improve Visibility; Photo Credit: Pexels
4. Review Contrast And Camera Display Settings
Brightness gets most of the attention, but contrast can make an equally important difference. Too much contrast may turn shadows into black patches, while too little can make every object appear flat and grey.
Some infotainment systems offer separate adjustments for the reverse-camera image. These may include contrast, colour, sharpness or exposure-related settings.
Start with moderate values rather than pushing every slider towards maximum. Excessive sharpness can create artificial outlines around objects, while extreme colour settings add little practical benefit when reversing.
The aim is not to create a cinematic picture. The aim is to recognise what sits behind the car quickly and accurately.
Try making adjustments in the conditions that cause trouble. A setting that looks excellent inside covered parking may perform poorly in harsh midday sun.
If the system has a reset or default-picture option, that can provide a useful starting point. Previous owners, workshop technicians or curious passengers may have changed settings years ago. Sometimes the mysterious problem is simply a forgotten menu adjustment hiding in plain sight.
5. Reduce Reflections On The Infotainment Screen
Sometimes the camera image itself is perfectly fine. The real villain sits between the picture and the driver's eyes: the screen surface.
Glossy infotainment displays can reflect windows, light-coloured clothing, dashboard trim and bright sky. Strong daylight then creates a second image over the reverse-camera feed, making details much harder to distinguish.
Start by cleaning the display with a suitable microfibre cloth. Fingerprints scatter light and make reflections worse. Anyone who has watched a child turn a touchscreen into an abstract fingerprint exhibition will know how quickly this happens.
Check whether direct sunlight enters through a side window or windscreen and lands on the display. Changing the seating position slightly may improve the viewing angle.
A compatible matte or anti-glare screen protector can also help on some systems, although it should fit properly and avoid interfering with touch sensitivity.
Before blaming the camera, shade the infotainment screen briefly with a hand. If the picture suddenly becomes much easier to read, screen reflection deserves more attention than the camera itself.
6. Inspect The Camera Angle
A reverse camera only needs to move a few degrees for daylight performance to change noticeably. If it points too high, too much bright sky enters the frame. If it points too low, the image may show mostly bumper and road.
Look at what fills the screen while the car stands on level ground. A useful view should normally show enough road behind the vehicle to judge distance while still keeping nearby obstacles visible.
If the top half of the picture contains mostly sky or a glaring white building, the camera angle may contribute to overexposure.
Camera position can change after bumper repairs, tailgate work or a minor impact. Even enthusiastic pressure during cleaning can disturb some aftermarket camera mounts.
Factory-fitted units usually have a fixed mounting position, so avoid forcing them. Aftermarket cameras often allow adjustment through a bracket.
If the image changed after bodywork, ask the workshop to check alignment. A correct angle improves more than glare control; it also makes parking guidelines and distance judgement feel far more natural.
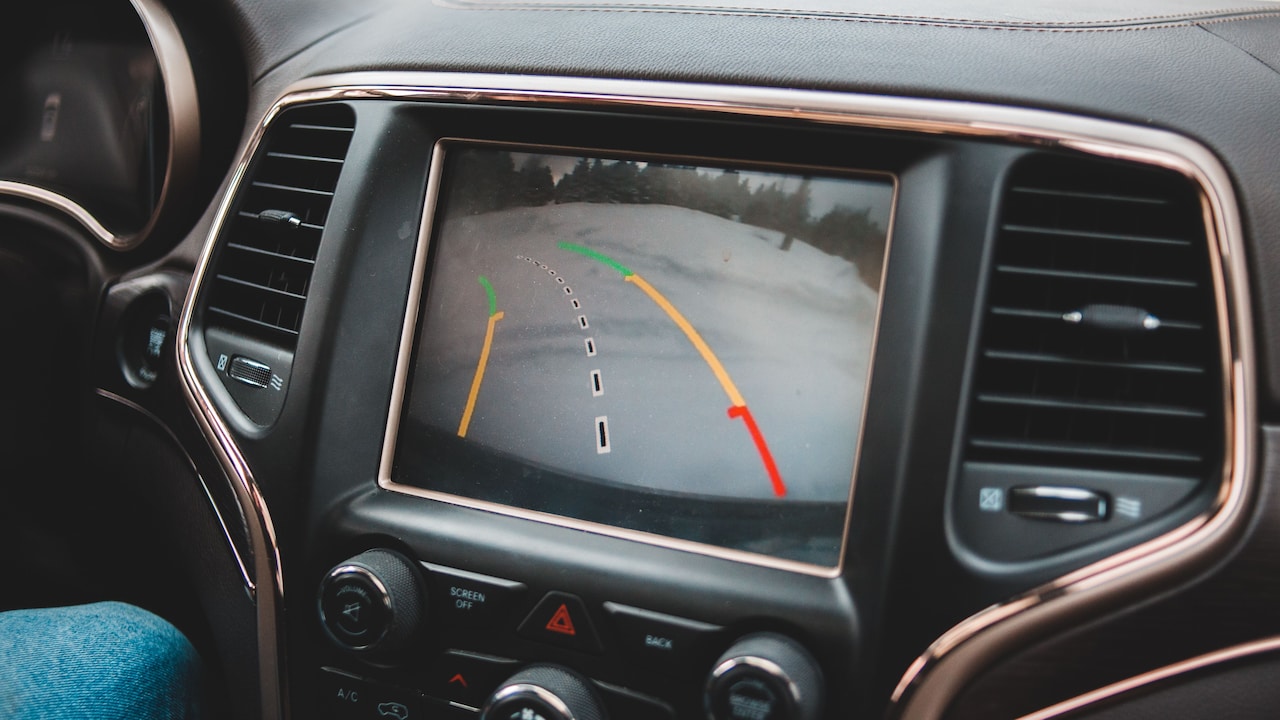
Reverse Camera Not Clear In Daylight? 10 Checks To Improve Visibility; Photo Credit: Pexels
7. Check Whether Sunlight Hits The Lens Directly
Direct sunlight is one of the hardest conditions for any small camera. When the sun shines straight into the reverse-camera lens, the sensor may struggle to balance extremely bright light with darker objects behind the vehicle.
The result can include flare, bright streaks, a milky image or a large washed-out patch.
Pay attention to whether the problem appears only when the car faces a particular direction. If visibility becomes poor while reversing towards the sun but looks normal after turning around, direct glare is probably playing a major role.
This does not necessarily indicate a fault.
Some camera housings include a small lip or recess that helps shade the lens. Check whether that surrounding trim has loosened, broken or gone missing.
Avoid attaching homemade covers that could block the camera view or trap water. A badly designed shade may solve one problem while creating three new ones.
Understanding when sunlight causes the issue also makes troubleshooting easier. Consistent poor visibility suggests a hardware or setting problem; direction-dependent glare points more strongly towards lighting conditions.
8. Check The Camera Housing And Mounting Area
The camera does not work in isolation. Its housing, surrounding trim and mounting position all influence the picture.
Inspect the area around the camera for loose plastic, cracked trim, displaced rubber seals or anything partially covering the lens. Number-plate frames, decorative accessories and poorly fitted aftermarket parts can occasionally intrude into the camera's field of view.
Bright sunlight makes these obstructions more troublesome because nearby glossy surfaces may reflect light directly towards the lens.
Also check whether the camera sits firmly in place. A loose unit may tilt slightly when the tailgate shuts or when the vehicle passes over rough roads. The picture may then look different from one day to the next.
After rear-bumper repairs, dent removal or number-plate work, pay special attention to mounting alignment.
A camera that visibly moves in its housing needs proper attention rather than adhesive-tape engineering. A secure mount protects image quality and helps prevent water from entering connectors or the camera body.
Small components often create surprisingly large annoyances when they sit a few millimetres out of position.
9. Look For Condensation Inside The Camera
External dirt wipes away. Moisture trapped inside the camera housing is a different story.
Internal condensation often creates a soft, foggy picture that becomes much worse under bright daylight. Sunlight catches the moisture and spreads across the image, reducing contrast and making details look as though someone smeared petroleum jelly across the lens.
Inspect the camera after rain, washing or a humid night. If cloudiness appears behind the lens cover rather than on its surface, water may have entered the housing.
The problem can come and go as temperatures change. A camera may look clearer in the morning and turn hazy once sunlight warms the rear of the vehicle.
Do not open a sealed factory camera casually. Breaking the housing can damage waterproofing permanently.
Instead, have the camera, seal and wiring area inspected if internal moisture keeps returning. Replacement may become necessary if the housing has cracked or lost its seal.
Catching the issue early matters because moisture can eventually affect electronics as well as picture quality.
10. Check The Wiring, Camera Quality And System Health
If cleaning, settings and positioning make little difference, the problem may sit deeper in the system.
Ageing cameras can lose image quality over time. Aftermarket units vary considerably in sensor quality, dynamic range and their ability to handle strong sunlight. A budget camera may look perfectly usable at night yet struggle badly when bright and dark areas appear together.
Wiring problems can also affect picture quality. Loose connectors, damaged cables or poor electrical connections may cause flickering, lines, colour changes or intermittent images rather than simple glare.
Watch for patterns. If the picture changes when the tailgate opens, when the car moves over bumps or when accessories switch on, an electrical issue becomes more likely.
A workshop can inspect the camera feed, wiring and connectors before recommending replacement. That matters because replacing a perfectly good camera will not fix a damaged cable.
If replacement does become necessary, choose a unit designed for the vehicle and prioritise daylight performance, wide dynamic range and reliable weather sealing rather than chasing the cheapest screen resolution figure.
Products Related To This Article
1. MyFitSpark DC-101 Pro ADAS Dual Channel Dash Cam for Car Front and Rear
2. Audio Wheels Fisheye Lens AHD 1080P Car Reverse Camera
3. REDTIGER 4K+4K Dash Cam Front and Rear, Dual STARVIS 2 IMX678 Sensor
4. Dylect® Sense 4K Max 2 Channel Dash Cam with Sony STARVIS 2
5. MyFitSpark DC-101 WiFi Duo Real 2K Dual Channel Dash Cam Car Front and Rear
6. BLAUPUNKT DH 3.1 AHD Car Reverse Parking Camera
7. Audio Wheels AHD 1080P Car Backup Camera - 170° Wide Angle
Poor reverse-camera visibility in daylight can make a routine parking manoeuvre unnecessarily tense, especially when a pillar, low kerb or impatient scooter sits somewhere behind the car. Fortunately, the cause often turns out to be far simpler than a failed camera.
Start with the basics. Clean the lens, inspect it for marks and check the screen for reflections. Then work through brightness, contrast, camera angle, sunlight direction and mounting condition. Condensation and wiring issues deserve attention when simpler fixes do not help.
No reverse camera should replace mirrors, shoulder checks or careful observation. It works best as an extra pair of electronic eyes, not the only pair.
A few minutes of checking can make the display far easier to read and restore confidence while reversing. And when the screen stops resembling a sun-faded television from the 1990s, even the tightest parking space can feel a little less dramatic.
(Disclaimer: This article may include references to or features of products and services made available through affiliate marketing campaigns. NDTV Convergence Limited (“NDTV”) strives to maintain editorial independence while participating in such campaigns. NDTV does not assume responsibility for the performance or claims of any featured products or services.)