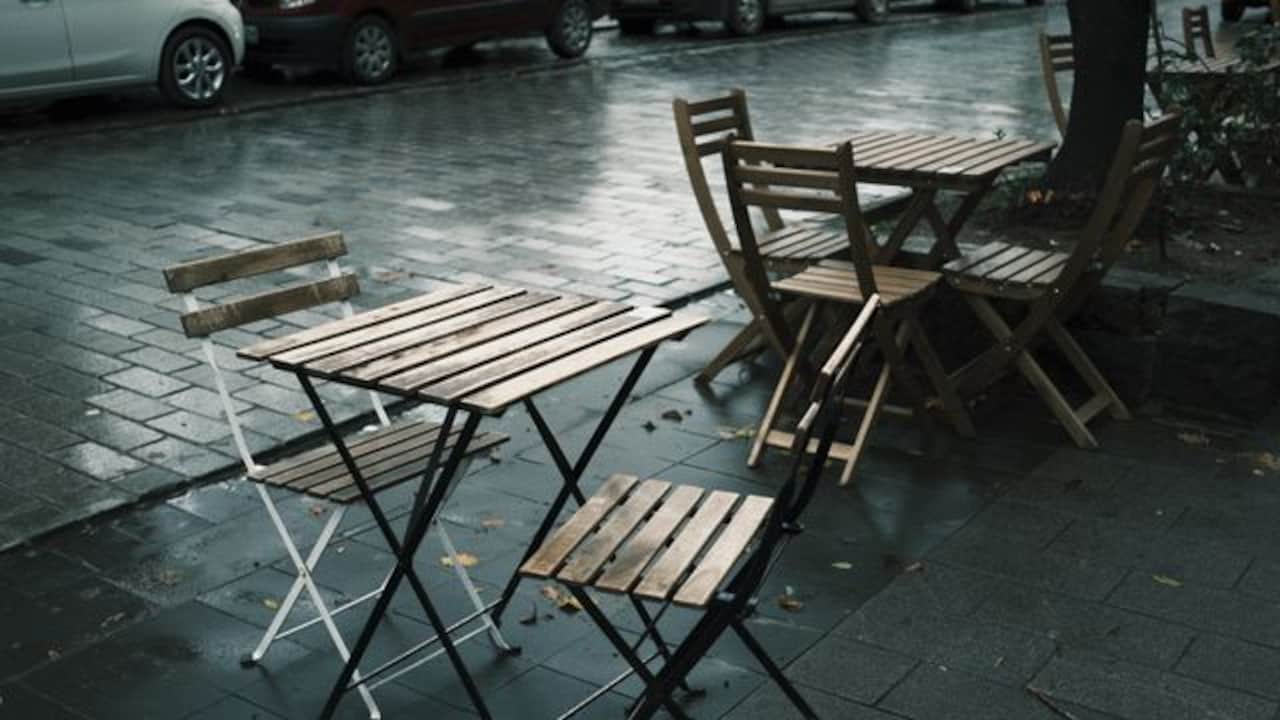
10 Reasons Photo Frames Keep Tilting On The Wall And How To Make Them Stay Straight
Photo frames that constantly lean to one side aren’t always hung badly. Uneven hardware, wall texture, vibrations and even the frame itself can cause the tilt. Here are 10 common reasons and practical ways to keep frames straight.
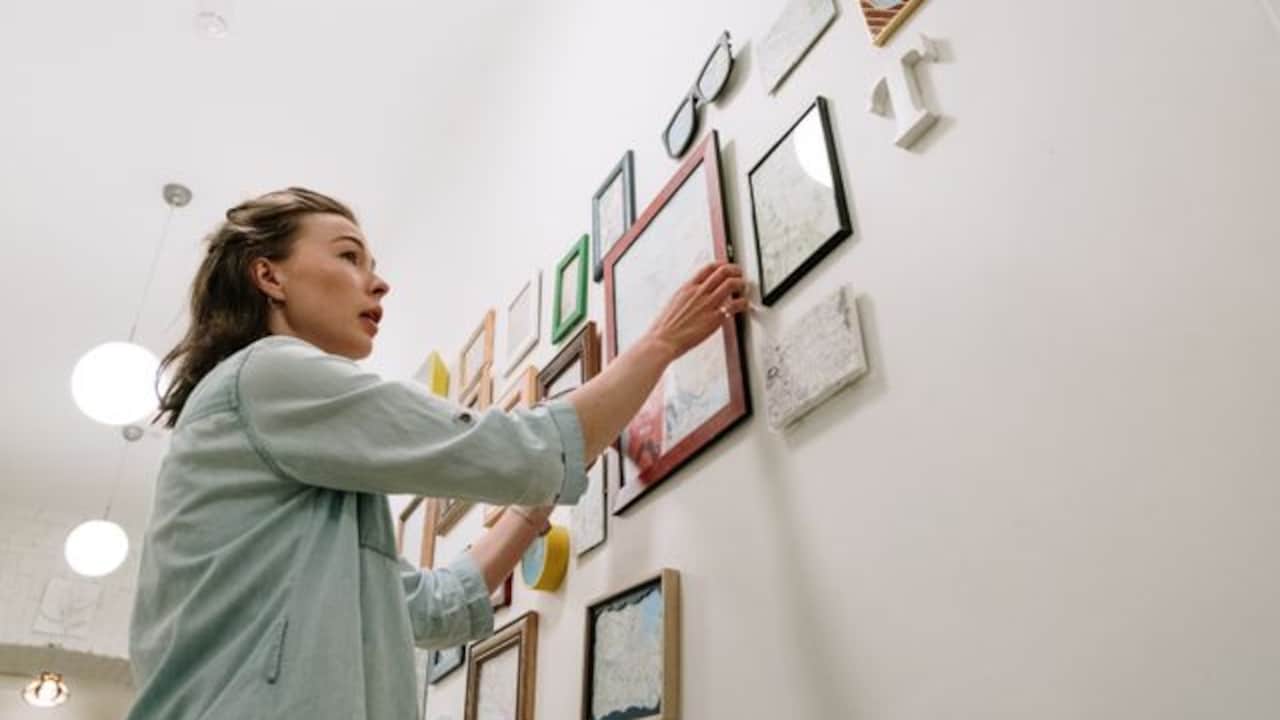
Tips to hang photo frames on the wall and prevent them from tilting
You straighten the photograph before breakfast. By lunchtime, it has developed a slight lean. The next morning, it looks as though somebody nudged one corner on purpose. Few home décor problems feel quite as petty and strangely irritating as a photo frame that simply refuses to stay straight. The obvious reaction is usually to blame the nail. Sometimes that's exactly the problem, but not always. Frames can gradually shift because of uneven hanging hardware, loose wires, textured walls, vibrations from doors and fans, or even a frame that carries more weight on one side. A perfectly level frame can therefore start moving without anyone touching it.
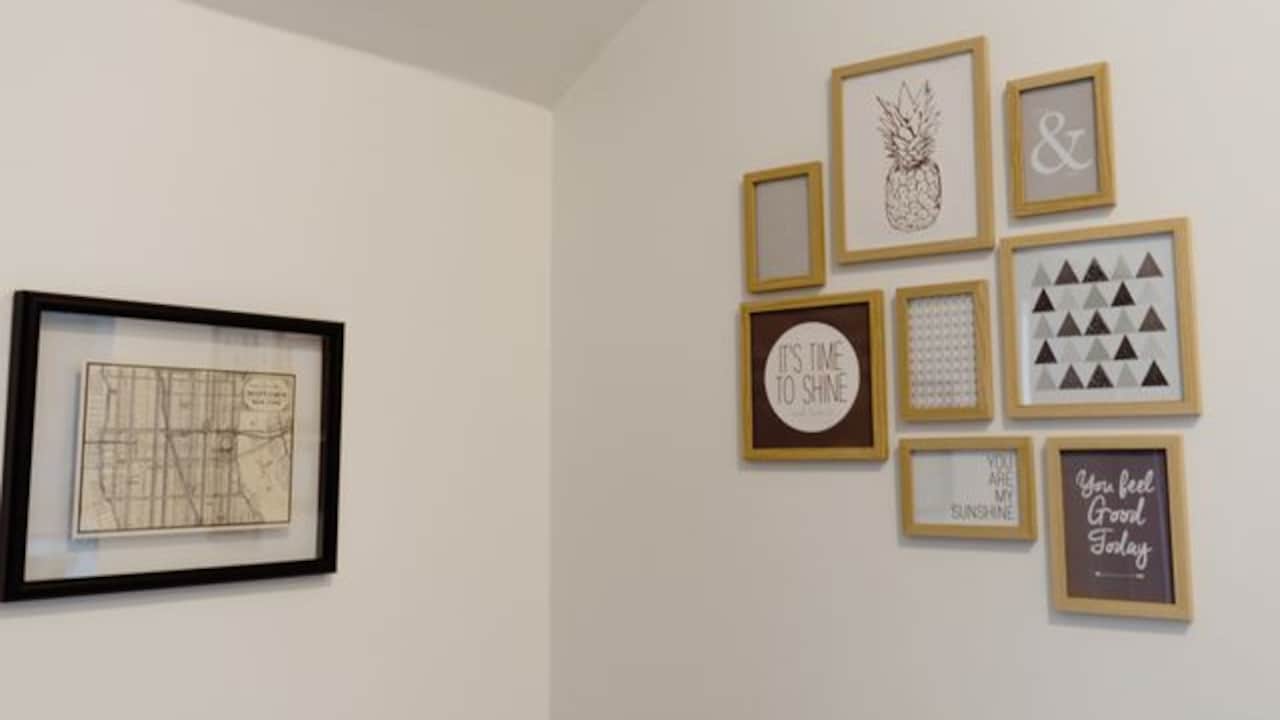
How to hang photo frames securely in one place and avoid tilting
Photo Credit: Pexels
The good news is that the solution rarely involves drilling a collection of experimental holes into the wall. Once we work out what is actually pushing, pulling or twisting the frame, keeping it level becomes much easier. Here are 10 reasons photo frames keep tilting and what can help them finally stay where they belong.
Also Read: Wall-Mounted Book Shelves That Double As Decor
Why Photo Frames Shift Even After You Straighten Them
1. The Hanging Wire Is Sliding Across The Hook
Picture wire looks like a simple hanging system, but it gives a frame plenty of room to move. When the wire rests over a single nail or hook, the frame can slide fractionally from side to side. Even a movement of a few millimetres can make one corner appear noticeably lower.
The problem becomes more obvious with wide frames because their width exaggerates tiny shifts. A smooth wire and narrow metal hook can make matters worse. Opening a nearby door, dusting the frame or accidentally brushing against the wall may be enough to change its position.
Check whether the centre of the wire still sits directly over the hook when the frame tilts. If it has shifted, the wire is probably responsible.
A small picture hook with a deeper groove can give the wire a more secure resting point. For heavier or wider frames, two properly levelled hooks can work even better. They spread the weight across the frame and drastically reduce sideways movement, giving that determinedly crooked family photograph far less freedom to wander.
2. The Hardware On The Back Is Not Even
Sometimes the wall is perfectly innocent. Turn the frame around and the real culprit may be waiting on the back.
D-rings, sawtooth hangers and other fittings need to sit at exactly the same height. If one attachment point sits even slightly higher than the other, the frame naturally rotates once gravity takes over. This often happens with inexpensive frames where hardware has been fitted quickly rather than precisely.
The difference may look insignificant when measured against the back of the frame. On the wall, however, that tiny mismatch becomes far easier to spot.
Place the frame face-down on a soft surface and measure from the top edge to each hanging attachment. Don't rely entirely on sight. A ruler or measuring tape can reveal differences that our eyes miss.
If the fittings don't match, adjust one carefully until both sit level. With screw-mounted fittings, loosening and repositioning the hardware may be enough. Correcting the frame itself is usually much more effective than repeatedly straightening it after hanging.
3. One Side Of The Frame Is Heavier
Frames aren't necessarily balanced objects. Decorative borders, thick wooden sections, metal embellishments, uneven backing boards and even the contents inside can shift the centre of gravity.
Suppose one edge contains heavier decorative detailing. The hanging point might technically sit in the middle of the frame, yet the actual weight doesn't. Gravity then pulls the heavier side down until the frame settles into its preferred position. Unfortunately, its preferred position may be visibly crooked.
Large collage frames can develop the same problem. Multiple photographs, clips or decorative inserts sometimes create uneven weight distribution without making the reason immediately obvious.
Lift the frame by its hanging wire and watch how it naturally settles. If it immediately leans to one side while suspended, the balance lies within the frame rather than the wall.
Moving the hanging point slightly towards the heavier side can compensate for this imbalance. For frames using two attachments, repositioning the fittings symmetrically around the true centre of gravity can create much better stability.
4. The Wall Surface Is Slightly Uneven
Walls look flat from across a room. Place a rigid frame against one, though, and small bumps suddenly matter.
Uneven plaster, old paint layers, textured finishes and minor surface imperfections can push one corner of a frame forward. Once the frame stops sitting flush against the wall, its weight can rotate around the hanging point and create a persistent tilt.
This explains why a frame may hang perfectly on one wall yet behave completely differently after being moved to another.
Run your hand gently across the area behind the frame. You may notice raised patches or subtle differences in texture. Don't start sanding the wall simply because one photograph has developed a personality of its own.
Instead, try small rubber or felt bumpers on the lower rear corners of the frame. These create consistent contact points between the frame and wall. They also prevent one corner from sitting closer to the wall than the other.
As a bonus, bumpers protect painted surfaces from scratches and reduce those faint marks that often appear behind frequently adjusted frames.
5. Everyday Vibrations Are Slowly Moving It
Nobody needs to touch a frame directly for it to move.
Doors closing, cupboard shutters banging, footsteps on certain floors, speakers playing loudly and even furniture shifting nearby can send small vibrations through walls. Each movement may be far too small to notice, yet repeated vibrations can gradually push a loosely hung frame away from level.
Frames near frequently used doors are especially vulnerable. The familiar evening slam of a bedroom door can become a surprisingly effective picture-frame adjustment system.
Ceiling fans can also contribute indirectly when lightweight frames hang on walls that experience airflow or minor movement. The frame doesn't need to swing dramatically. Repeated microscopic shifts are enough.
If the same frame repeatedly tilts after household activity, stabilising its lower corners can help. Small removable adhesive strips, reusable mounting putty or rubber bumpers can limit movement without requiring another hole.
The goal isn't necessarily to glue the entire frame to the wall. Giving the bottom corners enough resistance to stop them sliding is often all that's required.

Everyday vibrations can slowly move hanged photo frames from their place
Photo Credit: Pexels
6. The Nail Or Hook Is Sitting At An Angle
A nail driven slightly downwards or sideways can create an unstable resting point for a frame.
Instead of holding the wire or hanger in one fixed position, the angled surface may encourage it to slide towards one side. Gravity does the rest. Straighten the frame today and the hanging hardware slowly finds the same crooked position tomorrow.
This problem can be surprisingly difficult to spot because the nail itself disappears behind the frame.
Remove the picture and inspect the fixing from the side. If the nail bends, points sharply downward or sits loosely inside the wall, it may need attention.
For lighter frames, replacing it with a proper picture hook can provide a more controlled hanging point. Heavier frames need wall fixings suitable for both their weight and the wall material. A decorative frame may look light until glass, backing and artwork turn it into something considerably heavier.
Avoid repeatedly hammering a loose nail back into the same enlarged hole. Once the fixing no longer grips securely, moving or replacing it usually provides a safer and more reliable solution.
7. The Hanging Wire Has Become Too Loose
Picture wire stretches and loosens over time, particularly on larger or heavier frames.
When the wire has too much slack, the frame hangs farther below the hook and gains more freedom to rotate. The attachment point effectively becomes a pivot, allowing one side to dip whenever the frame experiences a small disturbance.
You may notice the problem after moving an older frame or rehanging photographs that have spent years in the same place.
Check the wire while the frame lies face-down. It should have some flexibility, but it shouldn't droop dramatically towards the centre. Also inspect where the wire attaches to the frame. Loose screws or knots can create additional movement.
Tighten the fittings before adjusting the wire itself. If the wire looks frayed, kinked or worn, replacing it may make more sense than trying to rescue it.
Keep enough slack for easy hanging, but avoid an exaggerated loop. A shorter, properly tensioned wire reduces the frame's ability to swing from side to side and makes maintaining a level position much easier.
8. A Single Hanging Point Is Not Stable Enough
One nail feels convenient. Measure the middle, hammer it in, hang the frame and admire the result. For small frames, that often works perfectly.
Larger frames tell a different story.
When a wide frame hangs from one central point, that point becomes an axis. The entire frame can rotate around it almost like the hand of a clock. The wider and heavier the frame, the more obvious a tiny rotation becomes.
This is why panoramic photographs, certificates and broad artwork can be especially frustrating. You can use a spirit level and achieve textbook perfection, only to discover a slight lean later.
Two hanging points provide considerably more stability. They reduce rotation by supporting the frame across a wider area.
Measure carefully before installing them because two badly aligned hooks simply create a different problem. Mark both positions and check them with a spirit level before making holes.
For frames that already have two D-rings, hanging each ring directly onto its own hook can offer better stability than connecting the rings with one long wire.
9. The Backing Board Or Frame Has Warped
The problem isn't always the hanging system. Sometimes the frame itself has changed shape.
Wood, fibreboard and similar materials can react to changes in temperature and humidity. Over time, a frame may twist slightly or its backing board may bow. The difference might be almost invisible until you place it against a flat wall.
A warped frame won't make even contact with the surface. One corner can sit firmly against the wall while another floats slightly forward, encouraging the frame to twist around its hook.
Take the frame down and place it carefully on a genuinely flat surface. Look at it from the side. If one corner rises noticeably, warping may be contributing to the problem.
Minor movement can sometimes be managed with bumpers of different thicknesses to compensate for the uneven back. More severe distortion may require replacing the backing or frame.
Avoid placing vulnerable wooden frames where they face persistent dampness, intense heat or strong direct sunlight. Protecting the frame from repeated environmental changes can help it retain its shape for longer.
10. The Bottom Corners Have Nothing To Grip
Even a correctly installed frame may continue tilting because its lower corners slide freely across smooth paint.
Think of the hook as the frame's pivot and the lower corners as its stabilisers. If those corners have almost no friction against the wall, the frame can rotate whenever it experiences vibration or a gentle knock.
Glossy painted walls can make this particularly noticeable. Smooth frame backs don't help either. Straightening the picture simply resets it until the next disturbance.
This is one of the easiest problems to fix.
Place small rubber bumpers, felt pads or removable frame-stabilising tabs near the lower corners. Rubber usually provides more grip, while felt works well when the main concern is protecting painted surfaces. Removable mounting putty can also work for lightweight frames when used sparingly.
Before sticking anything permanently, check that the material suits the wall finish and won't damage the paint during removal.
Once those bottom corners gain a little resistance, the frame stops treating its nail like a miniature steering wheel and becomes much more likely to stay straight.
Products Related To This Article
1. Amazon Brand - Solimo A4 Size Photo Frame Set of 5
2. Art Street Shooting Star Wall Photo Frames for living Room
3. HOTHOUSE Photo Frame For Wall
4. Medium Density wood board 12 Rectangular Photos Customized Family Or Name Collage Frame
5. 4x6 Inch Photo Frame Set of 2 – Acrylic Front Table Top Photo Frames with Stand
6. Art Street Decoralicious Designer Table Photo Frame White for Home
7. Stuthi Arts Premium 4x4 Inch (10x10 cm) Table Top Photo Frame
A crooked photo frame doesn't automatically mean the nail needs another hammer strike. The problem may come from loose wire, uneven fittings, an unbalanced frame, wall texture or everyday vibrations. Start by checking how the frame hangs and where it moves. A small adjustment, second hook or discreet bumper can often end the endless straightening routine for good.
(Disclaimer: This article may include references to or features of products and services made available through affiliate marketing campaigns. NDTV Convergence Limited (“NDTV”) strives to maintain editorial independence while participating in such campaigns. NDTV does not assume responsibility for the performance or claims of any featured products or services.)








![Steam Iron Teflon Shoe Cover for ES-300,ST-96 [Only For ES-300 and ST-96 Model Electric Steam Irons]](https://m.media-amazon.com/images/I/51wwkttondL._SL160_.jpg)