10 Reasons Mini Sewing Machines Jam On Multiple Fabric Layers And How To Reduce Snags
Mini sewing machines can struggle when fabric layers start piling up. From unsuitable needles and bulky seams to incorrect tension, these 10 common causes explain why jams happen and how small adjustments can help keep stitches moving smoothly.
What causes mini sewing machines to jam easily
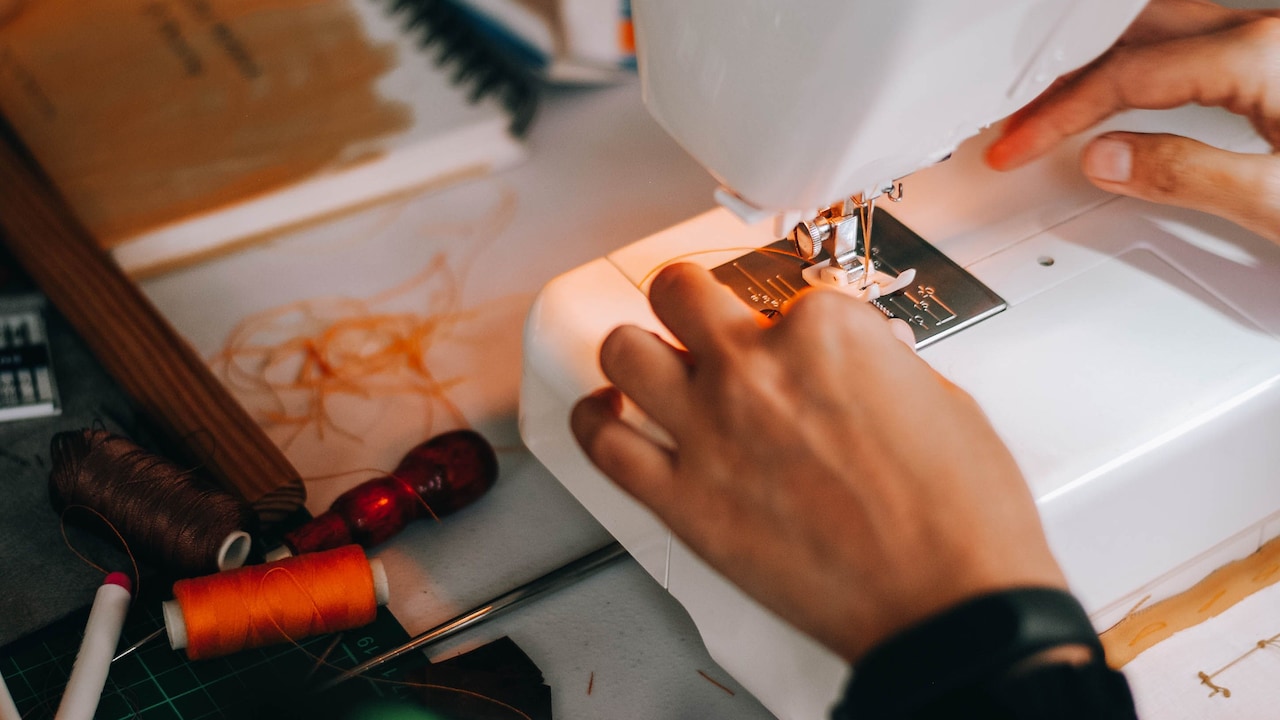
Mini sewing machines have an undeniable charm. They're compact enough to live on a shelf, simple enough for quick alterations and far less intimidating than a full-sized machine covered in mysterious knobs. Need to shorten a curtain, repair a loose seam or tackle a small craft project? A mini machine can seem perfectly suited to the job. Then three layers of fabric arrive under the presser foot and everything changes. The machine slows down. The fabric refuses to move. Thread gathers underneath in a messy nest, the needle bends or the handwheel suddenly feels as though someone has applied the brakes. What seemed like a straightforward sewing job turns into ten minutes of untangling thread.
How to prevent fabric snags in mini sewing machines
Photo Credit: Pexels
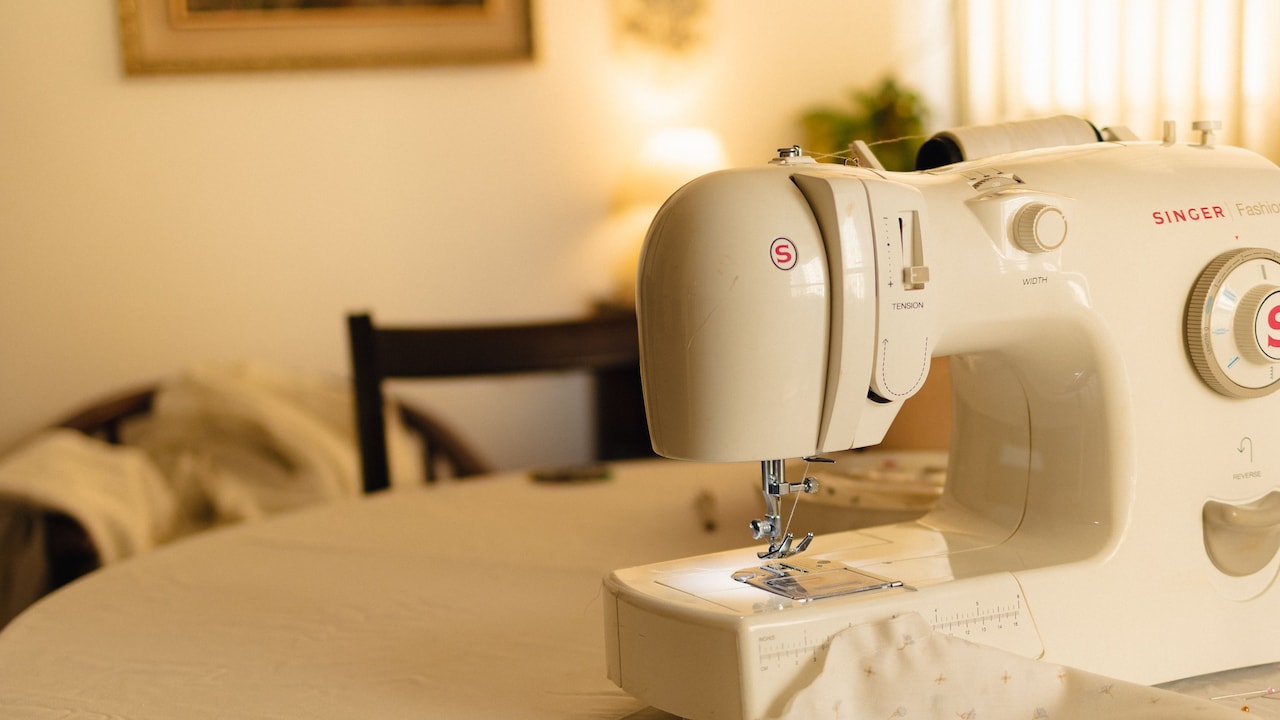
This doesn't necessarily mean the machine has failed. Mini models work with smaller motors, lighter internal components and less clearance around the sewing area. They simply have narrower limits than many standard machines. Multiple fabric layers expose those limits quickly.
Also Read: Budget-Friendly Picks For Daily Stitching: Top Sewing Machines Below ₹3000
Understanding what causes the resistance can make small sewing jobs far less frustrating. From choosing the correct needle to handling bulky seam crossings, here are ten reasons mini sewing machines jam when fabric gets thicker, along with practical ways to reduce snags.
Why Mini Sewing Machines Struggle With Multiple Fabric Layers
1. The Fabric Stack Is Simply Too Thick
A mini sewing machine may handle two layers of lightweight cotton without complaint, yet struggle once another layer, folded hem or seam allowance enters the picture. The problem isn't always the fabric itself. It's the total thickness compressed beneath the presser foot.
Mini machines usually offer less space between the presser foot and needle plate than full-sized models. Their feed mechanism also has less power to pull bulky material through consistently. Once the fabric exceeds that workable height, it can stop advancing properly. The needle keeps moving while the fabric stays put, creating repeated stitches in one place and eventually tangling the thread.
Before sewing a finished piece, test the exact number of layers on a scrap made from the same material. If the machine sounds strained or the fabric barely moves, forcing it rarely improves matters.
Reducing unnecessary folds can help. Trim bulky seam allowances where the project allows it and press folded areas firmly before stitching. Sometimes removing just one layer from a bulky intersection makes the difference between smooth stitching and a jam.
2. The Needle Is Too Fine For The Job
That slim needle already fitted to the machine may work beautifully on lightweight fabric. Ask it to pierce several layers of denim-like cotton or thick furnishing material, however, and it can start flexing instead of travelling cleanly through the stack.
A needle that bends even slightly can cause several problems. It may strike the needle plate, miss the bobbin mechanism or pull the thread at an awkward angle. The result can look like a thread jam even though the real issue starts with the needle struggling against the material.
Where the machine supports interchangeable needle sizes, choose one suitable for the fabric rather than assuming the supplied needle works for everything. Always check the machine manual first, as some compact models accept a limited range.
A fresh needle matters too. Needles gradually become dull, particularly after repeated sewing through dense seams. A blunt point requires more force to penetrate fabric and may push material into the needle opening instead.
Replacing a questionable needle is one of the simplest fixes available, and often one of the most effective.
3. Several Seam Allowances Meet At The Same Spot
A project can sew beautifully for several centimetres and suddenly jam at one tiny section. That troublesome spot is often where multiple seams overlap.
Consider hemming trousers, making a pouch or joining several panels. Most of the stitching may pass through two layers. At a side seam, however, folded seam allowances can create four, six or even more layers within a centimetre. That little fabric hill can be surprisingly difficult for a mini machine to climb.
As the front of the presser foot reaches the raised area, the foot may tilt backwards. This reduces its contact with the fabric and makes it harder for the feed dogs underneath to move the material evenly.
Press thick seam intersections before sewing them. Depending on the project, trimming or grading internal seam allowances can also reduce unnecessary bulk.
When approaching a particularly thick section, slow down rather than charging over it at maximum speed. Turning the handwheel manually for the first few stitches can give much better control. Think of it as walking over a speed breaker rather than trying to launch the machine across it.
4. The Motor Does Not Have Enough Torque
Small size comes with a trade-off. Mini sewing machines usually rely on relatively modest motors designed for repairs, crafts and light sewing rather than repeated work through heavy fabric stacks.
When the needle reaches dense material, the motor needs enough torque to drive it through while simultaneously moving the feed system. If resistance becomes greater than the motor can comfortably overcome, the machine may slow dramatically or stop.
Pressing the pedal harder won't necessarily solve this. In fact, repeatedly forcing a stalled machine can increase strain on its internal components.
Listen to how the machine sounds. A noticeably slower motor, humming without needle movement or repeated hesitation around thicker sections suggests that the fabric may be exceeding the machine's practical capacity.
For short difficult sections, stop using the pedal and turn the handwheel gently by hand if the machine's instructions permit it. This gives more controlled force to each stitch.
Mini machines work best when treated as compact convenience tools rather than miniature industrial machines. Knowing when a project has simply become too demanding can prevent both thread tangles and mechanical damage.
5. The Upper Thread Tension Is Too Tight
Thread tension has to balance the upper and lower threads so they meet neatly within the fabric. Multiple layers can disturb that balance.
When upper tension sits too high, the thread experiences additional resistance as the needle travels through thick material. It may pull sharply, catch or snap. A broken strand can then become trapped around the needle or bobbin area, producing the dreaded clump of thread underneath the fabric.
The temptation is to start turning every tension control available. Avoid making dramatic adjustments. Instead, note the original setting and make small changes while testing on scrap fabric.
Different thread and fabric combinations behave differently, so there isn't one perfect tension number for every project.
Also check the threading path before blaming the dial. Thread that has slipped behind a guide or wrapped incorrectly around a tension component can mimic excessive tension.
Re-thread the machine completely with the presser foot positioned as the manufacturer recommends. Then sew a test row through the same number of fabric layers.
Sometimes what looks like a major mechanical problem disappears after one careful re-threading.
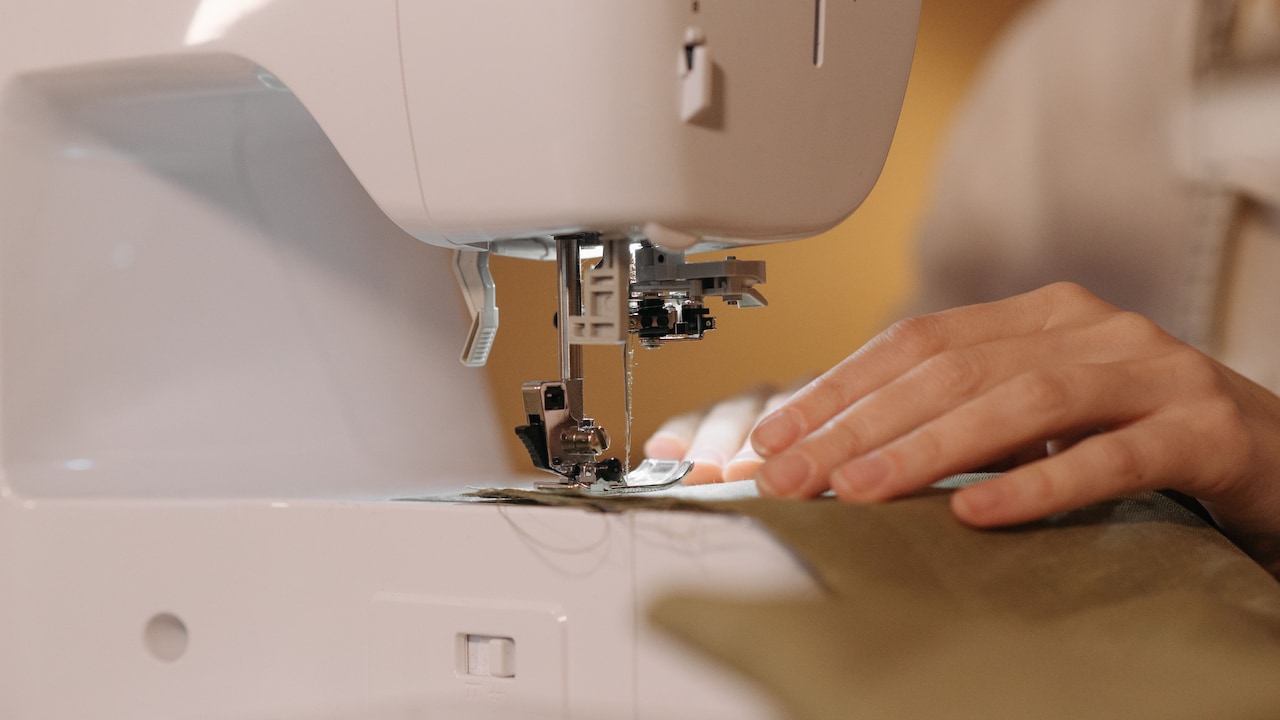
Thread and fabric combinations can also cause fabric snags; Photo Credit: Pexels
6. The Fabric Is Not Feeding Evenly
Those small ridged metal sections under the presser foot are the feed dogs, and they perform an essential job. They grip the underside of the fabric and move it forward after each stitch.
Several layers can make that process harder. Slick fabrics may slide against each other, while thick layers can compress unevenly. One section moves forward while another hangs back, causing bunching near the needle.
The natural reaction is often to pull the fabric from behind. That can create a bigger problem. Pulling changes the needle's path and can bend it towards the needle plate.
Instead, guide the material lightly and allow the feed mechanism to do as much of the work as possible.
Pinning or clipping layers securely before sewing can reduce internal shifting. For slippery fabric, temporary basting may provide even greater control.
Also check whether lint has collected around the feed dogs. Even a thin layer of fibres can reduce their grip, especially on a small machine where the feeding mechanism already has limited power.
Clean the area according to the manufacturer's instructions before tackling a thick project.
7. The Thread Is Unsuitable Or Poorly Wound
Fabric gets much of the blame when a machine jams, but thread can cause equal trouble.
Very thick thread may not move smoothly through the tension system or needle eye of a mini machine. At the opposite extreme, weak or fuzzy thread can shred as it rubs repeatedly against dense fabric.
Then there's the bobbin. An unevenly wound bobbin can feed thread in sudden bursts rather than at a steady rate. Once several fabric layers increase resistance above the needle plate, inconsistent thread delivery underneath can quickly produce loops and tangles.
Use good-quality thread in a weight that suits both the needle and machine. Avoid mixing drastically different upper and bobbin threads unless the project specifically calls for it.
Check the bobbin before sewing too. Thread should sit evenly across it rather than forming loose bulges or tight sections.
If a jam appears immediately after changing thread, that change deserves attention before the machine gets blamed.
Rewinding a messy bobbin may feel irritating when the project is already halfway finished, but it's considerably less irritating than removing a dense knot of thread after every ten stitches.
8. The Needle Area Has Collected Lint And Thread Fragments
Fabric leaves evidence behind. Cotton fibres, broken thread and tiny pieces of fluff gradually collect below the needle plate and around the bobbin area.
On a larger machine, a little lint may initially go unnoticed. On a compact model with tighter internal spaces, the same build-up can interfere with thread movement sooner.
Multiple layers often create even more friction and fibre shedding. As lint accumulates, thread can catch instead of passing smoothly around the bobbin mechanism. What begins as an occasional skipped stitch can become repeated snagging.
Remove the machine from its power source before cleaning. Then follow the manufacturer's instructions for accessing the bobbin and needle plate areas. A small cleaning brush works better than blowing forcefully into the mechanism, which may push debris further inside.
Avoid adding oil unless the manual specifically instructs you to do so. Many modern compact machines aren't designed for casual oiling by the user.
A quick clean after fibre-heavy projects can prevent mysterious jams later. Sewing machines may not demand glamorous maintenance, but neither does a mixer grinder. Both work considerably better without yesterday's debris sitting inside.
9. Sewing Too Fast Makes Thick Sections Harder To Control
Speed feels productive until something goes wrong.
When several fabric layers pass under the needle, every part of the machine deals with additional resistance. Racing through the section gives the feed dogs, needle and thread mechanism less opportunity to handle changes in thickness smoothly.
The fabric may shift. The needle can deflect slightly. Thread tension can change as the machine moves from a thin section into a bulky seam. A second later, everything stops beneath a small mountain of tangled thread.
Slow sewing provides more control. It also gives you time to notice when the presser foot begins tilting or the fabric stops advancing normally.
Start particularly thick sections carefully. On machines that allow manual operation through the handwheel, rotating it slowly for one or two difficult stitches can help the needle pass through the fabric without sudden force.
Once the machine clears the bulky area, normal speed can resume.
This doesn't mean every project needs to move at a painfully slow pace. The trick is recognising transitions. Thin section? Carry on. Six-layer seam intersection approaching? That's the moment to ease off.
10. The Project May Be Beyond The Machine's Intended Use
Sometimes there isn't a clever adjustment left to make.
A mini sewing machine can be brilliant for basic alterations, lightweight crafts, simple hems and small repairs. That doesn't automatically make it suitable for layered denim, thick upholstery fabric, padded quilts or bags with stiff interfacing.
Trying endless needle changes and tension adjustments won't transform a light-duty mechanism into a heavy-duty one.
Pay attention to repeated warning signs. If the machine jams every time it reaches a certain thickness despite correct threading, a fresh needle and careful sewing, the material may simply exceed its limits.
Forcing it can lead to bent needles, damaged gears, timing problems or a machine that stops working altogether. Saving a ₹500 alteration isn't particularly satisfying if the attempt damages the machine.
Where possible, reduce the thickness by changing the construction method. Hand-stitching a short bulky section can also make sense. For frequent work with heavier fabrics, a standard machine with better piercing power and fabric clearance will usually prove more suitable.
Knowing a tool's limitations isn't giving up. It's good sewing.
Products Related To This Article
1. Akiara Mini Sewing Machine Electric | Portable Sewing Machine for Home
2. CHILLAXPLUS Stitching Machine for Home Tailoring
3. Akiara Sewing Machine Electric
4. PrimeeSpot Handy Stitch Electric Sewing Machine Portable Handheld Silai Machine
5. Portable Handheld Sewing Machine Mini Battery Operated Stitch Machine for Clothes Fabric Repairs
A mini sewing machine that jams on several fabric layers isn't necessarily faulty. Thick seam intersections, unsuitable needles, thread problems, lint, excessive speed and limited motor power can all contribute. Start with the simplest checks, test changes on scrap fabric and avoid forcing stubborn sections. Small machines perform best when their limits are respected. With thoughtful preparation and slower handling around bulky areas, many frustrating snags can be prevented before the thread nest appears.
(Disclaimer: This article may include references to or features of products and services made available through affiliate marketing campaigns. NDTV Convergence Limited (“NDTV”) strives to maintain editorial independence while participating in such campaigns. NDTV does not assume responsibility for the performance or claims of any featured products or services.)