How To Do A Skin Fade At Home With Clippers
Want to try a skin fade at home with clippers? Learn how to blend, fade, and clean up edges properly to get a sharp, barbershop-worthy result every time.
How To Do A Skin Fade At Home With Clippers
The skin fade is one of those haircuts that just always looks sharp and put together, no matter if you're heading to a casual hangout or a formal event. But getting it done regularly at the barbershop can get expensive, which is why so many people are now picking up a good pair of clippers at Amazon and learning to do it themselves at home. A clean skin fade is easier than you think. With the right technique and a little patience, you can do it even without professional training.
Getting Prepared Before You Start
Photo Credit: iStock
The trick is understanding how your clippers operate and how to merge different guard lengths smoothly together. It takes a little practice to get the transitions looking natural, but once you get the basics down, it's a much simpler process. Here is a step-by-step manual to get you started:
Getting Prepared Before You Start
1. Gather Your Tools First
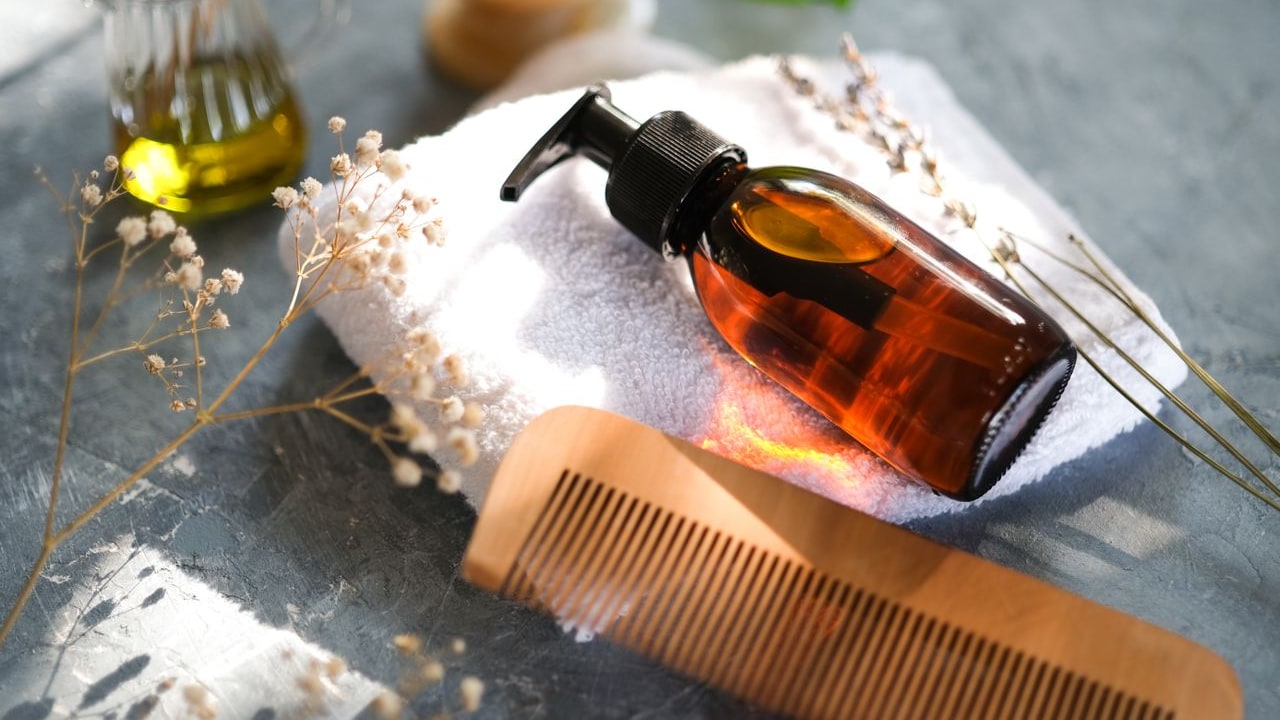
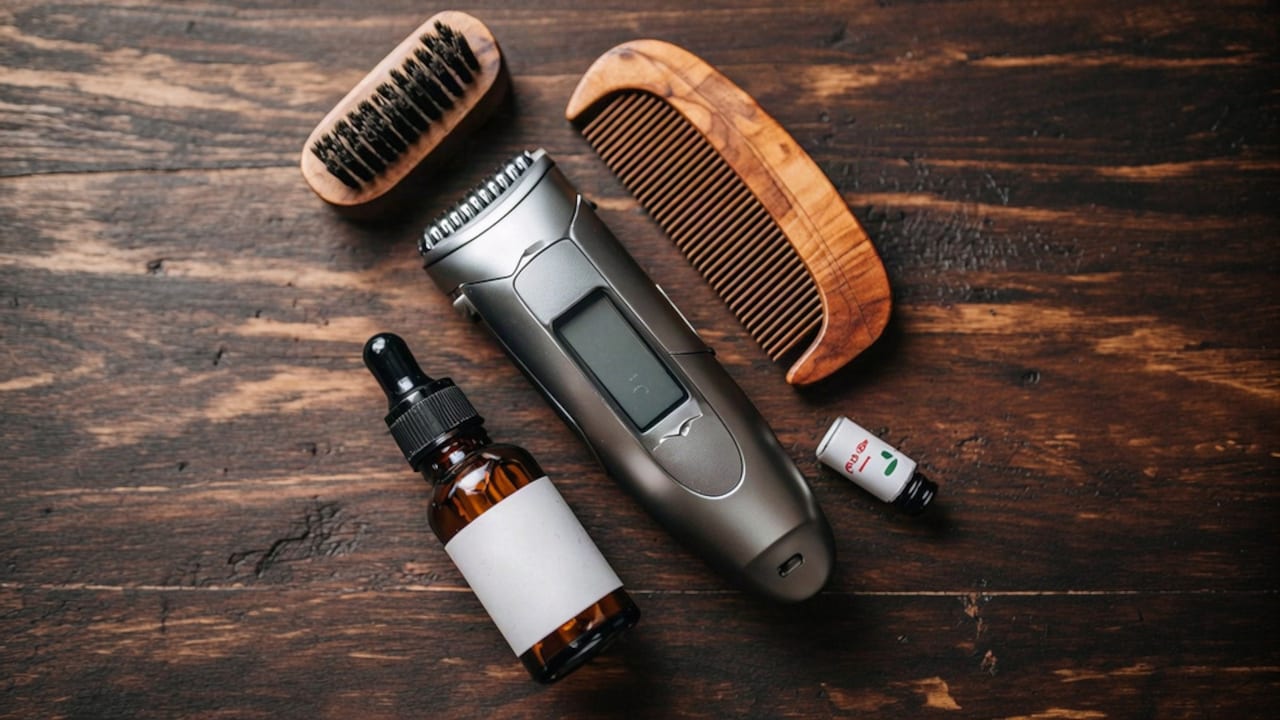
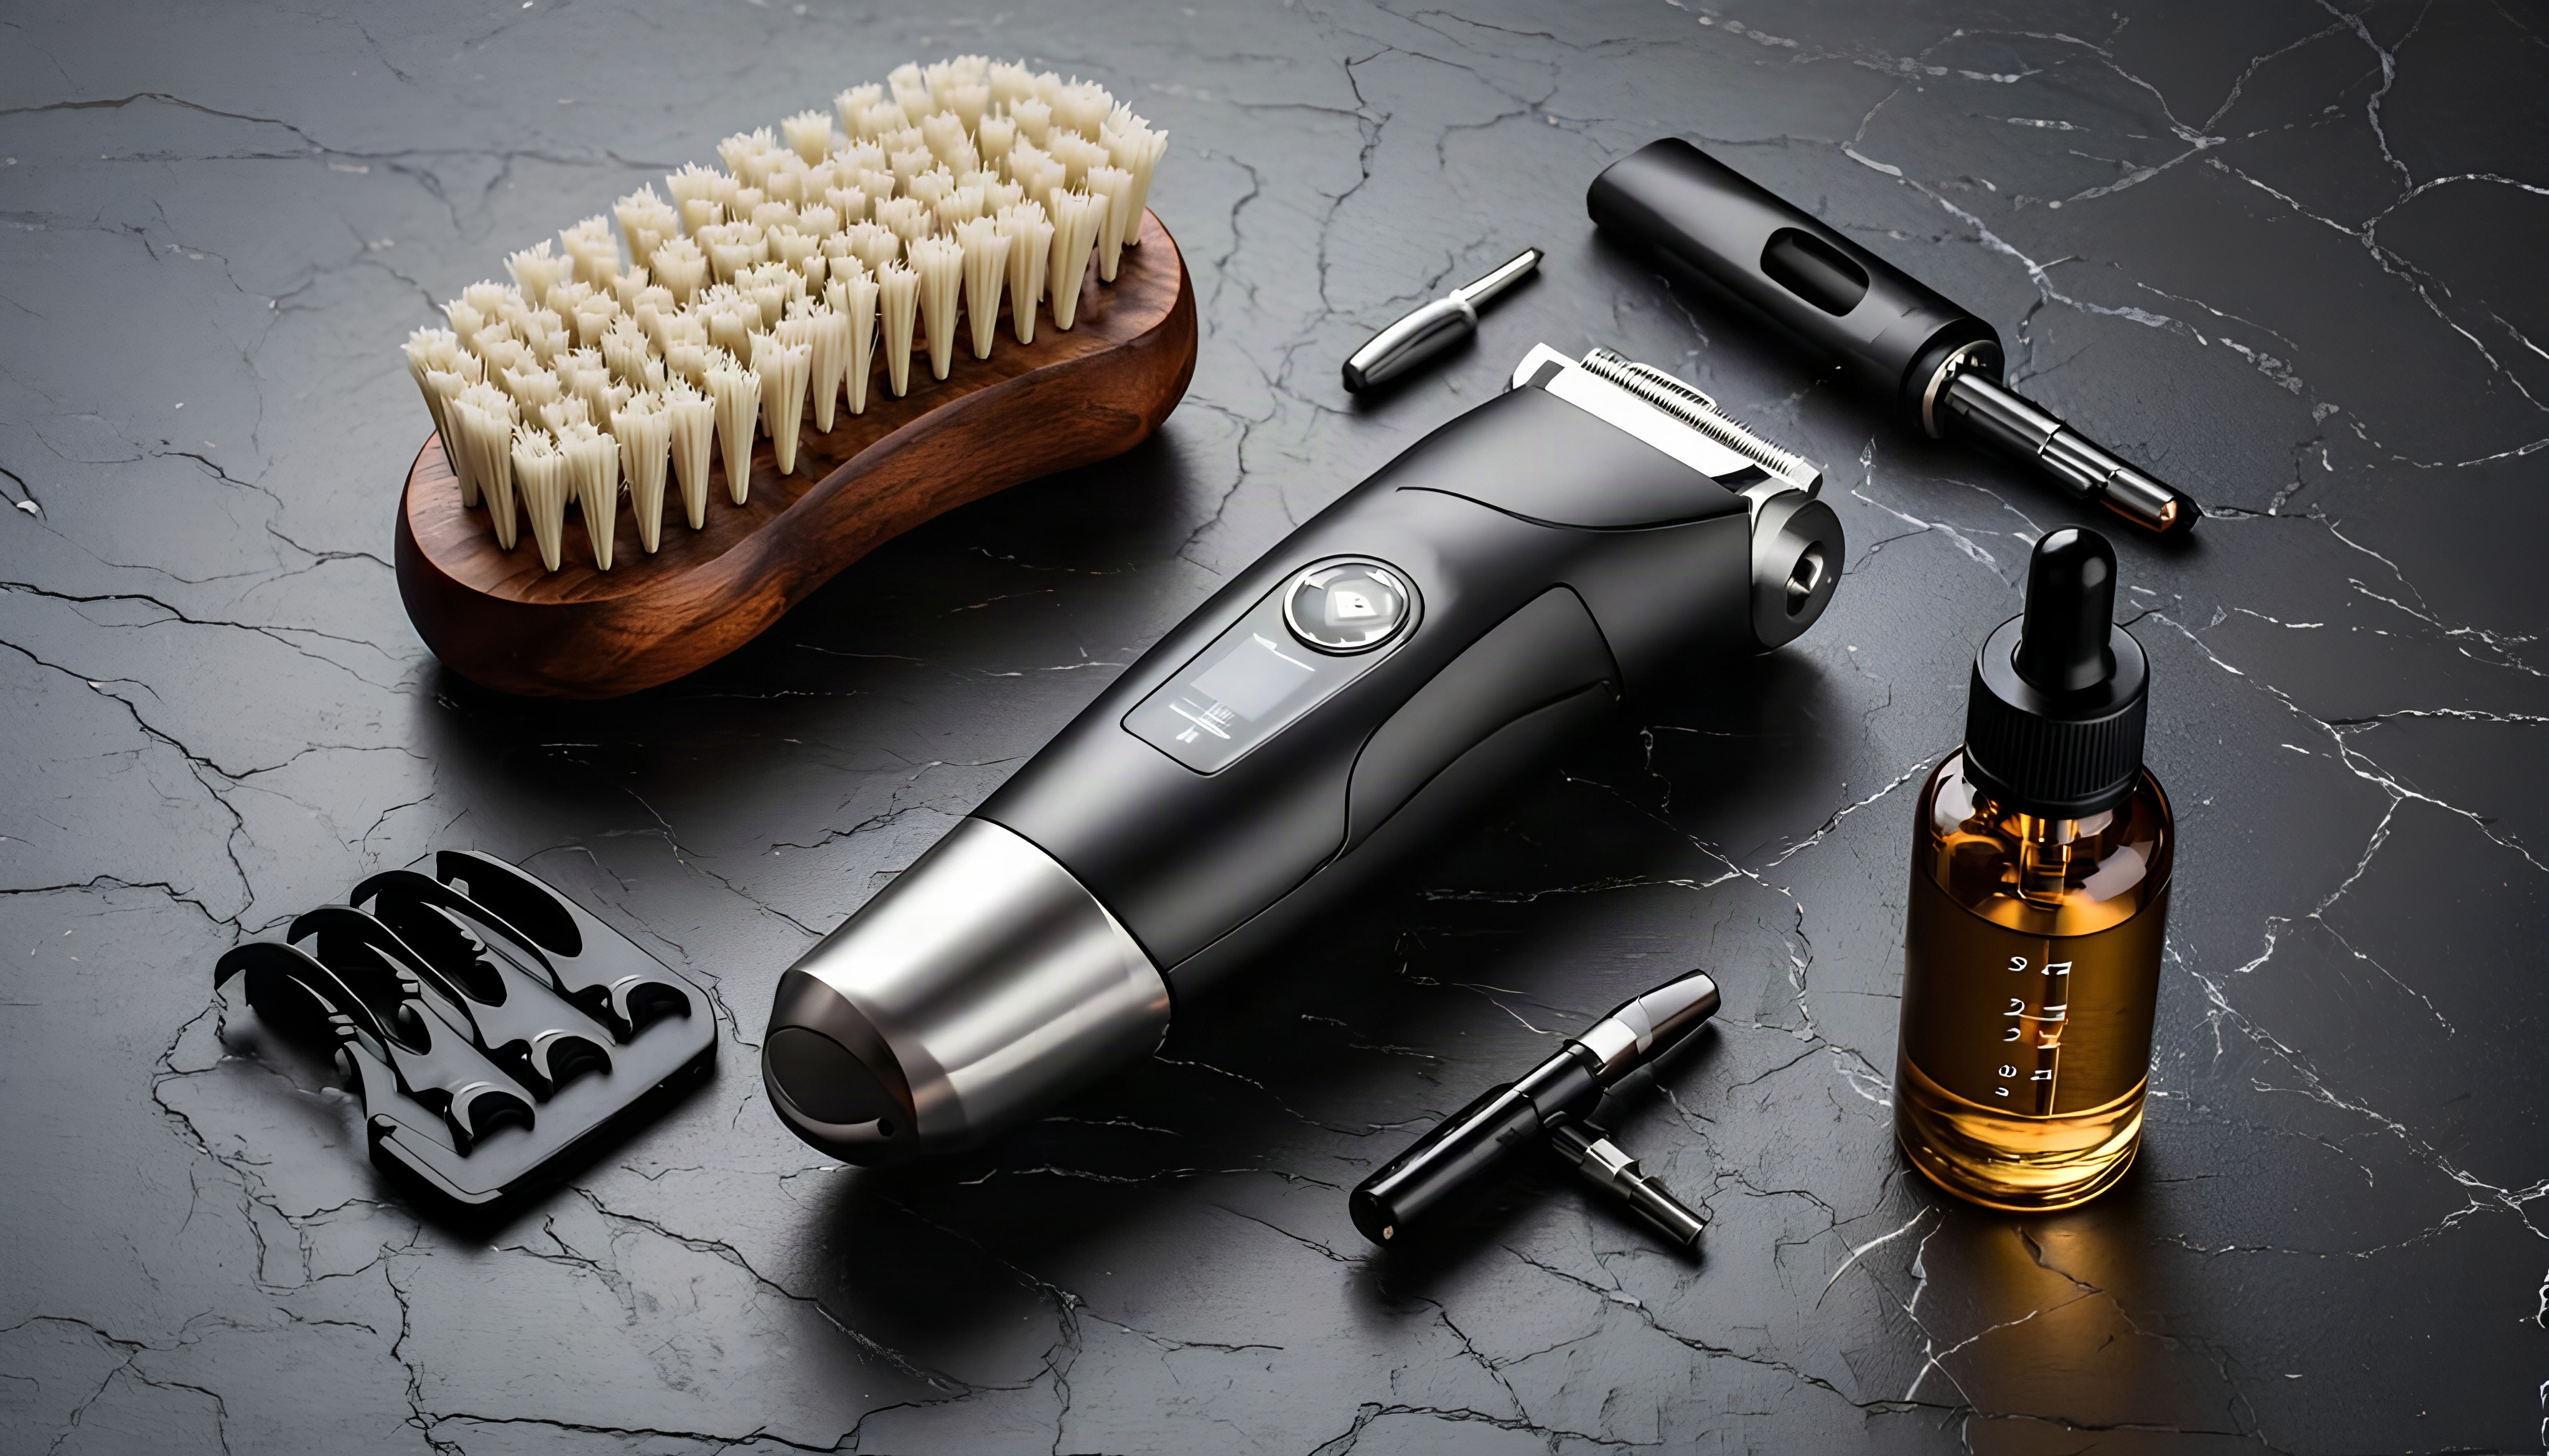
First of all, make sure you have everything you need in one place. You need a good set of clippers with several guard attachments for the job. A handheld mirror can also be useful, along with a big mirror, a comb, a brush to clean up hair, and good lighting. Natural light or a bright bathroom light will help you see uneven spots as you go.
2. Work On Dry, Clean Hair
It is best to start off with clean, dry hair for a better cut. Hair tends to clump up when it's wet, and it's hard to tell how the fade is actually coming along. Wash and dry your hair first and comb it so it falls naturally before you start.
How To Do A Skin Fade Step By Step
1. Start With The Longest Guard
Start at the top of the sides with your longest guard, typically a number 3 or 4. Work slowly up the sides and back with upward strokes. This will be the foundation for your fade and remove the bulk of hair before you refine the blend. Take your time with this step and make sure both sides are even.
2. Drop Down To A Shorter Guard
Go with a number 2 guard and work a little lower on the sides and back. This will be noticeably below where you put the longest guard. You have to use upward strokes again and make sure you're consistent on both sides. This is the step that starts to create the layered blending effect that gives a skin fade its clean look.
3. Bring In The Number 1 Guard
Go down even further and switch to a number 1 guard. This should be about an inch or two above the natural hairline. Now you are really beginning to tighten up the lower section of the fade. Short controlled strokes around the ears and along the nape of the neck.
4. Blend Each Section Into The Next
And that's when the real fading begins. Use your clippers with no guard or a 0 guard right along the hairline at the very base. Then go back to each guard level, and with a slight flicking motion at the top of each section, soften the line between them. The aim is to soften any harsh lines so that the change in lengths looks gradual and smooth.
Also Read: Top 6 Beard Trimmers For A Festive Grooming Routine
Cleaning Up The Edges And Neckline
1. Define The Neckline
Once the fade is blended in, move on to the neckline. This really finishes the whole look. You can go with a rounded shape that follows the natural curve of your neck or a squared-off edge for something cleaner and more structured. Run your trimmer, with the guard removed, slowly to create a precise line.
2. Tidy Around The Ears
You can easily forget the area around and behind the ears. But it's very obvious if you don't. Here, take your time: the edge of the blade should carefully outline the ear and remove any stray hairs sitting on or just below the skin.
Common Mistakes To Avoid When Fading At Home
1. Skipping The Blending Step
A very common mistake is jumping from one guard length to the other without blending the transition properly. This makes for blocky-looking lines you can see rather than a smooth, gradual fade. Always take the clipper out at the transition of each guard length before going back in.
2. Rushing The Process
A rushed skin fade is rarely a clean skin fade. Step back and take breaks to see your progress from different angles. In addition to your primary mirror, you can use a handheld mirror to check the back and sides in real time, which makes a huge difference in spotting uneven patches before they become a problem.

Some Clippers You May Like
Photo Credit: iStock
Some Clippers You May Like
1. VEGA PROFESSIONAL Men Pro Star Hair Clipper
2. Skull Shaver Beast Clipper Duo
3. Wahl 9243-4724 Corded Home Cut Complete Hair Cutting Clipper
4. Hatteker Beard Trimmer Kit Professional Hair Clipper
5. WMARK Hair Clippers for Men
6. Vega Professional Pro Liner Cord/Cordless Zero Gapped Hair Trimmer
7. AMVONZ Professional Hair Clipper A-017
8. ASBAH Mini IIs Professional Hair Clipper & Trimmer
A skin fade haircut may look complex, but with the right clippers, guard sizes, and a bit of patience, you can achieve a clean, barber-style finish at home. The key is to work gradually, blend each section carefully, and avoid taking off too much hair at once. Regular touch-ups will help maintain a sharp and fresh appearance while saving both time and money on salon visits. With practice, creating a smooth and professional-looking skin fade at home can become a simple part of your grooming routine.
Frequently Asked Questions (FAQs)
1. Can a complete beginner do a skin fade at home?
Yes, but it does take a bit of practice. Wider blending sections are more manageable for beginners to work slowly with. It's a skill that gets easier with practice.
2. How often should a skin fade be touched up?
The lower sections grow out fast, so most people need a touch-up every one to two weeks to keep the fade looking fresh.
3. What's the difference between a skin fade and a low fade?
A skin fade is all the way down to the skin, usually at the very bottom of the hairline. The low fade is also a low fade on the head but doesn't always go to the skin, depending on the guard used.
4. Do I need expensive clippers for a good fade at home?
Not really. A good basic set of clippers with a few guards and a sharp blade will give you a clean cut without breaking the bank.
5. What if the fade looks uneven after I'm done?
Take a step back and see where the mix feels wrong. Usually, by running through that section again, flicking with the right guard can balance things out. A second mirror and good lighting will help here.
(Disclaimer: This article may include references to or features of products and services made available through affiliate marketing campaigns. NDTV Convergence Limited (“NDTV”) strives to maintain editorial independence while participating in such campaigns. NDTV does not assume responsibility for the performance or claims of any featured products or services.)