How To Clean Planters Without Damaging The Finish: Easy Home Tips That Work
Clean planters make any home feel brighter, but scrubbing them the wrong way can damage their shine. This is a friendly, practical guide to help keep your planters spotless without dulling their finish.

Planter Cleaning Tips: How to Remove Dirt Without Ruining the Finish.
A planter often works like the unsung hero of a cheerful home. It sits quietly in the corner, carrying a burst of green that lifts the mood even on hectic days. Yet, over time, dust, soil stains and mineral deposits cling to its surface. A quick wash sounds simple, but the wrong technique can strip the colour, scratch the polish or leave patchy marks. Many people commit this mistake while cleaning in a hurry.
A little care goes a long way. With the right approach, even older planters can look as good as new. These tips feel fuss-free, affordable and easy to try at home, whether the planter sits on a sunny balcony, an office desk or the verandah near the entrance. So, if you want to know how to clean planters without damaging the finish, here are the best home tips that actually work. The steps below help protect the finish while removing stubborn dirt, so your greenery continues to glow with pride.
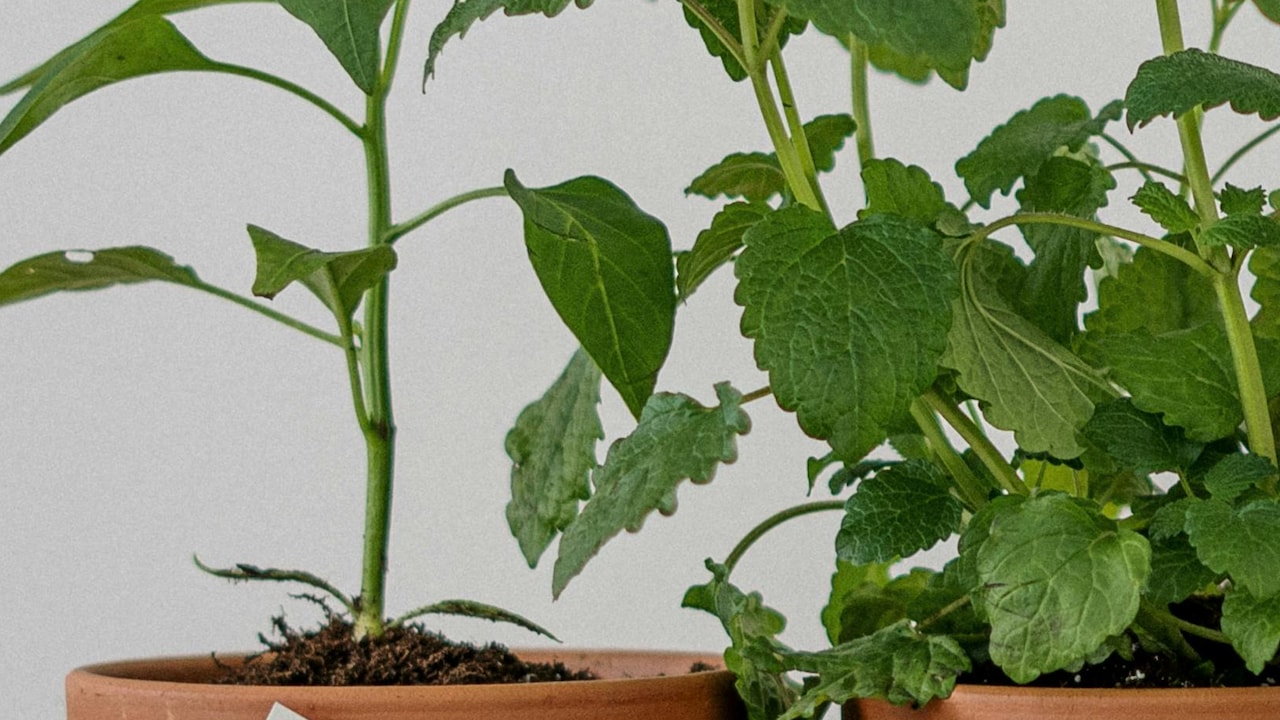
Planter Cleaning Tips: How to Remove Dirt Without Ruining the Finish
Photo Credit: Pexels
Simple Cleaning Methods for Long-Lasting Planter Beauty
1. Start with a Gentle Dust-Off
A planter picks up dust as quickly as a fan blade in summer. Before soaking or scrubbing, give it a calm dust-off. A soft cotton cloth or a microfibre duster works well. Move it lightly over the surface to lift loose dirt. This reduces the chance of scratches later, especially on ceramic, painted or metal pots.
A simple once-over every few days keeps things from piling up, almost like sweeping the floor before mopping. For textured planters, run a soft paintbrush through grooves to reach hidden corners. This tiny step feels small but creates a smooth base for deeper cleaning. Many people skip this and trouble begins when grit mixes with water, turning the cleaning into a sandpaper-like affair. A few seconds of gentle dusting protects the finish and keeps the planter looking cared for without any heavy effort.
2. Use Mild Soap and Lukewarm Water
Harsh cleaners may promise a sparkling finish, but they often leave behind faded patches or dull spots. Mild soap stands as the hero here. Mix a few drops of gentle dishwashing liquid in lukewarm water. The warm temperature helps release grime without creating stress on the material.
Dip a soft sponge into this mixture and wipe the planter in small, circular strokes. This gives better control and avoids streaks. The method works well for ceramic, resin, clay and plastic planters. For metal pieces with a painted coating, this mild mixture keeps the shine intact.
Rinse with clean water afterwards to avoid soap residue. A quick wipe with a soft cloth helps the planter dry evenly. Mild soap removes dirt without stripping colour or texture, making it a safe and reliable routine for most households.
3. Avoid Abrasive Scrubbers at All Costs
A scouring pad might clean a kadai beautifully, but a planter? Not a good match. Abrasive scrubbers create micro-scratches that slowly dull the surface. Even sturdy-looking pots suffer from this, especially those with glossy glazes or metallic finishes.
Instead, soft sponges, old T-shirt cloth pieces or microfibre pads offer the best results. They glide smoothly and clean without force. If the planter has tough stains, soak it in warm soapy water for a few minutes before cleaning, rather than scrubbing aggressively.
Think of the planter as a delicate accessory for your home. Treat it gently and it shines longer. Many people damage expensive pots unknowingly because that one rugged scrubber sits temptingly near the sink. Keeping it far away from planters saves both money and heartbreak.
4. Remove Stubborn Stains with Baking Soda Paste
Every planter collects a few stubborn spots, especially near the bottom, where soil and water gather. When soap fails, baking soda steps in. Mix a little soda with water to form a thick paste. Apply it to the stain and let it sit for 10–15 minutes.
Once ready, use a soft cloth to rub the spot gently. The mild grit of baking soda lifts the stain without harming the finish. It works well on clay, ceramic and stone planters. For brightly coloured ones, test a tiny hidden patch first to ensure there's no reaction.
This method clears mineral rings, old soil marks and faint surface scratches. It also revives dull areas and gives a cleaner, fresher look. Baking soda offers a safe, wallet-friendly cleaning boost without chemicals or strong scents.
5. Deal with Hard-Water Deposits Using Vinegar
Those white chalky rings around a planter's rim often come from hard water. Many homes deal with this, especially in cities where water hardness varies daily. A simple vinegar solution solves the problem.
Mix equal parts white vinegar and water. Dip a cloth in the solution and dab it onto the affected area. Leave it for a short while so the vinegar can dissolve the mineral build-up. Wipe clean using a soft sponge and rinse thoroughly.
Avoid using pure vinegar directly on metal or painted surfaces, as it may react and dull the finish. Diluted vinegar works safely and effectively, like a gentle reminder to mineral stains that they shouldn't overstay their welcome. With regular use, those cloudy rings disappear for good.
Also Read: Stylish Planters Under ₹600: How They Can Transform Any Corner - 5 Gorgeous Picks
6. Clean Terracotta the Right Way
Terracotta planters add rustic charm, but they absorb moisture. This creates dark patches, salt blooms and a musty smell at times. Cleaning them needs a bit of attention.
Start by brushing off dry soil. Then soak the terracotta planter in warm water for 20–30 minutes. This loosens embedded dirt inside the pores. Use a mild soap-sponge routine afterwards. For deeper stains, mix equal parts vinegar and water and scrub gently with a soft brush.
Let terracotta air-dry completely before placing soil back in. If moisture remains trapped, it triggers mould later. Place it in sunlight for a few hours and the planter regains its warm, earthy glow. With the right care, terracotta lasts long and ages beautifully.
7. Protect the Finish with a Soft Towel Dry
Leaving a planter to air-dry might feel easy, but water droplets can leave streaks or marks, especially on glossy or metal surfaces. A quick towel dry makes a world of difference.
Use a soft cotton towel and pat the planter dry. Avoid rubbing too hard, as it may
create faint lines on polished finishes. Drying by hand also gives a moment to check for missed spots or lingering dirt.
Metal planters especially benefit from this drying method because it prevents water spots. Even ceramic and resin planters look fresher when dried properly. The final wipe-off gives the planter a clean, cared-for look, almost like shining shoes before a special occasion.
8. Add a Layer of Natural Polish for Shine
A little polish can protect the finish and give the planter a renewed glow. For wooden or bamboo planters, coconut oil works well. Rub a tiny amount on a soft cloth and glide it across the surface. This nourishes the material and creates a subtle sheen.
For ceramic or resin planters, a light wax polish used sparingly brings back lustre. Check that the polish suits the material before applying.
Avoid anything too greasy, as it attracts dust. A thin, even layer creates a protective coat and makes cleaning easier next time. It also helps the planter stand out beautifully, whether on a balcony shelf or a living room corner.
9. Clean Drainage Holes Without Damaging the Pot
Drainage holes often trap mud, dried roots and mineral deposits. Ignoring them causes waterlogging, and over time, the planter develops cracks.
Use a wooden skewer, an old toothbrush or a cotton bud to clean these holes. Avoid metal objects, as they may scrape the planter or widen the hole. If the blockage is stubborn, soak the bottom part of the planter in warm water for a few minutes, then clean again.
Good drainage keeps plants healthy and prevents moisture stains from appearing on the outer surface. A clear drainage hole also helps the planter last longer and avoids unpleasant smells caused by stagnant water.
10. Maintain a Regular Cleaning Routine
A dirty planter doesn't become messy overnight. A simple routine keeps it fresh without any heavy scrubbing later. Wipe plastic and ceramic planters every fortnight. For terracotta, a monthly inspection works well.
Whenever water spills around the rim, clean it immediately. This prevents mineral rings from forming. Keep a soft cloth handy on the balcony or near the plant corner.
A regular habit saves money too. Planters remain shiny for years and don't need frequent replacements. This small practice creates a tidy, welcoming space that feels lively and peaceful every day. Good care today means long-lasting beauty tomorrow.
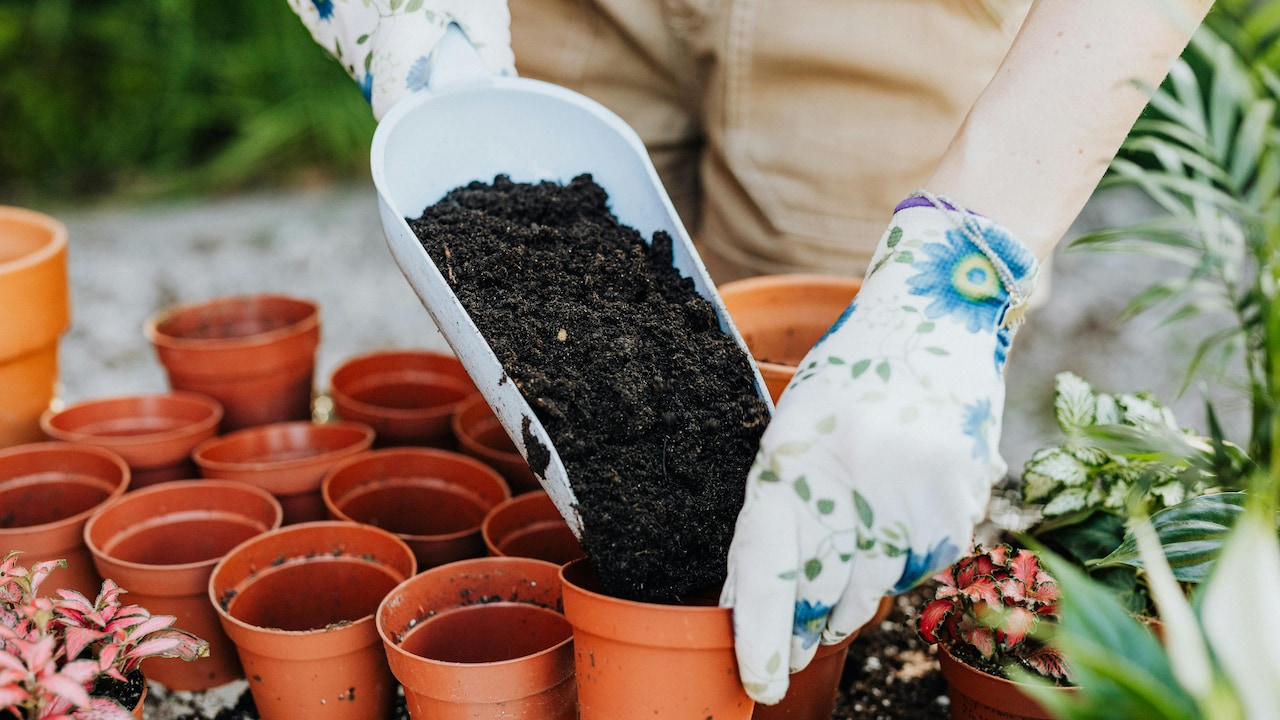
Planter Cleaning Tips: How to Remove Dirt Without Ruining the Finish
Photo Credit: Pexels
Products Related To This Article
1. BEHOMA Hammered Metal Indoor Planter for Table Top and Floor
2. YUCCABE ITALIA FOXB PCUP 15 Inch Pots
3. 6 inch Plant Pots
4. Amazon Brand - Solimo Blossom Flower Planter with Tripod Stand
5. Plastic Round Flower Pots with Drainage Hole Saucers
Clean planters don't just support healthy plants; they brighten the entire home. A little gentle cleaning, the right tools, and a routine protect the finish and keep each pot looking new. Whether it's a colourful ceramic piece bought from a street market or a terracotta pot passed down through the family, every planter deserves a bit of thoughtful care. With easy methods, everyday items and a mindful touch, your planters can stay spotless and charming, adding joy to every corner they occupy.
(Disclaimer: This article may include references to or features of products and services made available through affiliate marketing campaigns. NDTV Convergence Limited (“NDTV”) strives to maintain editorial independence while participating in such campaigns. NDTV does not assume responsibility for the performance or claims of any featured products or services.)


![Steam Iron Teflon Shoe Cover for ES-300,ST-96 [Only For ES-300 and ST-96 Model Electric Steam Irons]](https://m.media-amazon.com/images/I/51wwkttondL._SL160_.jpg)

