How To Freshen A Smelly Mixer Jar: 10 Fixes For Gaskets, Blade Assemblies And Food Residue
Remove stubborn mixer jar odours with 10 simple fixes for dirty gaskets, blade assemblies, trapped food residue and lingering smells using easy kitchen cleaning methods.
How To Remove Smell From A Mixer Jar: 10 Easy Cleaning Fixes
Few kitchen annoyances are as puzzling as a mixer jar that smells even after a thorough wash. The steel may sparkle, the lid may look spotless, and yet one twist of the cap releases the unmistakable memory of garlic, raw onion, coconut chutney or yesterday's masala. That happens because mixer jars have more hiding places than they appear to. Food particles slip beneath rubber gaskets. Oil settles around blade fittings. Strong-smelling ingredients cling to plastic lids and microscopic scratches. Moisture trapped after washing can make matters worse, especially during humid weather.
How To Freshen A Smelly Mixer Jar: 10 Fixes For Gaskets, Blade Assemblies And Food Residue
Photo Credit: Pexels
The good news is that most odours do not require harsh chemicals or heroic scrubbing. A few pantry staples, some careful cleaning and better drying habits often do the job. The trick lies in cleaning the right part of the jar rather than simply washing the visible surface again and again.
Here are ten effective ways to freshen a smelly mixer jar and tackle the hidden residue responsible for those stubborn kitchen aromas.
10 Simple Ways To Get Rid Of Mixer Jar Odours
1. Start With A Warm Soapy Spin
The quickest first step is also one of the most effective. Instead of attacking the jar with a sponge straight away, let the mixer help with its own cleaning.
Fill the jar roughly one-third with warm water and add a small squeeze of regular dishwashing liquid. Secure the lid firmly, place the jar on the mixer and run it for about 20 to 30 seconds. The swirling water reaches beneath the blades and around the lower corners far better than a hand-held scrubber.
Avoid filling the jar too high, since frothy soap can rise surprisingly fast. Anyone who has watched suds escape from a loosely fitted lid knows how quickly a five-minute cleaning job can become a countertop rescue mission.
After blending, empty the soapy water and rinse the jar several times until no foam remains. This method works particularly well after grinding batters, sauces and chutneys.
For jars with only a mild smell, the warm soapy spin may be all that is needed. For stronger odours, it makes an excellent first stage before trying a deeper treatment.
2. Use Baking Soda For Stubborn Odours
Baking soda earns its place in kitchen cupboards for more than cakes and pakoras. Its mild alkaline nature helps neutralise many lingering food smells without leaving behind a strong fragrance of its own.
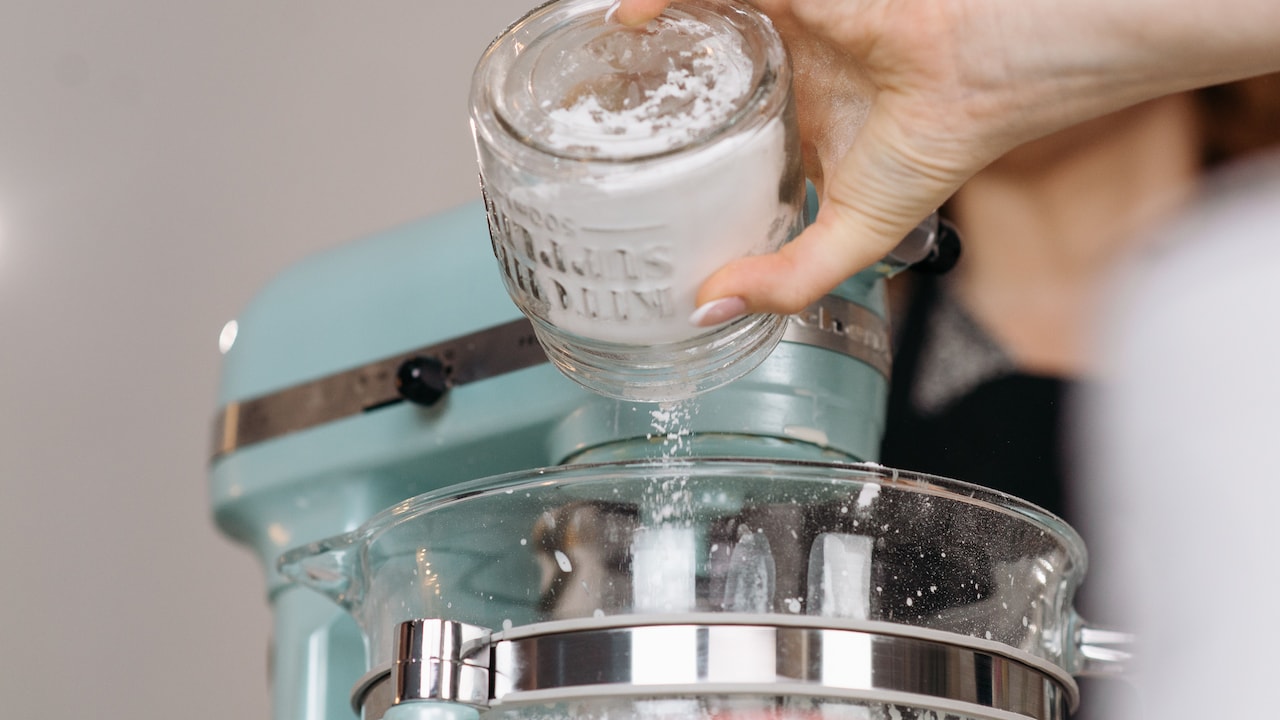
Add one to two teaspoons of baking soda to the mixer jar, followed by enough warm water to cover the blades comfortably. Stir the mixture or run the mixer briefly for around 15 seconds. Then leave it to sit for 20 to 30 minutes.
This treatment works especially well after grinding garlic, onion, ginger or strongly spiced pastes. These ingredients contain aromatic compounds that can cling stubbornly to jar surfaces and lid components.
Once the soaking time ends, wash the jar with dishwashing liquid and rinse thoroughly. Pay particular attention to the underside of the lid and any grooves around the rim.
Baking soda also helps with the faint stale smell that sometimes appears when a jar gets stored before drying completely.
Do not pack the powder directly into blade joints or force it into narrow mechanical gaps. A diluted solution works better and rinses away more easily.
3. Give Lemon Peels A Second Job
Before throwing away squeezed lemon halves, consider giving them one final assignment. Citrus peels contain aromatic oils that can cut through greasy smells while leaving the jar noticeably fresher.
Drop a few small pieces of lemon peel into the mixer jar and add about half a cup of water. Run the mixer for 15 to 20 seconds. The blades chop the peel and release citrus oils while the moving water reaches areas around the blade assembly.
This method works nicely after grinding coconut chutney, masala pastes or oily mixtures that leave a heavy aroma behind.
Do not expect lemon to replace proper washing. Citrus may freshen the smell, but food residue still needs removal with soap and water. After blending the peels, discard the mixture, wash the jar normally and rinse well.
A little lemon juice can also be added to warm water for a short soak. However, avoid leaving highly acidic mixtures in metal jars for hours.
This small cleaning trick feels particularly satisfying because it turns something headed for the bin into a useful kitchen cleaner. It is economical, simple and pleasantly fragrant without making the jar smell like perfume.
4. Clean The Gasket Separately
The rubber gasket around a mixer lid often causes more trouble than the jar itself. Its narrow grooves trap moisture, spice oils and tiny food particles that remain invisible during a quick rinse.
Remove the gasket carefully if the manufacturer allows it. Wash it separately in warm water with a little dishwashing liquid. Use a soft old toothbrush or small cleaning brush to work gently around the grooves.
A gasket used regularly with garlic chutney or tomato-onion masala can hold odours for days, especially when it gets put back while damp.
For a stronger smell, soak the gasket for around 15 minutes in warm water mixed with a small amount of baking soda. Rinse it thoroughly afterwards and allow it to dry completely before refitting.
Avoid boiling rubber seals unless the appliance instructions specifically permit it. Excessive heat can warp the gasket and affect the lid seal.
While cleaning, inspect the rubber for cracks, stickiness or permanent discolouration. A badly worn gasket may need replacement rather than another round of scrubbing. Sometimes the smell is simply the kitchen's way of announcing that a small spare part has reached retirement age.
5. Scrub Around The Blade Assembly Carefully
The area around the blades deserves special attention because food often collects where the blade shaft meets the base of the jar. A quick rinse may remove visible paste while leaving a thin oily film hidden underneath.
Unplug the mixer before doing any detailed cleaning. Never place fingers directly beneath sharp blades.
Instead, use a narrow bottle brush, soft toothbrush or long-handled cleaning brush to reach around the blade edges and lower corners. Warm soapy water helps loosen dried spice paste and oily residue.
If food has hardened around the base, soak the inside of the jar in warm water for 10 to 15 minutes first. Avoid immersing any electrical coupling or external mechanical parts unless the manufacturer states that it is safe.
Blade assemblies can collect particularly stubborn residue after grinding thick ginger-garlic paste, nut mixtures or dry masalas mixed with oil.
Once cleaned, rinse the jar thoroughly and tilt it upside down to drain.
A surprisingly large number of “mysterious” mixer smells begin in this small area. Cleaning the shiny walls while ignoring the blade base is rather like sweeping the living room and pushing everything under the sofa.
6. Try Vinegar For Greasy Food Smells
White vinegar can help tackle stubborn greasy odours, particularly when a mixer jar has handled oily spice pastes or ingredients with strong aromas.
Mix roughly equal parts water and white vinegar in the jar, using only enough liquid to cover the lower portion and blades. Leave the solution for about 10 to 15 minutes. For extra cleaning action, run the mixer briefly before soaking.
Afterwards, discard the mixture and wash the jar with regular dishwashing liquid. Rinse several times so the vinegar scent disappears.
The sharp smell during cleaning may seem like replacing one problem with another, but vinegar usually rinses away quickly.
Avoid combining vinegar and baking soda in the same cleaning step simply for dramatic fizz. The bubbles look impressive, but the acid and alkali largely neutralise each other. Using them separately tends to make more sense.
Vinegar also works well on removable lids or non-porous components that carry oily smells. However, prolonged soaking may not suit every material.
If the jar manufacturer provides specific cleaning instructions, those should take priority, particularly for specialised coatings, seals or removable blade units.

How To Freshen A Smelly Mixer Jar: 10 Fixes For Gaskets, Blade Assemblies And Food Residue
Photo Credit: Pexels
7. Use Rice To Loosen Dry Residue
Dry spice residue can behave differently from wet food. Fine powders such as turmeric, cumin, coriander or garam masala sometimes settle around blades and remain trapped even after rinsing.
A small quantity of uncooked rice can help dislodge this dry material.
Add two or three tablespoons of plain dry rice to a completely dry mixer jar. Run the mixer in short pulses for a few seconds. The moving grains act as a gentle abrasive and can pick up oily spice dust from the jar walls and blade area.
Discard the ground rice afterwards rather than using it for cooking, since it may contain old residue or traces of cleaning products.
Follow with a normal wash using warm water and dishwashing liquid.
This method suits jars used mainly for dry spices. It should not replace careful washing when wet food has been left inside.
Avoid filling the jar heavily or running the motor continuously. Short pulses are enough.
The technique is especially handy when the jar carries that unmistakable “masala cupboard” aroma even though no visible powder remains. Sometimes all it takes is a handful of rice to collect what water keeps missing.
8. Tackle Plastic Lids With A Gentle Soak
Mixer jars often receive all the attention while plastic lids quietly hold on to the strongest smells. Plastic can absorb aromatic compounds from garlic, onion, chillies and spices more readily than stainless steel.
Start by washing the lid with warm soapy water, paying close attention to grooves, locking tabs and the area around the gasket.
For lingering smells, prepare a mild baking soda solution in a bowl and soak the removable lid for around 20 to 30 minutes. Rinse well and leave it to air-dry.
A short soak in diluted white vinegar can also help with greasy odours, provided the material tolerates it.
Do not use harsh scouring pads. Scratches create more tiny spaces where food and oils can settle in future.
Strong turmeric stains on plastic may remain even when the lid is perfectly clean. Colour does not always mean odour or contamination. Repeated aggressive scrubbing can damage the surface without removing the yellow tint.
When the lid has been washed, smell it separately from the jar. This simple check often reveals the true source of the problem. The spotless steel jar may have been wrongly accused all along.
9. Dry Every Part Before Storage
Cleaning removes residue, but drying prevents many smells from returning. A mixer jar stored while damp can develop a stale or musty odour, particularly when the lid is fitted tightly.
After washing, place the jar upside down on a drying rack for several minutes so excess water drains away. Then turn it upright and allow the inside to air-dry fully.
Keep the lid, gasket and jar separate until every component feels dry.
Avoid immediately sealing the lid onto a freshly washed jar. Trapped moisture creates a humid little chamber where unpleasant smells can develop quickly.
This habit matters even more during monsoon weather, when kitchen surfaces and utensils take longer to dry.
A clean cotton cloth can remove visible droplets, but air circulation should finish the job. Pay attention to grooves around the lid and gasket, where water likes to hide.
Once dry, store the jar with the lid slightly loose if cupboard space and hygiene conditions allow.
Proper drying sounds almost too simple to count as a cleaning trick, yet it solves one of the most common causes of recurring odour. Sometimes freshness comes not from adding another cleaner, but from giving water enough time to leave.
10. Replace Parts That Keep Holding Smells
Sometimes cleaning has reached the end of its usefulness. An old gasket may remain sour-smelling even after repeated washing. A plastic lid may become deeply scratched. A blade assembly may develop residue in areas that cannot be cleaned safely.
At that point, replacing the worn component can be more sensible than repeatedly soaking it.
Check whether the mixer brand sells compatible gaskets, lids or blade assemblies. Small replacement parts are often far cheaper than replacing the entire appliance. Depending on the model, a gasket or similar minor spare may cost only a modest amount in ₹.
Before buying anything, confirm the exact jar size and model. Mixer components can look almost identical while differing slightly in diameter, locking design or blade fitting.
Replace cracked gaskets promptly because they can also affect sealing and cause leaks during grinding.
If the blade assembly feels loose, shows corrosion or leaks from underneath, avoid trying to dismantle or repair it without proper guidance.
Kitchen equipment works hard. A mixer jar may grind chutneys at breakfast, masalas at lunch and spice powders before dinner. Eventually, a small part deserves replacement rather than another lemon-peel spa treatment.
How To Freshen A Smelly Mixer Jar: 10 Fixes For Gaskets, Blade Assemblies And Food Residue
Photo Credit: Pexels
Products Related To This Article
1. Butterfly Smart Plus 750W Mixer Grinder with 5 Jars
2. Philips HR7732 Mixer Grinder 1000 Watts 4 Jars with Double Ball Bearing Motor
3. Atomberg Zenova Fresh Juicer Mixer Grinder For Kitchen
4. Bajaj Rex 500W Mixer Grinder
5. Sujata MG01 Mixer Grinder 1000Watts
6. Havells Unity 750W Food Processor
7. CURAA BlendLab by Chef Sanjyot Keer
A smelly mixer jar rarely needs drastic treatment. Most lingering odours come from food residue hiding beneath blades, inside lid grooves or around rubber gaskets rather than from the visible jar surface.
Warm soapy water offers a useful first clean, while baking soda, lemon peel and diluted vinegar can tackle stubborn aromas. Dry rice helps with spice dust, and careful brushing reaches corners that ordinary rinsing misses. Just as importantly, removable gaskets and plastic lids need their own cleaning routine.
Drying also deserves more attention than it usually receives. Storing a damp jar with the lid tightly closed can undo an otherwise perfect wash.
When smells refuse to disappear despite thorough cleaning, inspect the components for wear. Old rubber seals and damaged parts sometimes need replacement rather than endless scrubbing.
A mixer jar deals with some of the boldest flavours in the kitchen, so the occasional stubborn smell comes with the territory. With a few sensible habits, however, yesterday's garlic chutney does not have to make an encore in today's banana shake.
(Disclaimer: This article may include references to or features of products and services made available through affiliate marketing campaigns. NDTV Convergence Limited (“NDTV”) strives to maintain editorial independence while participating in such campaigns. NDTV does not assume responsibility for the performance or claims of any featured products or services.)